Mulching

Coconut trees finally got cleaned today – after nearly 3 years. It took such a long time because the guy who does it is as slippery as a rat out of a snake’s mouth. “Cleaning” coconut trees means clearing the tree of dead materials, trimming the leaves and cutting down coconut fruits that may pose a hazard over roofs, garden beds and pathways, and of course, cutting down mature coconuts (for copra or cooking) as well as a few young green ones.

We use coconut leaves – green or dry –  as compost, feed for the pigs and for mulching. We specially need mulch for the west garden. Several days earlier, I’ve started work by sowing mung beans and adding a thin layer of dry coconut leaves on the soil, plus spraying with a dilution of lactic acid bacteria to facilitate decomposition. Then we got help from Bebe and Atoy to further mulch the area.

Instead of digging and ploughing through the soil, we rely on mulching. Apart from spraying lactic acid bacteria, I am currently preparing a variety of indigenous microorganisms with large mycelium growth. This will be placed onto the soil, under the mulch, to inoculate the soil and increase microbial diversity, hoping to improve soil texture and enrich the soil at the same time.

I don’t expect to grow anything soon in several areas where mulch has been added specially over where the boar pen used to be. The manure in that area has not yet completely decomposed. However, some of the mung beans I tossed around several days ago seem to be doing fine.

There has been an unusually high amount of rainfall this year and I think we’re nearing the end of the rainy period. This would be a great time to mulch since there will be enough moisture and humidity to decompose the mulch, and the soil cover will be much needed as the dry season approaches.

To learn more about mulching, here are some helpful resources.

How We Discovered the Rain Garden

The use of bioretention for stormwater management has its roots in industrial and commercial site settings. Only in the early 1990’s did residential applications of bioretention for stormwater management begin to become a concern in the area of environmental protection within communities. The term “rain garden” was coined for this purpose.

“Rain garden” is the popular term used to refer to a landscaped depression or hole that catches rainwater runoff and allows it to soak into the ground. This is opposed to drains and surfaces that cause and aggravate flooding, soil erosion, water pollution and diminished groundwater.

A swale is a similar feature, which may be natural or artificial. Swales serve as infiltration basins, allowing increased rainwater infiltration.

We “discovered” the useful features of the rain garden/swale by accident. The previous occupants of the property demolished their old house and left behind a pit latrine, a toilet that collects fecal matter in a hole in the ground. We actually only noticed this hole after the big earthquake in 2013. It seems that the earthquake had caused that area in the garden to cave in.

Shortly, a group of ducklings suddenly disappeared in the garden. We discovered that they had fallen into the hole and had to be rescued. Because the hole posed a hazard, Trevor decided to grow plants in the hole. By then, we also noticed that stormwater flowing from the roof of the house and other higher parts of the garden collected into the hole. Apparently, this had great benefits. It prevented excessive flooding and soil erosion.

Today, this – what we now call a “rain garden” – hosts one of the most lush vegetation in the garden. Below are more photos of the rain garden. We plan to dig a couple more rain gardens to alleviate the flooding in low areas of the garden, particularly in the west section.

Here are some links to get you started in understanding and building rain gardens.

A Gardening Challenge

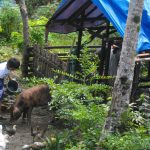
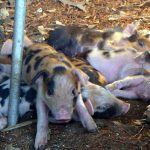
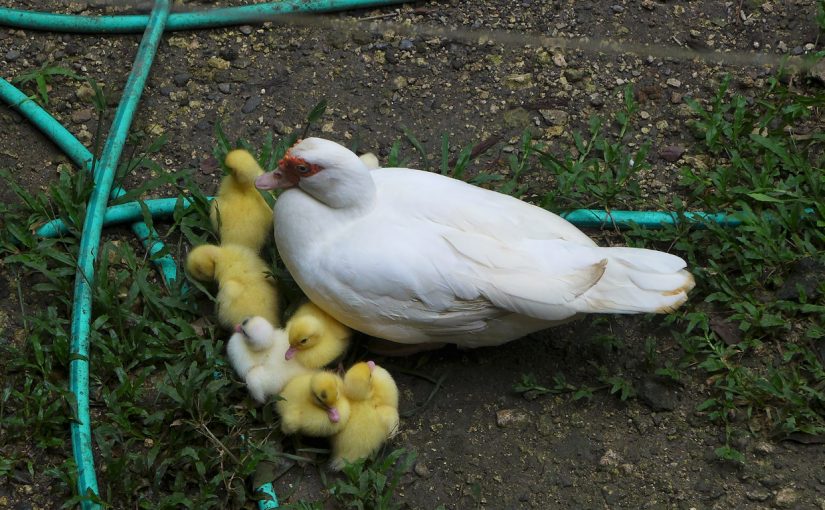
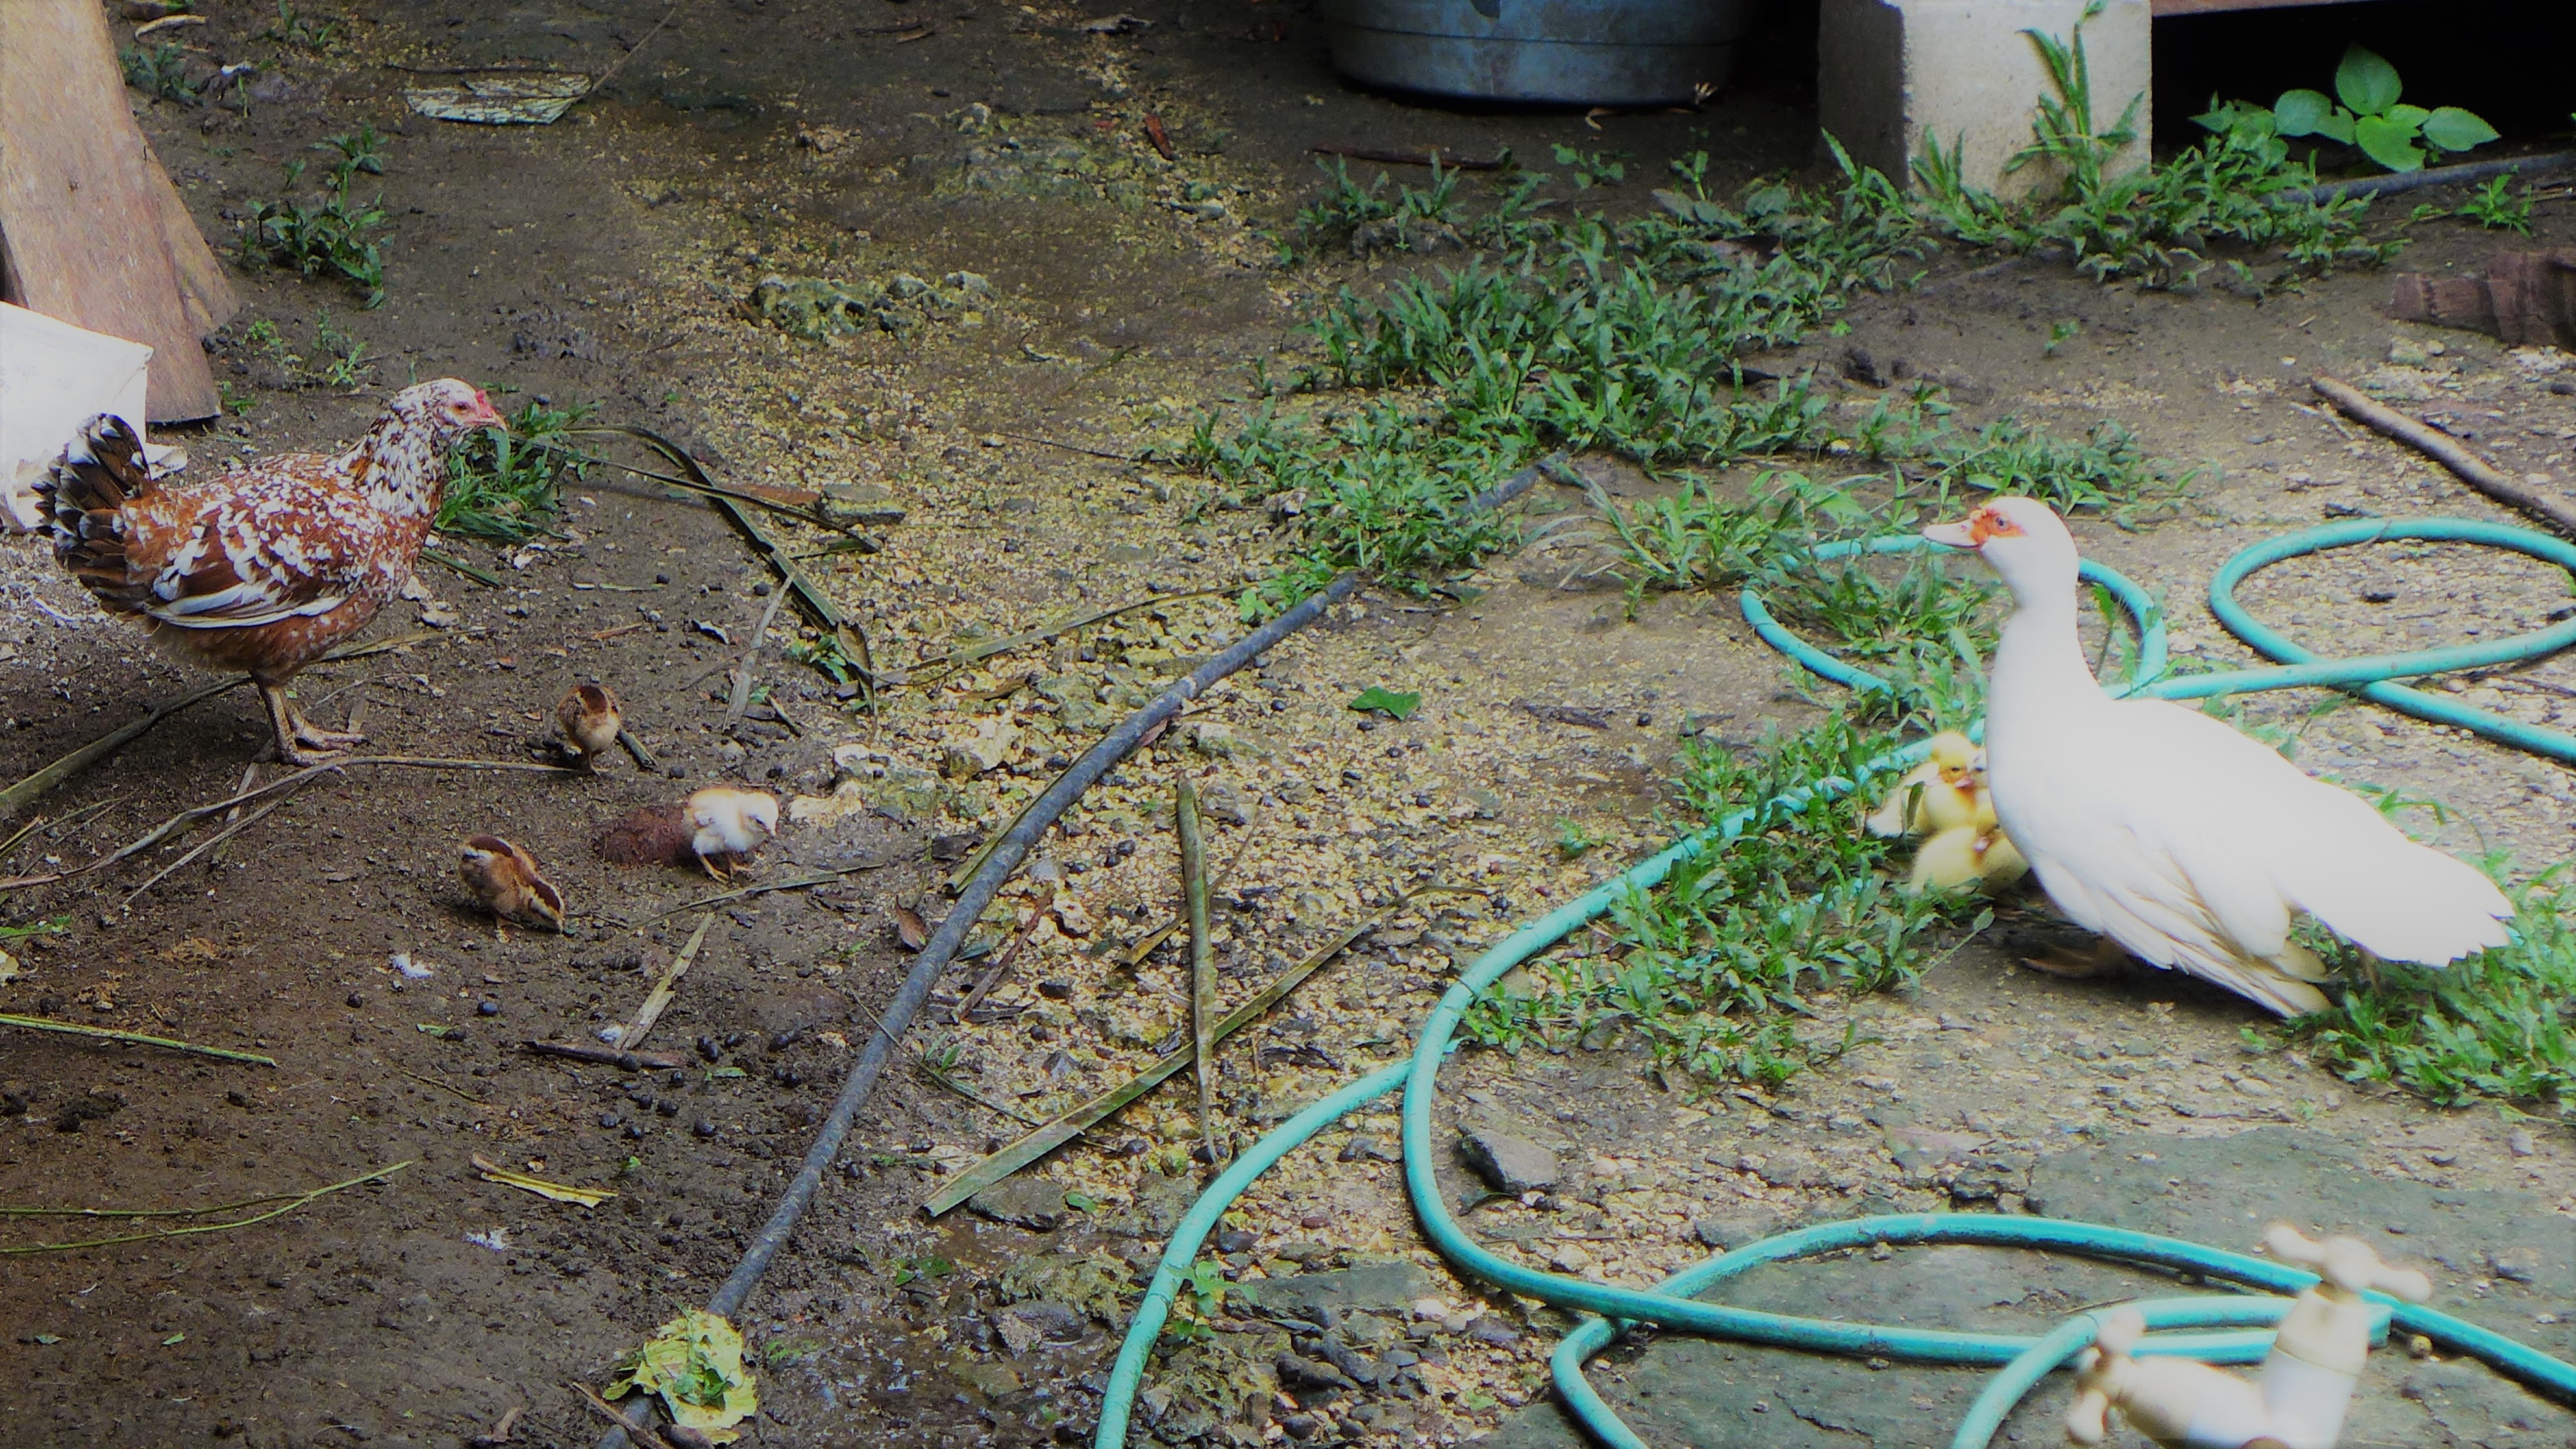
More drawn to livestock, I have not done much gardening in years. A few attempts have not resulted to anything promising. However, since a section of the garden along the west side of the property has given way to newly rebuilt pigpens and the surrounding area cleared and trampled down by construction work, I may now have to face the challenge of tending not only to the pigs but also to plants.

But the first real challenge is tending to the soil – how to bring life back to soil that has been subjected to abuse.

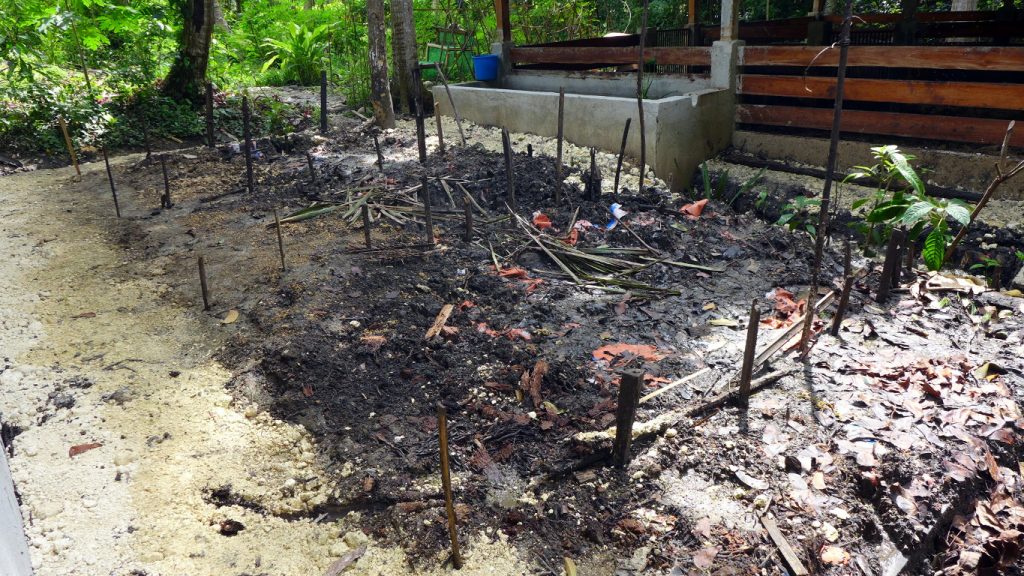
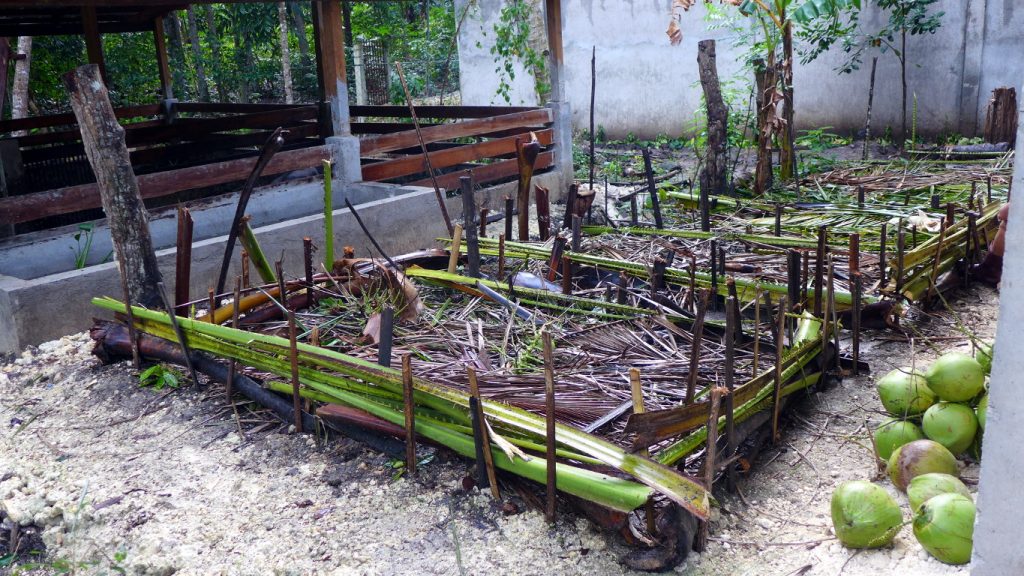
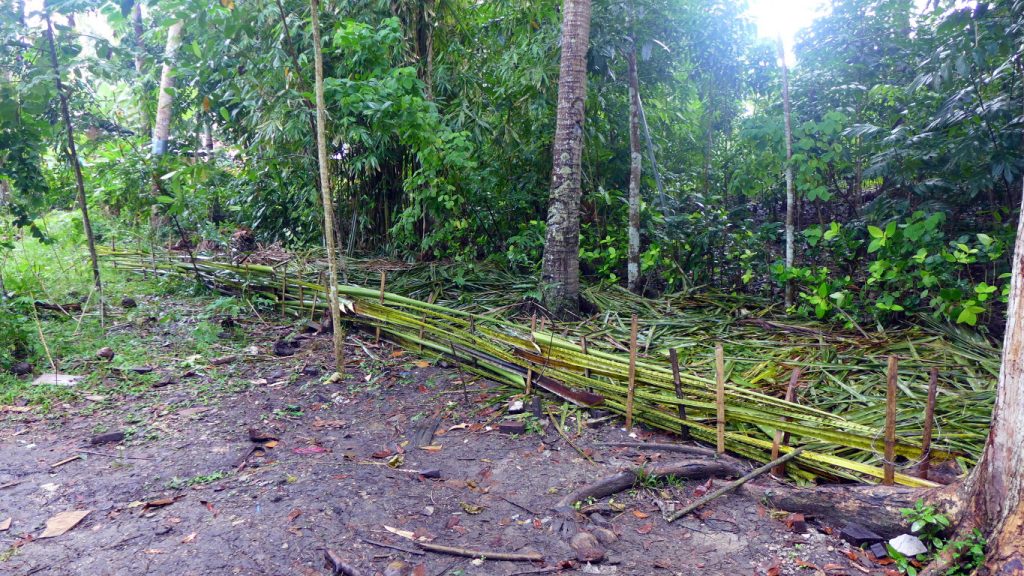
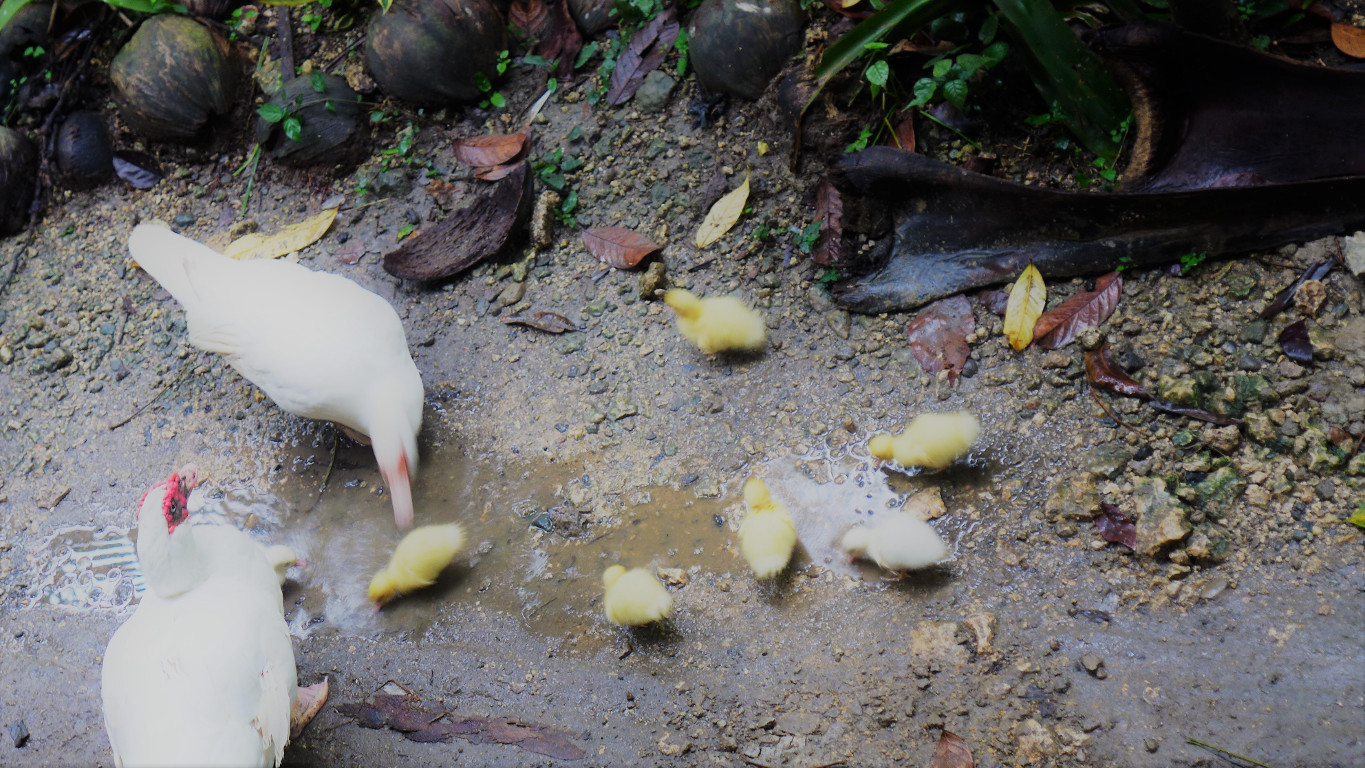
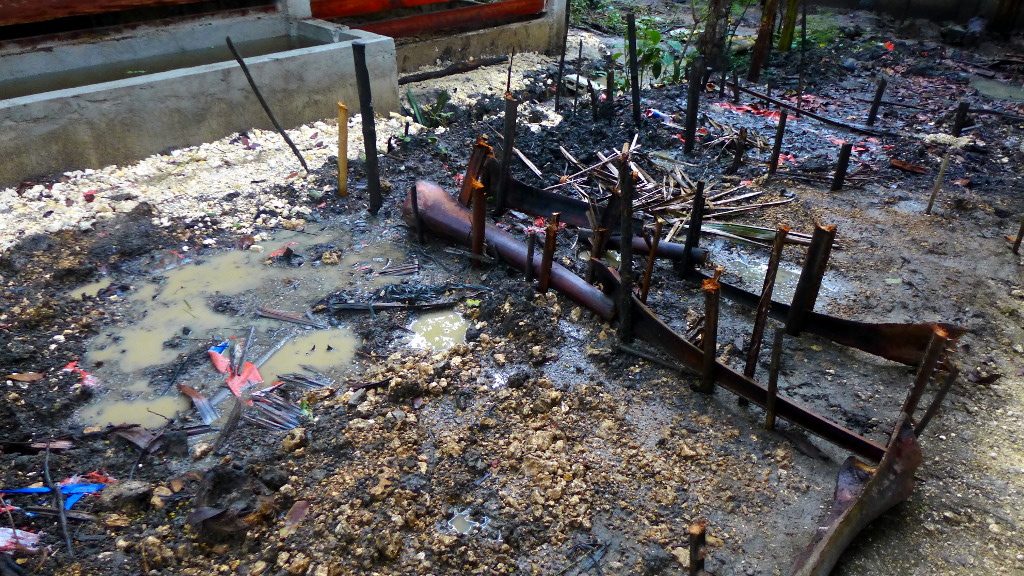
Here is one area of the west garden between the two pigpens. I have laid down stakes cut from the tough midribs of coconut leaves to fence in what would be garden beds and paths in between for access. The fencing will consist of the thicker and heavier parts of the midribs, and inside the fenced area the coconut fronds will be piled along with other organic materials for composting. This is also where spraying the area with lactic acid bacteria might be helpful.

This is the lower half of the same area, some 25 square meters of what used to be a boar pen. There is still some scrap wood left from the demolition of the old pen. The red bits are from the tattered canvas roofing of the pen.

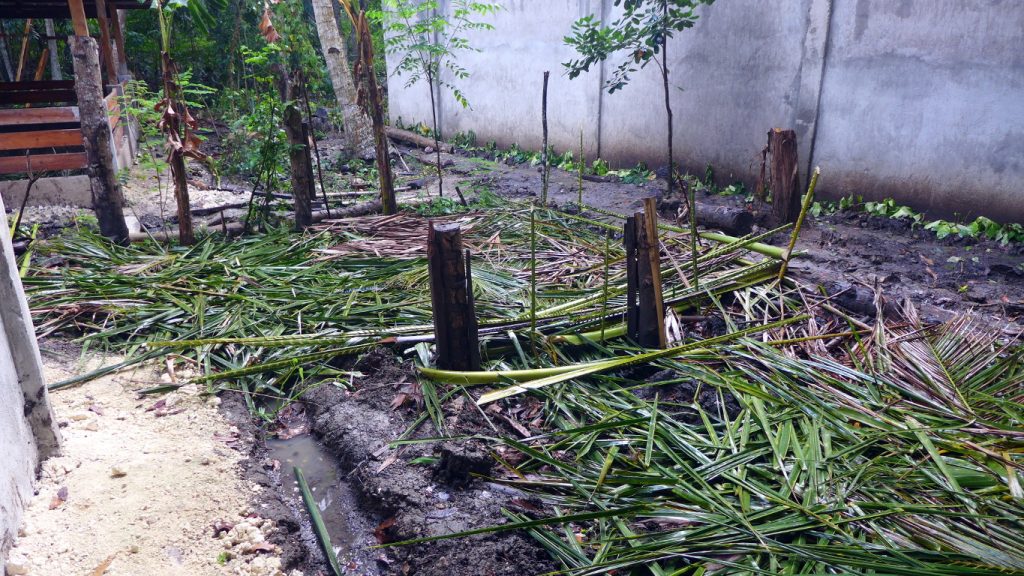
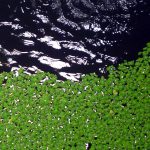
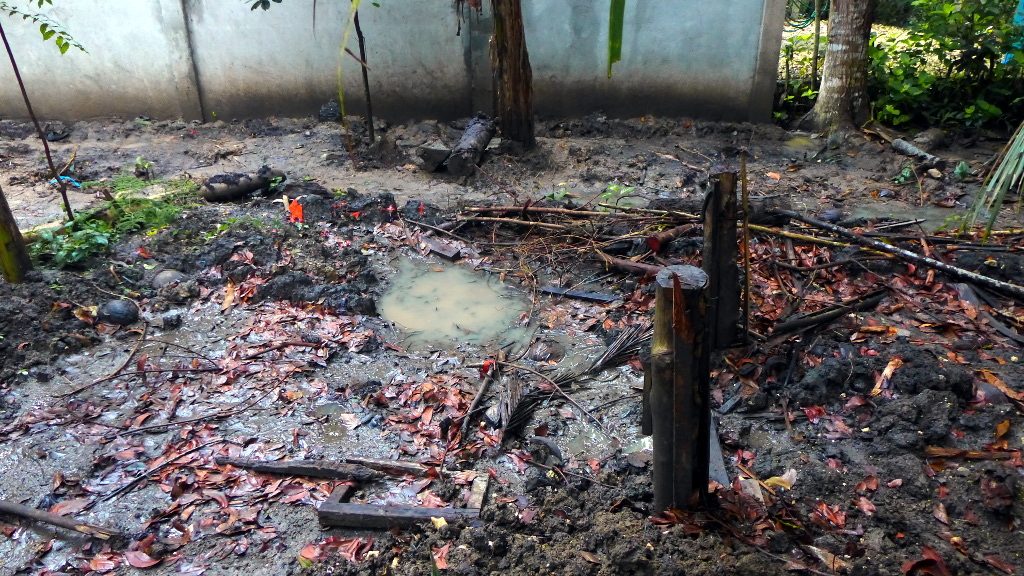
In this photo, one can see that the edge of the west garden has become devoid of ground cover vegetation due to construction work. A lot of work needs to be done here to revive the texture of the soil so that plants can start growing again. Due to digging and trampling, the soil has become compacted and is very prone to flooding.

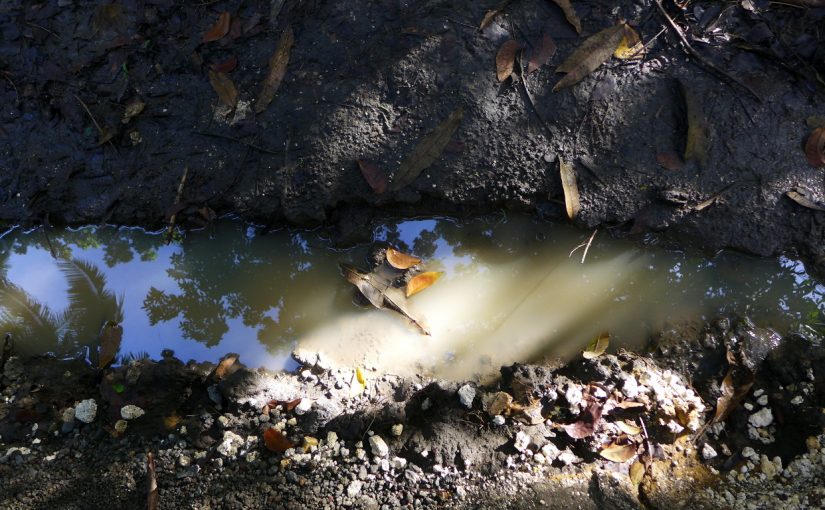
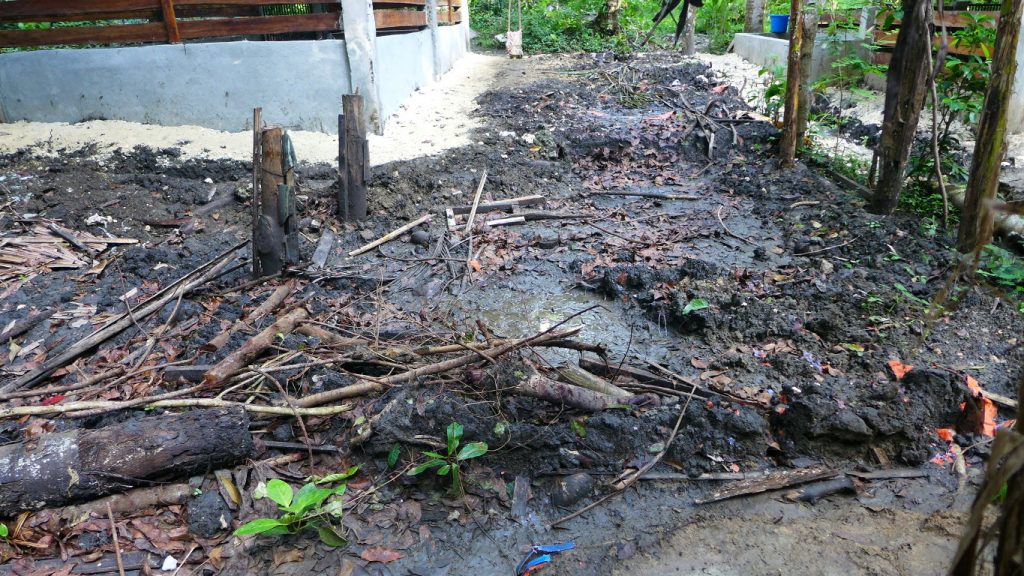
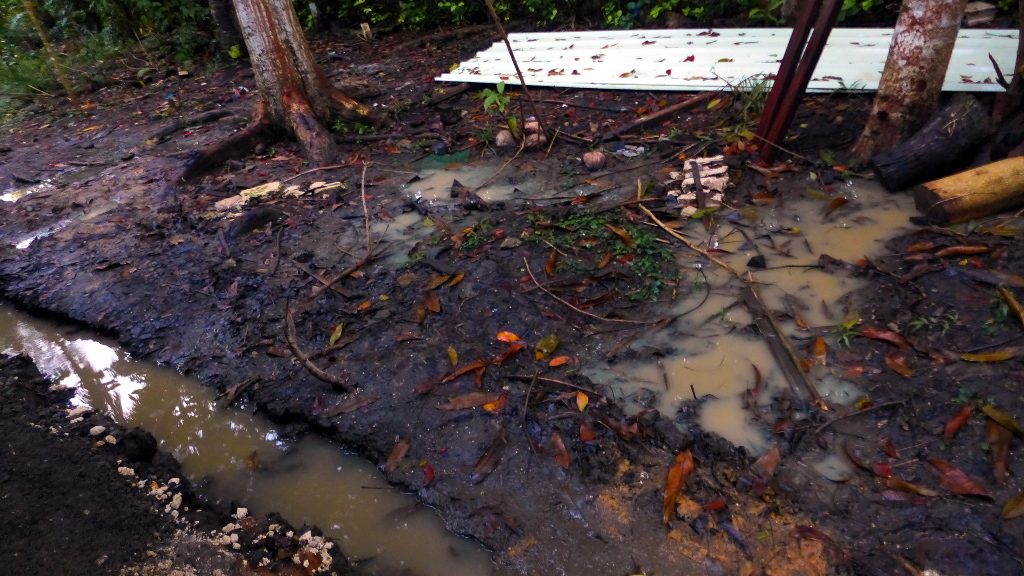
Here is the southern corner of the west garden. Likewise, compacted soil, a canal dug up leading to nowhere now becomes flooded. Logs from a tree that was cut down will need to be stood up to serve as plant holders in locations where they will not block the flow of rainwater. Those galvanised iron roof sheets will need to be removed and stored elsewhere.

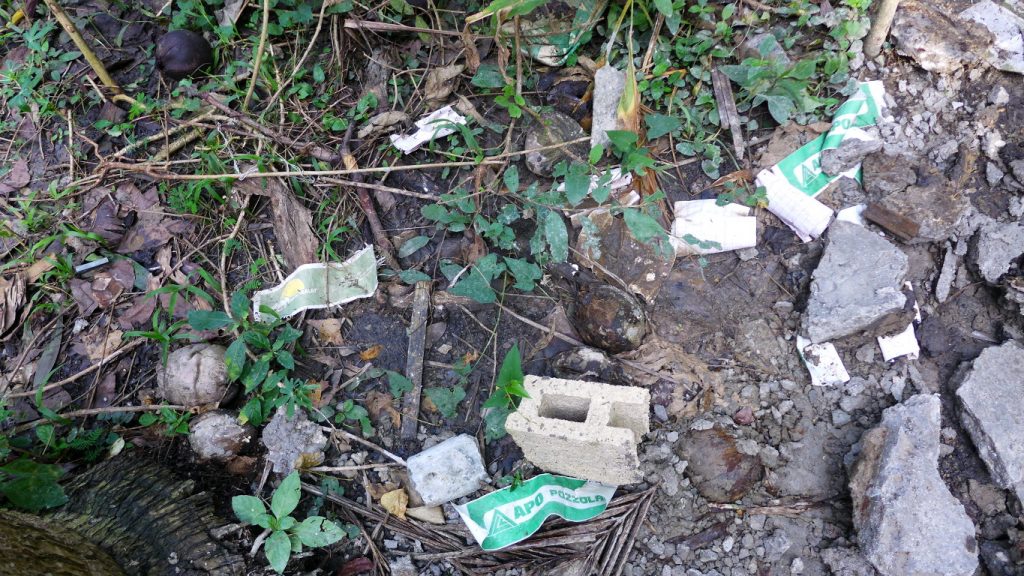
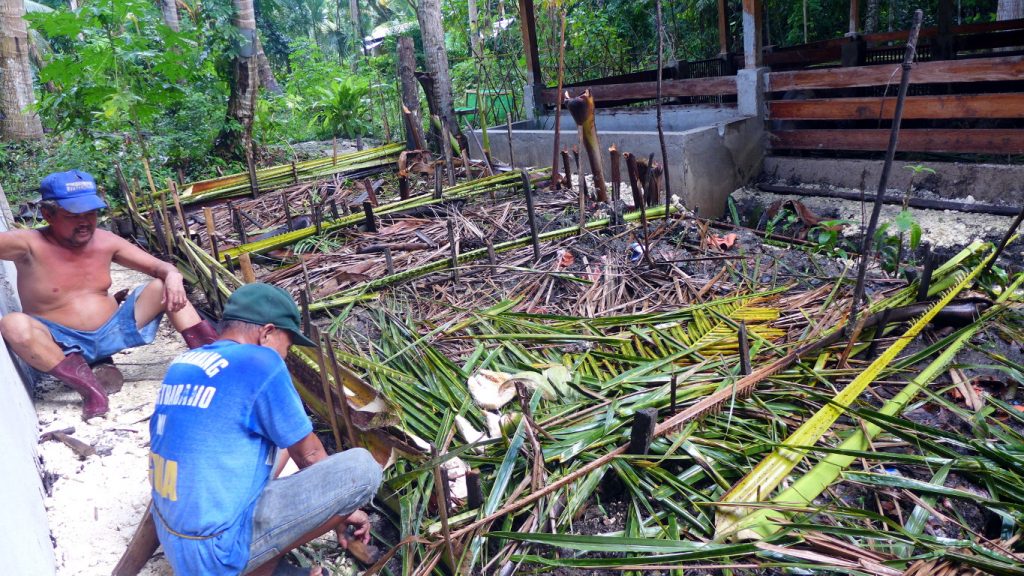
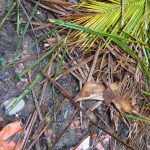
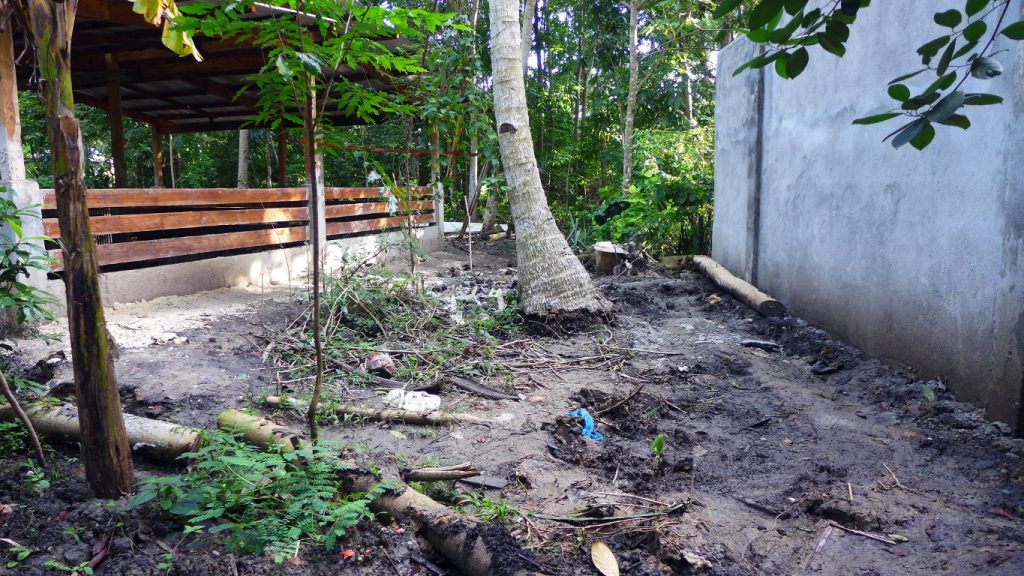
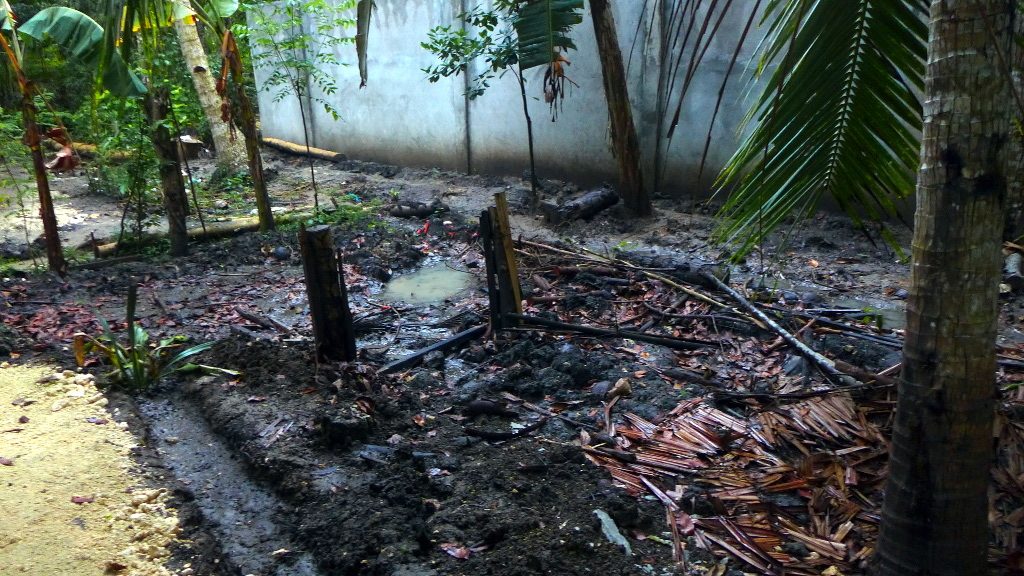
We have cleaned up as much as we could but much remnants from the construction work remain: pieces from cements bags and broken hollow blocks and a pair of slippers, pieces of plastic bags, paper.

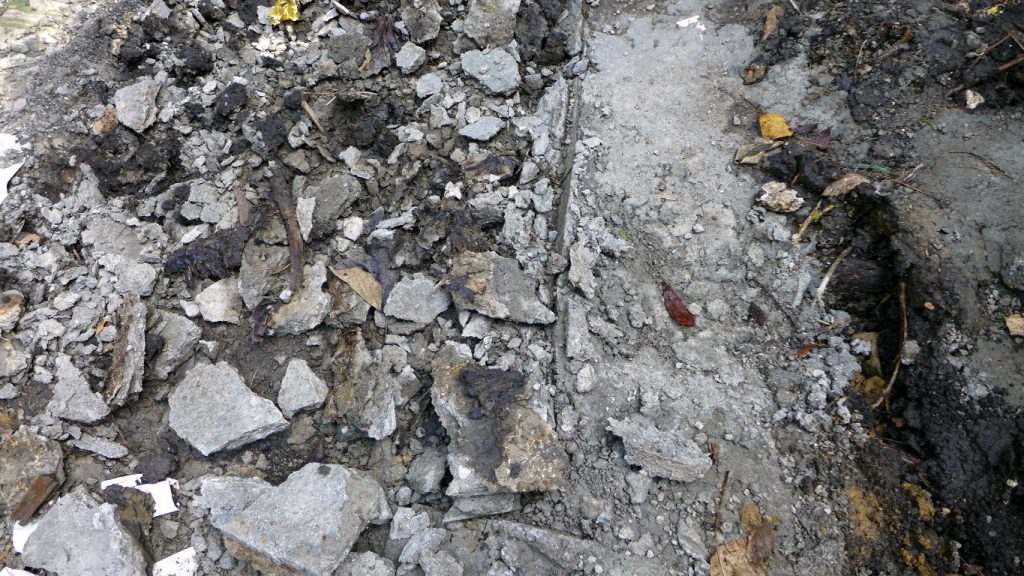
A section of the garden was used for mixing cement, and although the workers have broken up the concrete to expose the soil, they did not clean up afterwards. We will need to remove as much as we can of this concrete and put them nearby where they can reinforce paths around the pigpens.

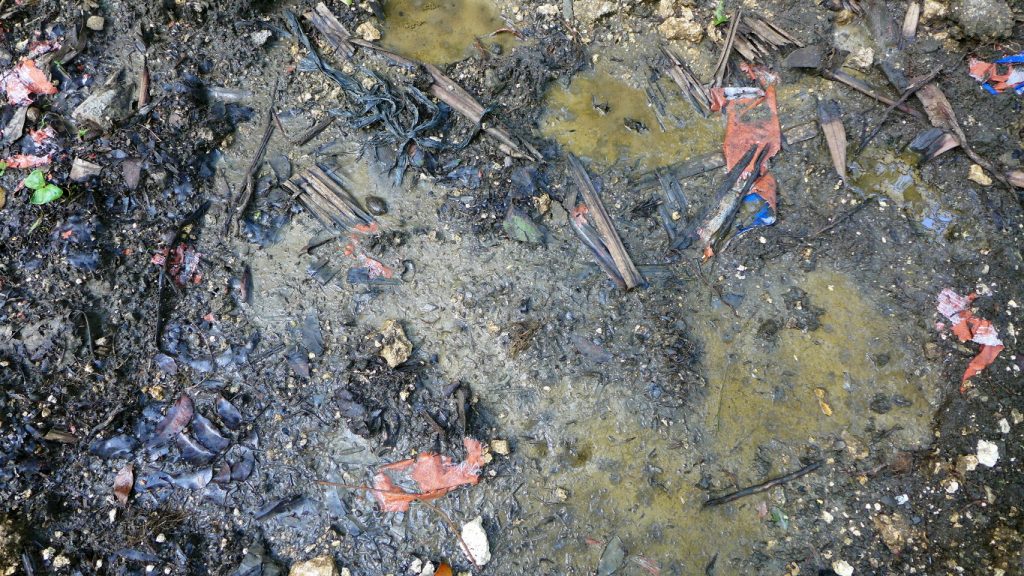
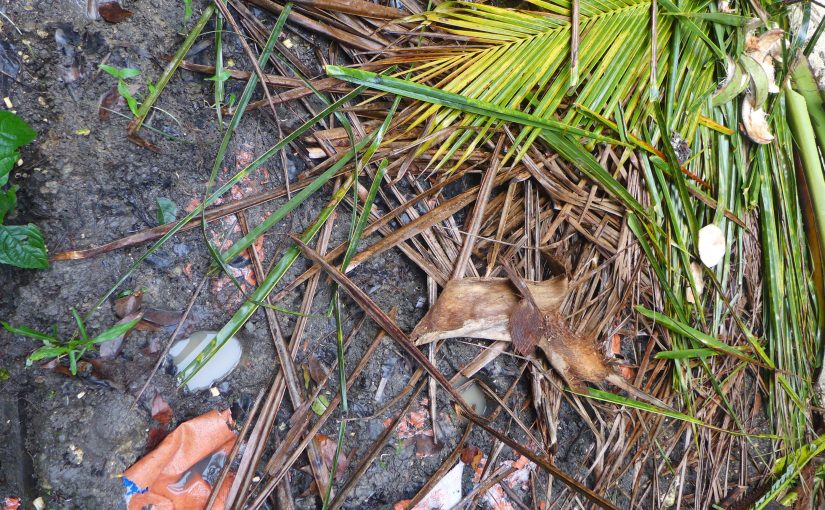
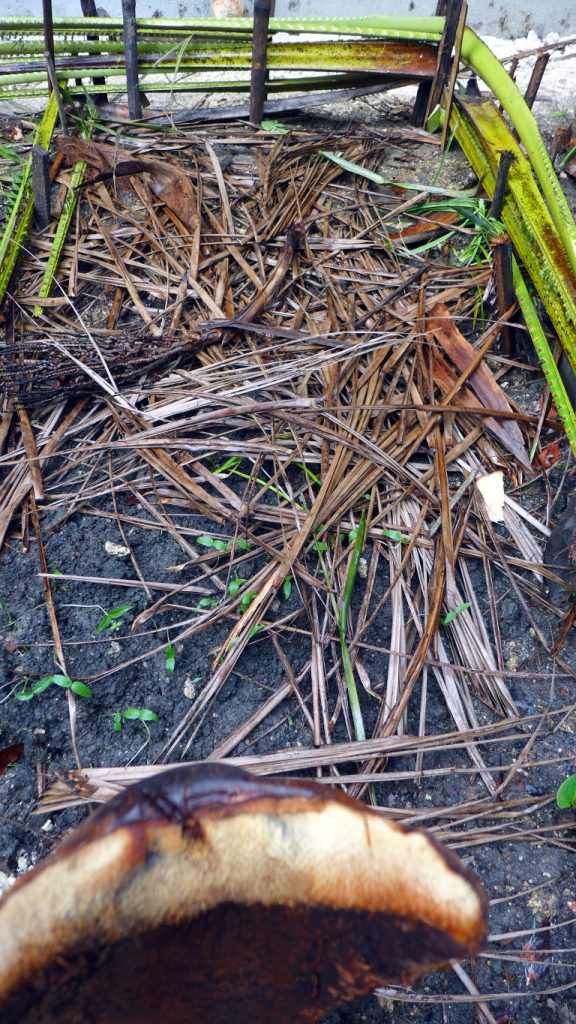
Here is a closer look at the soil in the area where the boar pen used to be. Heavy rains cause water logging and the ground here is very soft, it is really a mud pit. We will need to compost over these areas and will probably takes several months before improvement becomes visible.

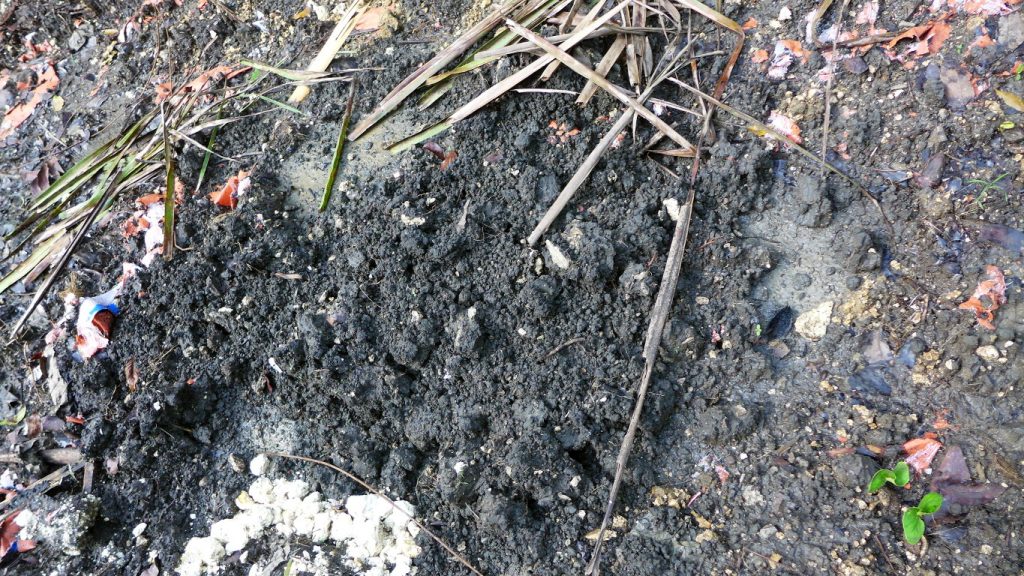
Here is another section of the boar pen which is a mix of soil, composted organic matter and limestone.

And when it rains …

These photos (below) show what the area looks like after a half hour of rain. It isn’t pretty.

Managing the rainwater run-off from the upper part of the property will need to be done along with planting, contouring, rain gardening and such things in the west garden. A not-so-good neighbor has also been dumping their roof rainwater run-off into our property, so that will need to be dealt with later.

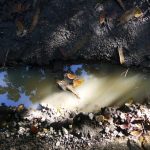
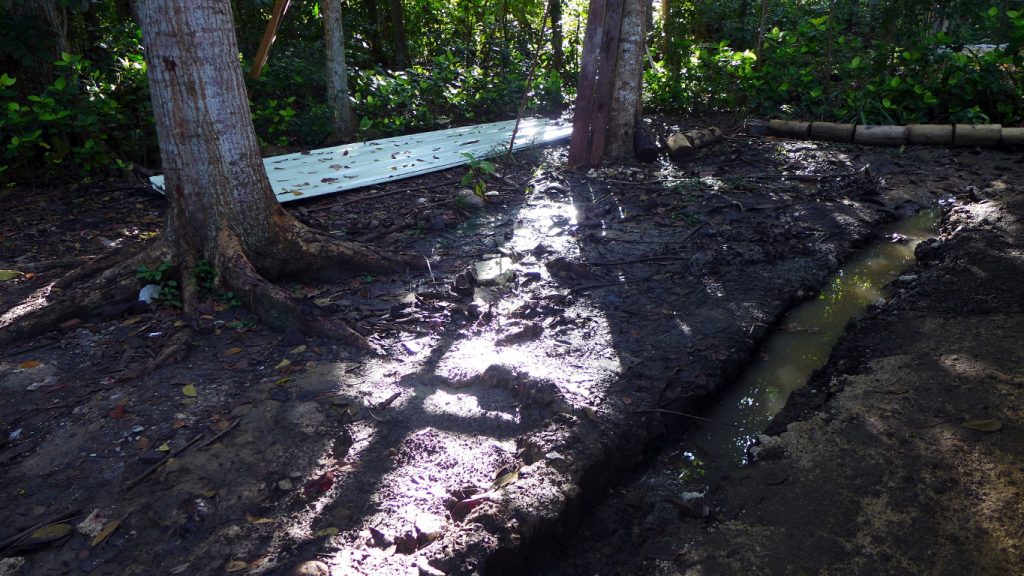
Canals were dug up around the pigpens to prevent rainwater from entering the pens. In some areas the water goes down, but in the southern section, the water pools in the canal and doesn’t get drained  into the soil.

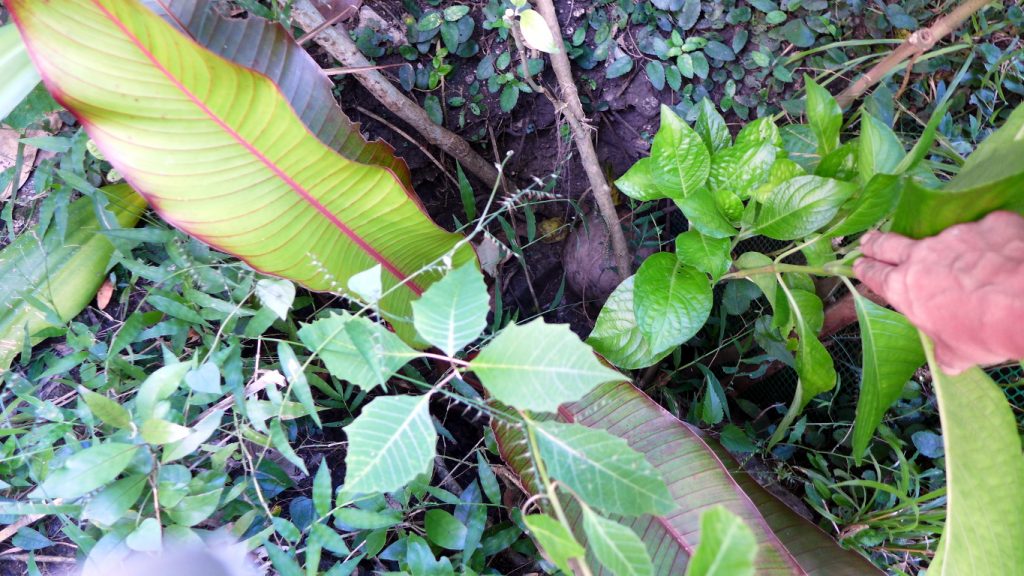
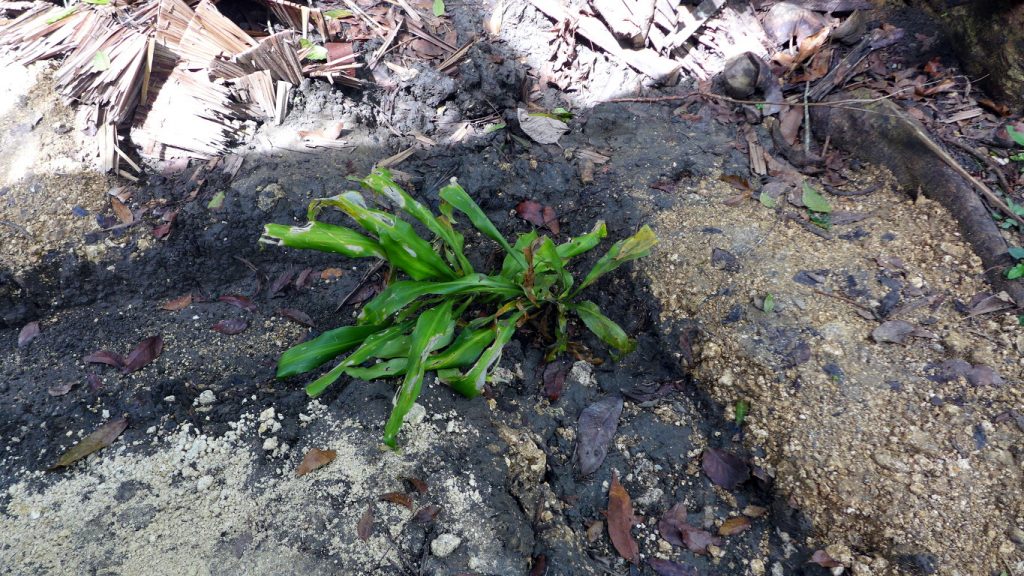
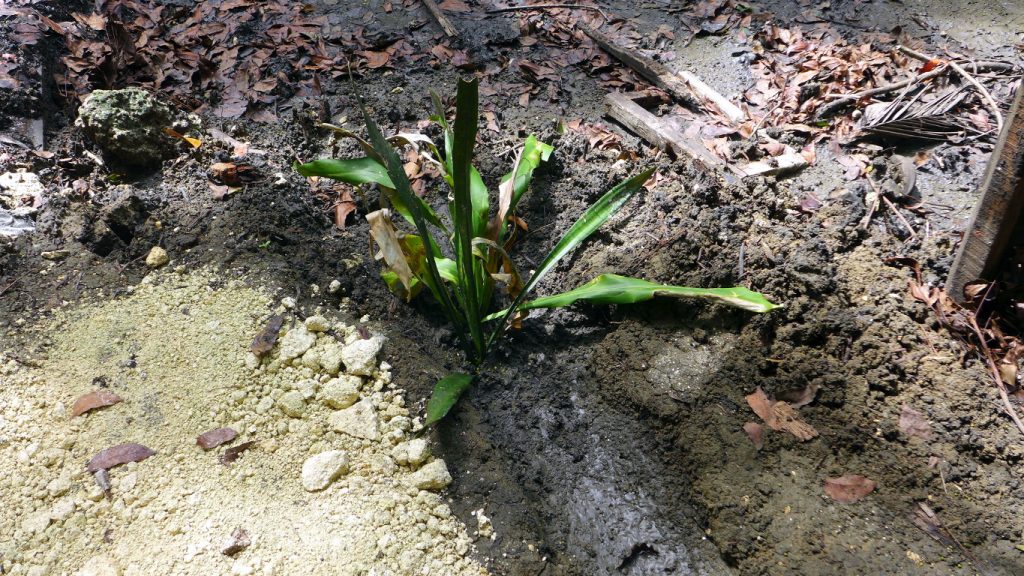
I planted tiger tail and fortune plants in this corner at the lower part of the canal hoping that later, more plants can grow in the canals and absorb the water.

In a few areas where the canals flow downwards, I hope to dig a couple of rain gardens to serve as catchment for overflowing rainwater, hoping to avert flooding in the west garden. Soil dug up from the rain garden may be placed over the old pigpen particularly in excessively muddy places where water pools.

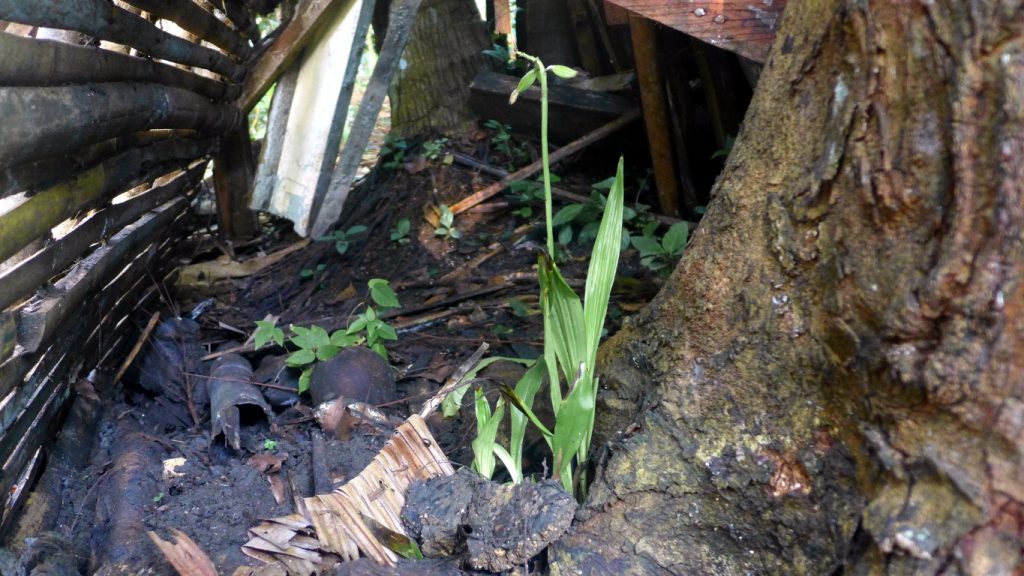
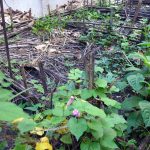
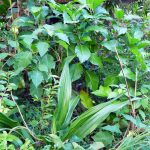
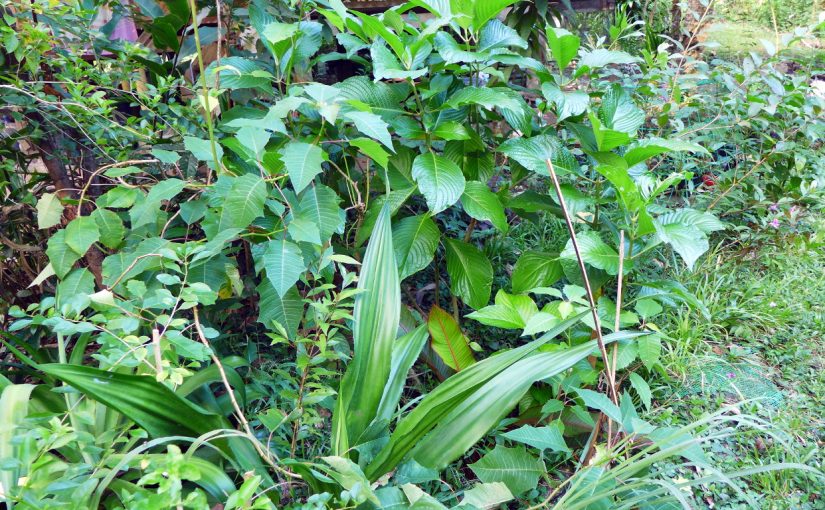
Next to a mahogany tree and behind the darkness of a pile of scrap wood from the demolished pigpens this lily has managed to survive and grow.

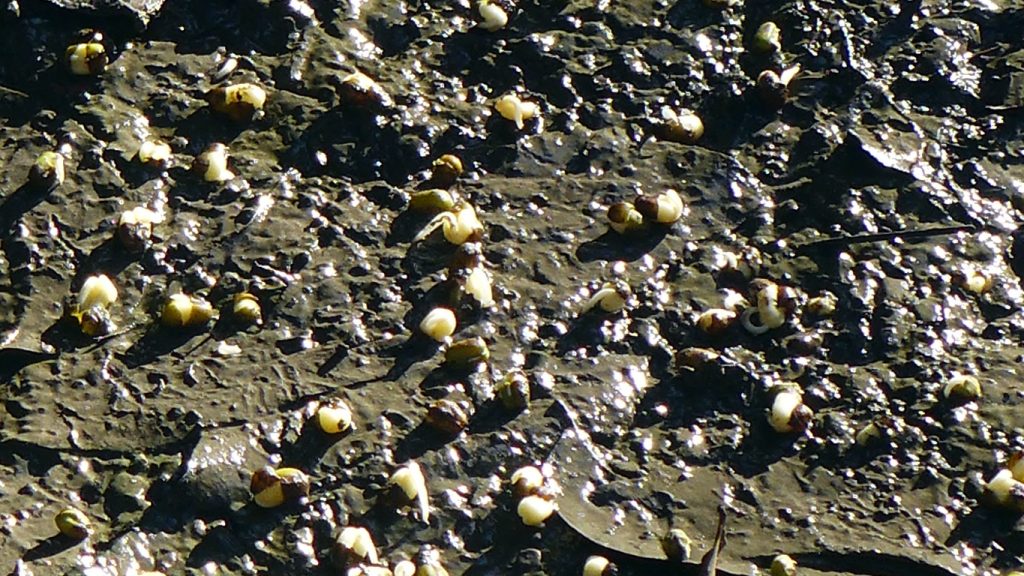
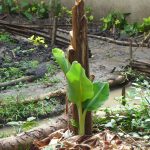
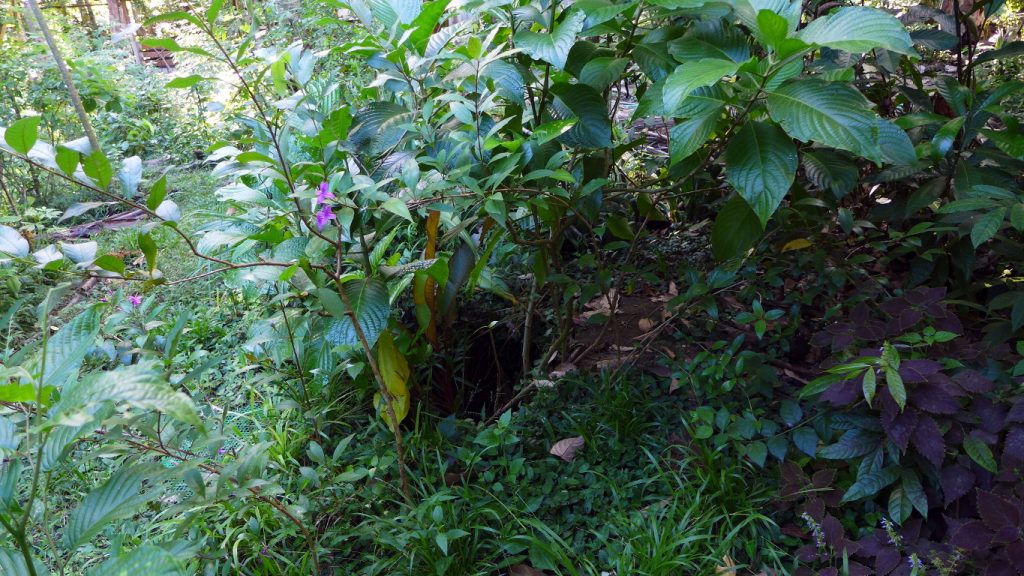
The mung beans I threw into the wet areas of the west garden have also started sprouting. I don’t expect these to grow and mature but I am aiming for these roots to enrich the soil. More leguminous plants will need to be planted in these areas.

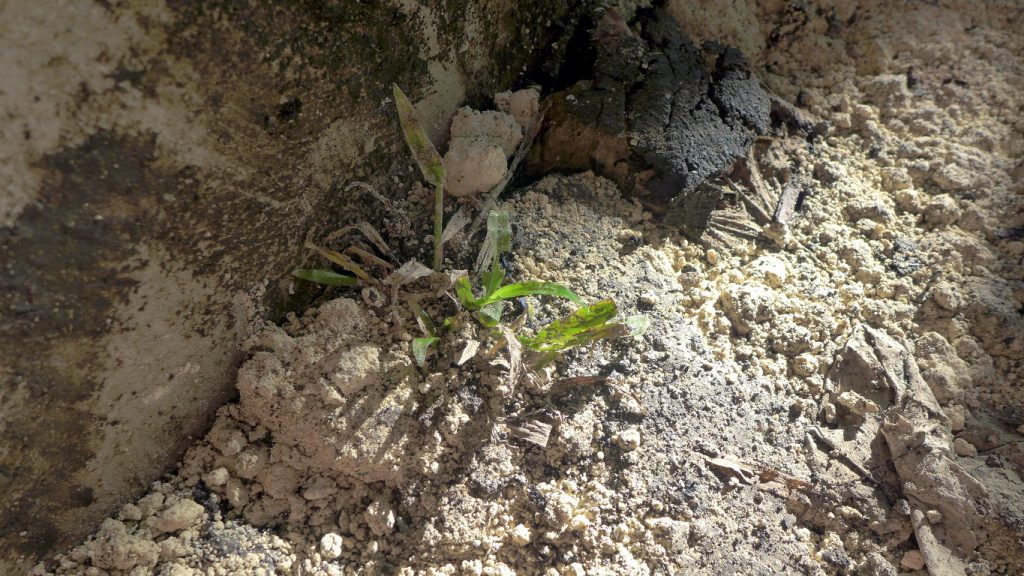
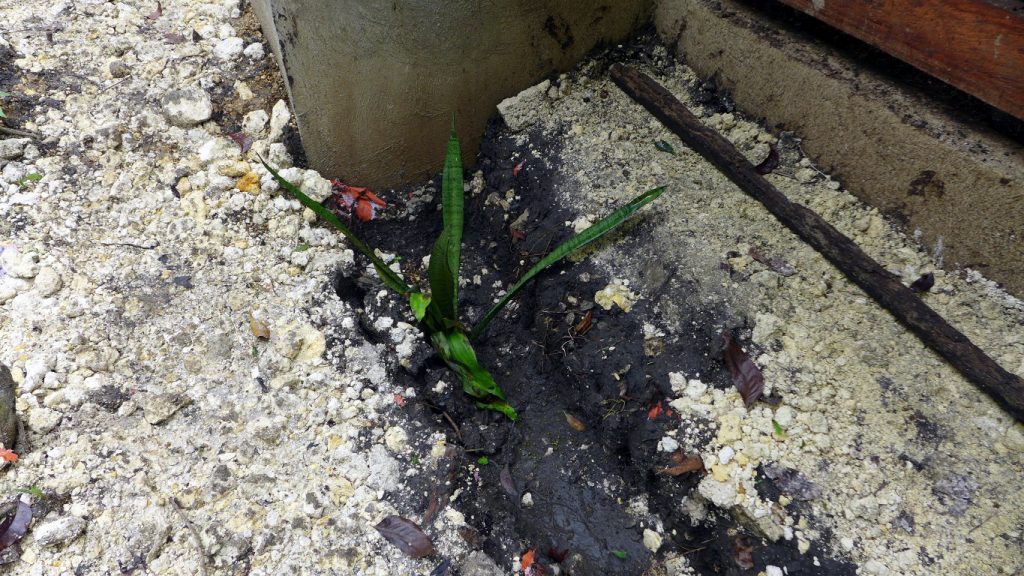
And this grass, pressed between the concrete base of the pigpen and the limestone paving has managed to survive.

So all is not lost, it may still be possible to bring the west garden back to life. It will take a long time, so it will be an exercise in patience. 😉

Sausage Recipes

Currently practising making sausages again, getting ready for Christmas! Here are three sausage recipes that I’ve tried and tested and would like to share with you. These sausages use either natural hog casing or collagen casings. These are fresh sausages that don’t use artificial preservatives, nitrites (prague powder) or phosphates (accord powder). Instead, the sausages are mildly preserved using coconut vinegar or anisado wine (such as Green Perico available here in Bohol) or bread (which ferments with the meat). In all cases, the sausages are considered fresh and therefore hung to let the casing strengthen a bit only for a short period of time (2 hours in ambient tropical temperatures of 25 to 32 decrees Celsius; sausages containing salitre, saltpeter or prague powder may be hung to dry for 2-3 days). Then the sausages are stored in the freezer where they can keep for longer: 3 months frozen uncooked, 4-5 days in the refrigerator uncooked.


sausages1

SWEET LONGGANISA (Mildly Sweet Sausages)

1 kilo ground pork with fat about 30%
2 tbsp Soy Sauce
2 tbsp vinegar
2 tbsp Anisado wine
1/2 cup brown sugar
1 tbsp coarse sea salt
1/2 cup garlic, minced
2 tsp freshly crushed black peppercorns
2 tsp Spanish paprika or smoked paprika powder
Hog casing or collagen casing and butcher’s twine/string for tying

newsausages1

LUCBAN LONGGANISA (Oregano Spiced Sausages)

1 kilo ground pork with 30% fat
1 tbsp coarse sea salt
1 1/2 tbsp dry oregano leaves, ground
1 1/2 tbsp dry basil leaves, ground
1 tsp dry laurel leaves, ground
1 1/2 tbsp Spanish paprika powder or smoked paprika powder
1 tbsp freshly crushed black peppercorns
1 tbsp vinegar
Hog casing or collagen casing and butcher’s twine/string for tying

newsausages2

ENGLISH SPICED SAUSAGES

1/2 kg ground pork with 30% fat
50 grams breadcrumbs
1 onion, grated or finely chopped
1/2 lemon rind, grated
1/2 nutmeg, grated or 1 tsp nutmeg powder
1 tbsp chopped parsley
1 tbsp thyme
1 tbsp sage
1 tbsp fennel seed or dry coriander seeds
1/2 tbsp coarse sea salt
1/2 tbsp ground white pepper
2 eggs, beaten
Hog casing or collagen casing and butcher’s twine/string for tying

GENERAL INSTRUCTIONS

  1. Combine all ingredients together in a large bowl. Mix thoroughly with your hands.
  2. Cover and put in the refrigerator to allow the meat and spices to marry and to firm up for 2-4 hours or overnight.
  3. Before stuffing sausages, you may wish to test the taste of the sausage mixture. Get a small amount and shape into a patty and fry in oil. Adjust seasoning as needed.
  4. Prepare and clean fresh hog casings, soak in a bowl of cold water. If using collagen casings, read the instructions on use. Generally, collagen casings are used dry and should not be soaked in water.
  5. Keep a bowl or pitcher of cold water nearby for rinsing sticky hands. Start stuffing the casings with the cold meat mixture. It is easier to stuff sausages when the mixture is cold. Use sausage stuffing machine or sausage stuffer (funnel).
  6. If not using casing, you can also roll the meat mixture into balls or shape them into patties or for making “skinless sausages”. Use wax paper or plastic food wrap to prevent patties or skinless sausages from sticking to each other. Keep cold or frozen or cook immediately.
  7. Carefully but firmly tie sausages in desired intervals. Prick sausages with a clean pin or cocktail stick to remove air bubbles. Hang up to dry and strengthen the casing for 2 hours. Sausages may be cooked immediately. Keep in the refrigerator uncooked for 4-5 days or frozen for up to 3 months.

COOKING SAUSAGES

  1. To cook English Spiced Sausages, dip in beaten egg white then dust with small amount of flour. Cook in small amount of oil, 5-6 minutes on each side for 24mm sausages; cook longer for thicker sausages. Serve immediately.
  2. To cook longganisa, hang the sausage to allow to warm up to room temperature. On very low heat, put 2 tbsp water in a frying pan and the sausages. Keep on LOW HEAT so the sausages will not burst and you will not need to prick the sausages. Depending on the thickness of the sausages, for 24mm sausages, cook for 5 minutes on one side, turn over and cook for 5 minutes on the other side. Add 1 tbsp oil and cook on each side for 3-5 minutes more until brown. Serve immediately.
  3. Alternatively, you can poach the sausages before frying. Prepare a saucepan with water and on medium heat. When water is HOT BUT NOT BOILING, put the sausages in. Cook for 5-8 minutes. DO NOT BOIL or the sausages will burst. Bring out the sausages and finish off by frying in a small amount of oil over medium heat on each side until lightly brown. Serve immediately.

Ducklings, Fingers Crossed

Our duck population is now down to only 4 ducks — one drake (Daddy Duck) and three duck hens, two of which are white and one is brown with a beak deformity, we call her Twisty.

duckdagain3
Duck and Hen stand-off. The hens have learned to engage in less fighting.

Twisty was given to us in exchange for one of our ducks some 2 years ago. Because she was only a little duckling then, we didn’t notice her deformity until later. The owner told us that Twisty’s siblings have all died because they were unable to feed themselves. We managed to keep Twisty alive by feeding her separately from the other ducks. She is able to eat better if given food in a deep container. Otherwise, it is impossible for her to pick up food from the ground with her beak.

twistydeformity

A few months ago we took the risk of letting Twisty sit on her eggs. We assumed she would have deformed ducklings but we already knew a way of keeping them alive by separating them and using deep feeding trays. We wouldn’t let them breed anyhow but would just cull them when they get big. But that never happened. Twisty’s eggs never hatched. It is possible that Twisty is infertile, the work of natural selection. So from now on we will keep Twisty just for the eggs, she’s a very good layer.

duckdagain1

The other two ducks successfully hatched their eggs this week – one duck has 3 ducklings and the other has 7. Hopefully, this will be the start of a new younger generation of ducks for us to revitalise the dwindling population. I’ve learned that it is best to keep a young population of duck hens, no more than 3 years old.