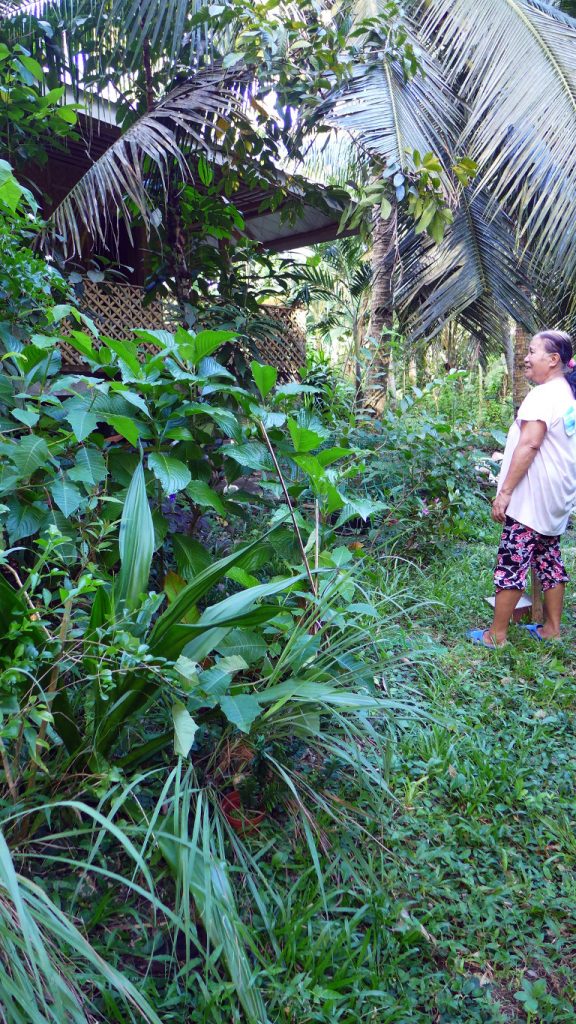
DIY Salt Lick / Salt Dispenser for Goats

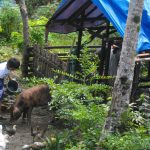
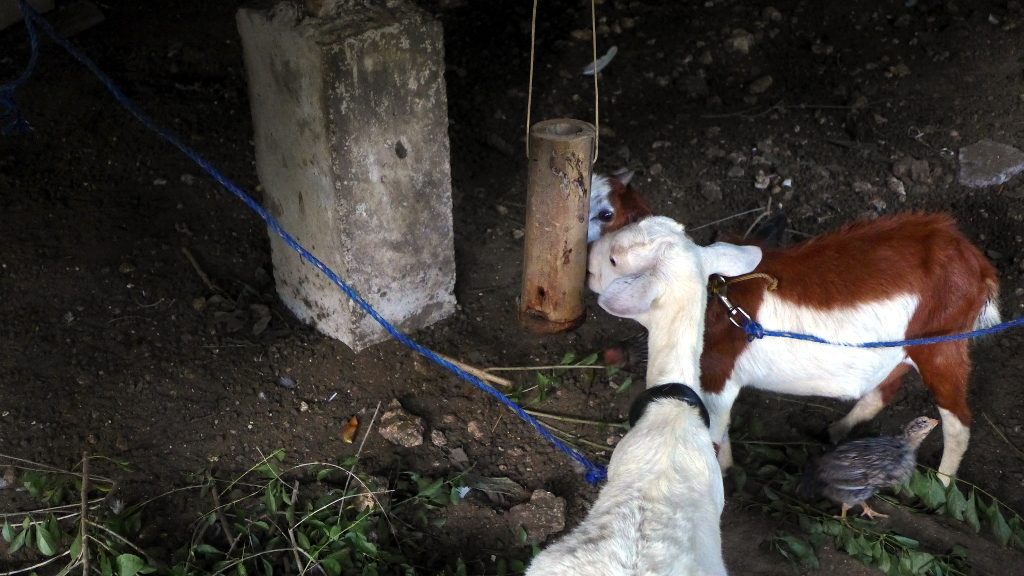
At night, the goats come home from pasture and stay under the house. Here, they look forward to their salt lick.

We currently have only 3 goats  – the billy goat Latte and his two kids, now 11 months old, Bulak and Tableya. The kids are OK but not gaining much weight and their coat are dull, rough and fluffed up. The problem may be partly due to their mother – also not in the best condition and rather aged – weaning them too early.  Plus, the possibility of parasitic overload, competing for nutrition. We have been pasturing our goats like everyone else here in the village, but bad weather conditions throughout 2016 have made life more difficult for the animals. A lot of goats in the village have become sick and died, so we have been lucky to manage to keep ours alive.

Not wanting to push our luck, we decided to do something about supplementing our goats’ diet to keep them healthy. We started by deworming them. We use a product called “Valbazen” – a broad spectrum oral suspension dewormer. However, we use dewormers only when needed, since overuse can lead to parasitic resistance. In our case, we have used dewormers only once a year and at times use natural dewormers such as Ipil-Ipil and Caimito leaves.

After deworming, we made a simple salt dispenser as supplement for the goat’s diet. Earlier, we thought of purchasing a salt lick or mineral block. However, instead of added expense and a large block that only 3 goats will be using, we thought it might be better to just start by making our own.

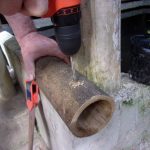
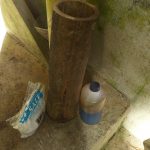
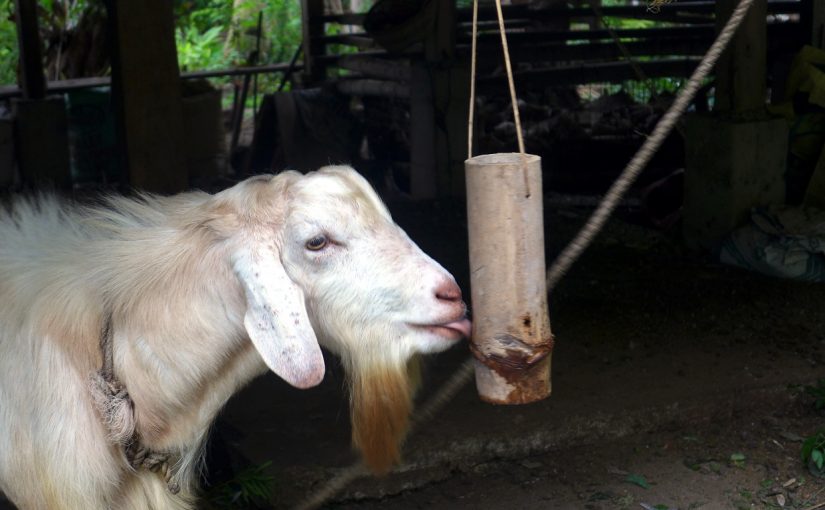
The dispenser is a piece of bamboo, open at one end and closed at the node end. Holes are made at the closed end to allow melted salt to slowly seep through. According to Low Cost Feeds and Feeding Methods for Livestock, “It may also be necessary to scrape the outer skin of the tube to allow the natural exit of liquid through the pores of the bamboo. The tube is then filled with salt, and a small amount of water is added to initiate liquefying of the salt. The tube is then strategically hung inside the shed at a height where the animals can reach and lick it. Water is made available nearby.”

The bamboo as dispenser is inexpensive, safe and non-corrosive. It only allows slow seepage of dissolved salt ensuring that the goats will not have too high of salt intake.

Benefits of Salt in Goats’ Diet

  • Salt is one of minerals essential to goat health along with calcium and phosphorous
  • Salt encourages goats to drink more water; fresh clean water is essential to diluting the urine and preventing the formation of stones or urinary calculi particularly in male breeding goats

In addition to salt, we decided to add a small amount of molasses. The molasses is added on top of the salt in the dispenser. Only a small amount is used, about 10% or less of the salt provided. Although molasses has many advantages, it is also not recommended for goats in high amounts.

Benefits of Low Levels of Molasses in Goats’ Diet

  • Improves palatability of processed feeds
  • Provides Vitamin B6, magnesium and potassium
  • Provides energy

If the goat has little access to forage, high levels of molasses in the diet is not advisable. According to Molasses as Animal Feed: “When molasses accounts for more than 50 percent of the diet, the digestibility of all types of feeds that accompany the molasses is depressed often to the point of only half the value recorded when molasses is not given (Encarnación and Hughes-Jones, 1981). These effects are obviously undesirable if the accompanying feed is composed mainly of cell wall carbohydrate: however, if the feed is rich in protein, starch or lipids-which can be digested by gastric enzymes in the small intestine-then depressing the extent to which these nutrients are fermented in the rumen becomes an advantage to the host animal.”

Goats fed on a high-molasses diet (more than 50% of total diet) are also at risk of developing urinary calculi. Molasses is high in potassium and reduces the absorption of calcium. This deficiency results to an imbalance in the calcium to phosphorous ratio triggering the formation of phosphate salts which block the urinary passages of goats.

So, as a supplement, salt and molasses are advantageous but should only be given in addition to a good diet consisting of ample fibre, protein and water.
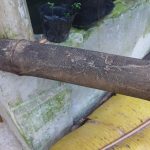
 

Boudin Blanc de Bohol

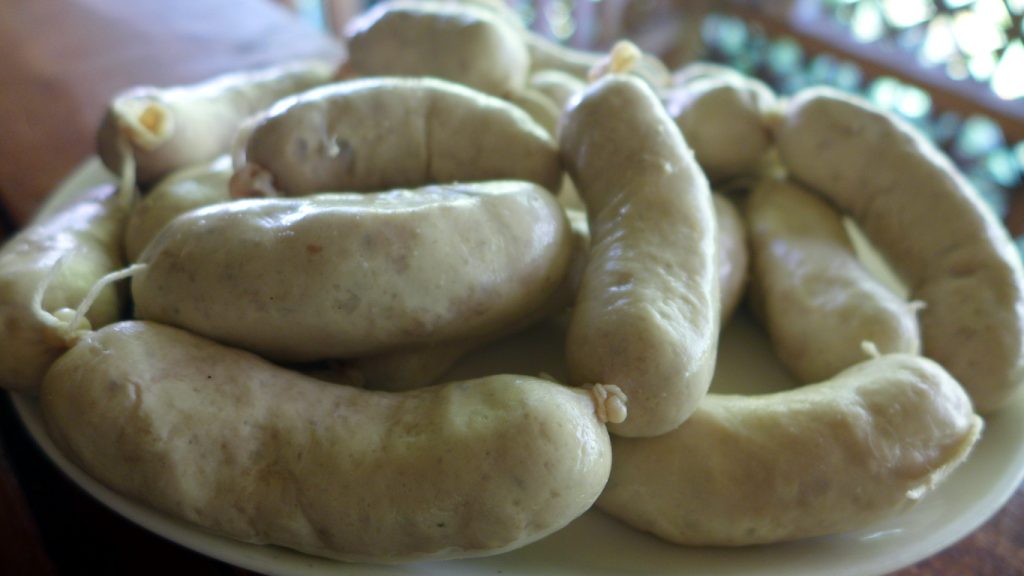
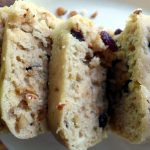
Boudin Blanc fried in butter, served with fried vegetables.

For me, this is a different way of making sausages. It contains quite an amount of milk, the mixture is almost runny and then the sausages are poached after stuffing. To serve, the sausages are grilled or fried. This is my first attempt at making Boudin Blanc – in its simplest most basic form – and I love the result! I will definitely be making this sausage again with variations using locally available spices.

The meat and casings are from our very own backyard raised pig, the runt in a litter which I looked after until 5 months old, totaling a carcass weight of about 75 kilos. The pig was un-castrated and did not possess any “boar taint” at 5 months old.

To get the fine flavour from such a simple Boudin Blanc recipe, it is important to use a good quantity of white onions and the onions must be fried until transparent, not crisp or brown, and must be fried only in good French butter (salted). It is also important to use pork belly in this simple version – not pork shoulder or lean meat.

To get a deeper flavour, I cut up the meat and mixed with the fried onions, butter, salt and pepper and allowed to marinate in the fridge overnight before grinding and stuffing.

When stuffing, do not prick the sausage casings. The mixture can be quite runny and the juices will come out of the sausages during poaching (remember, the sausages are poached not boiled) if the casings are pricked. I have opted for a coarser texture so I mixed the milk and ground pork with a spatula. For finer texture, use a whisk. It is not necessary to overly whisk the mixture since this will result to a rubbery textured sausage (unless of course this rubbery gummy texture is what you want).

After poaching, the sausages can be kept in the fridge for a week or kept longer frozen (although this might alter the texture of the sausage) – or preserved in pork fat.

To serve, the sausages are fried or grilled, and they go very very well with Dijon mustard and a dash of cayenne. 🙂

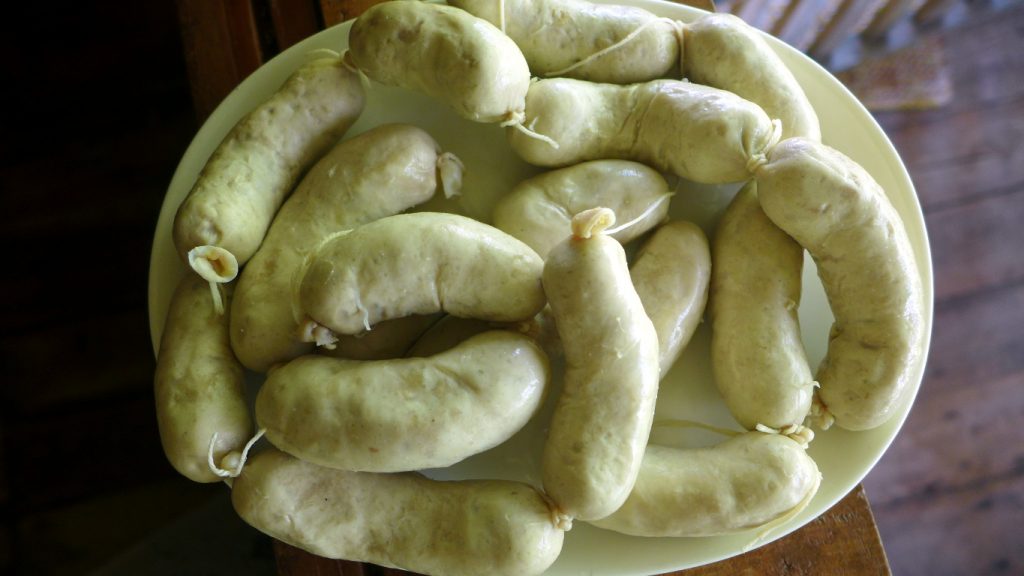
The sausages after they have been poached.

The Recipes

You can find the simplest Boudin Blanc recipe and variations via the links below. The recipes are from the Meats and Sausages website, a truly amazing resource.

There is also a version from Liege, the Boudin Blanc de Liege.

The French Boudin Blanc is not to be confused with the Cajun Boudin.

Making Kalamansi Marmalade

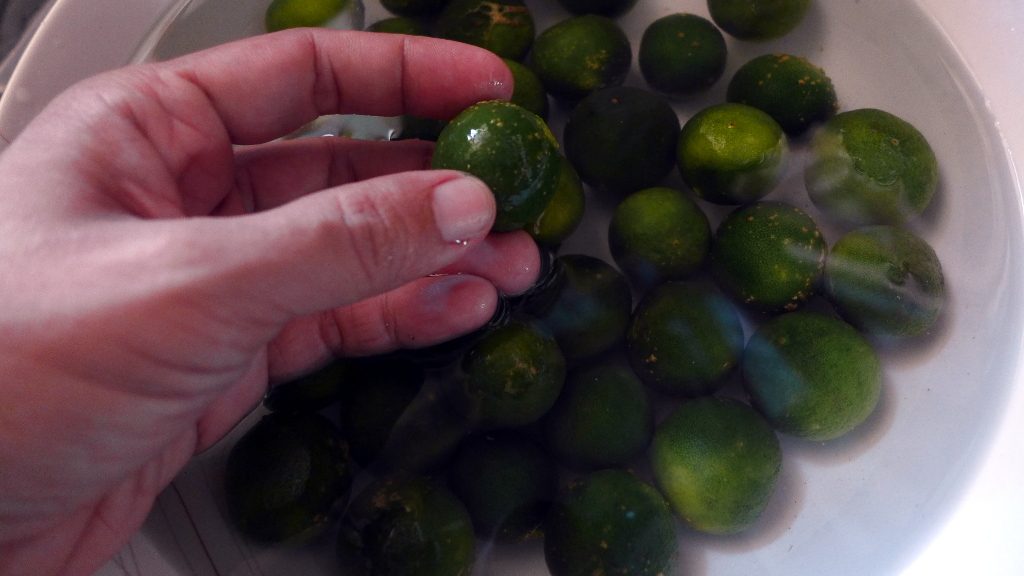
Kalamansi (Calamondin) is cheap and plentiful – lucky me!

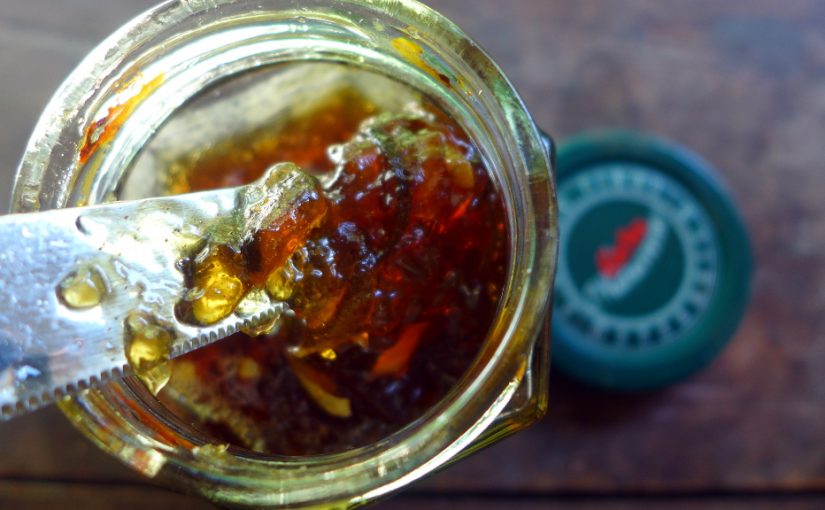
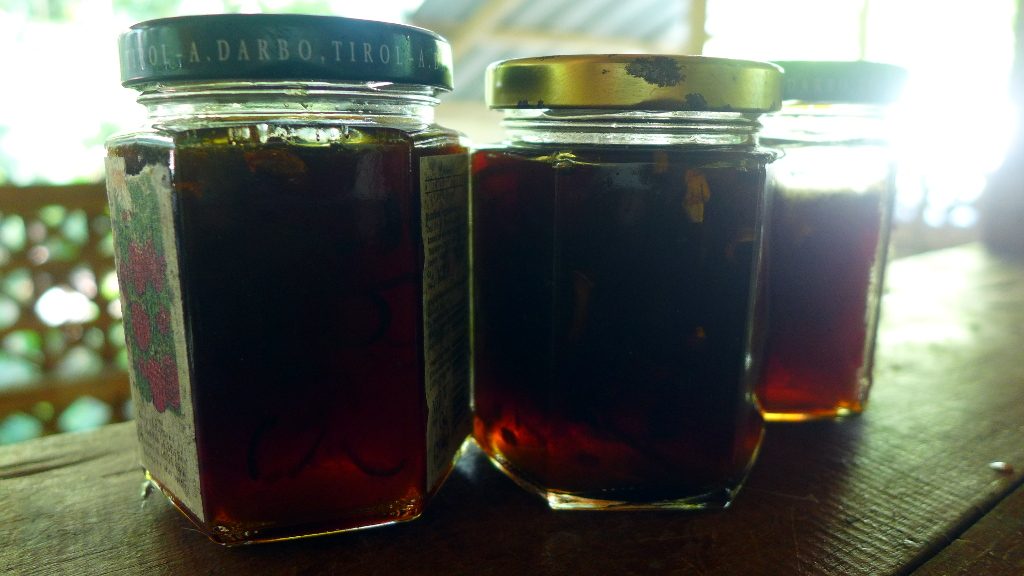
I know, kalamansi marmalade recipes abound. Here is my version, Black Kalamansi Marmalade with ginger and cinnamon. This recipe includes a pectin setting test and a secret ingredient to balance the sweet-bitter taste of the marmalade. Enjoy!

Kalamansi Marmalade (Black) by Fats

Ingredients:

400 grams of green kalamansi
3 cups of water
3 cups of granulated brown sugar for black marmalade (or white sugar if you prefer clear marmalade)
1/2 tsp cinnamon
Half thumb-size ginger
Pinch of salt (the secret ingredient ahaha!)

You will also need some cheesecloth and string.

This recipe makes about 21 ounces (three 200-gram jars) of marmalade.

Instructions:

  1. Wash kalamansi in water, remove stems, leaves and any damaged fruits.
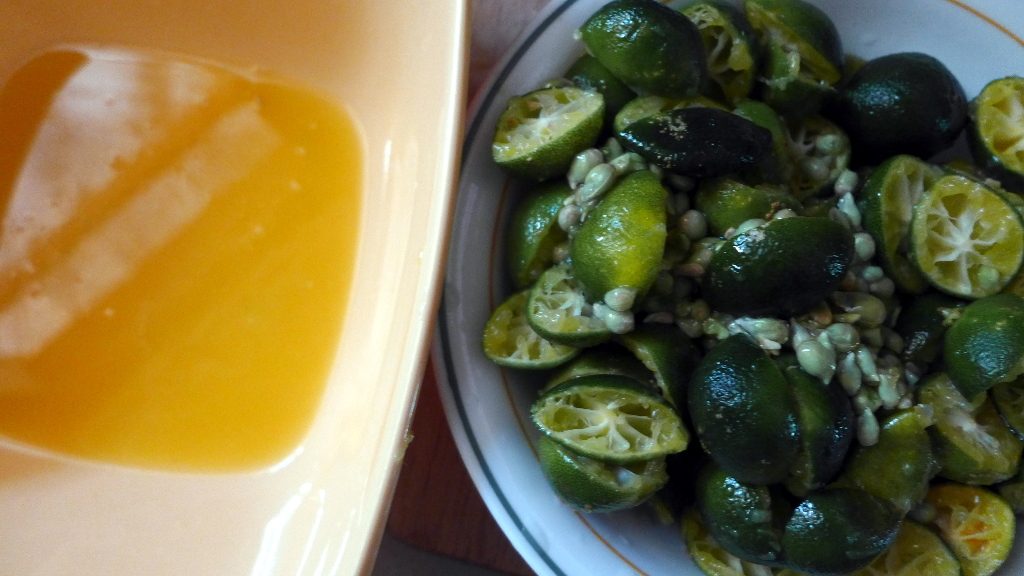
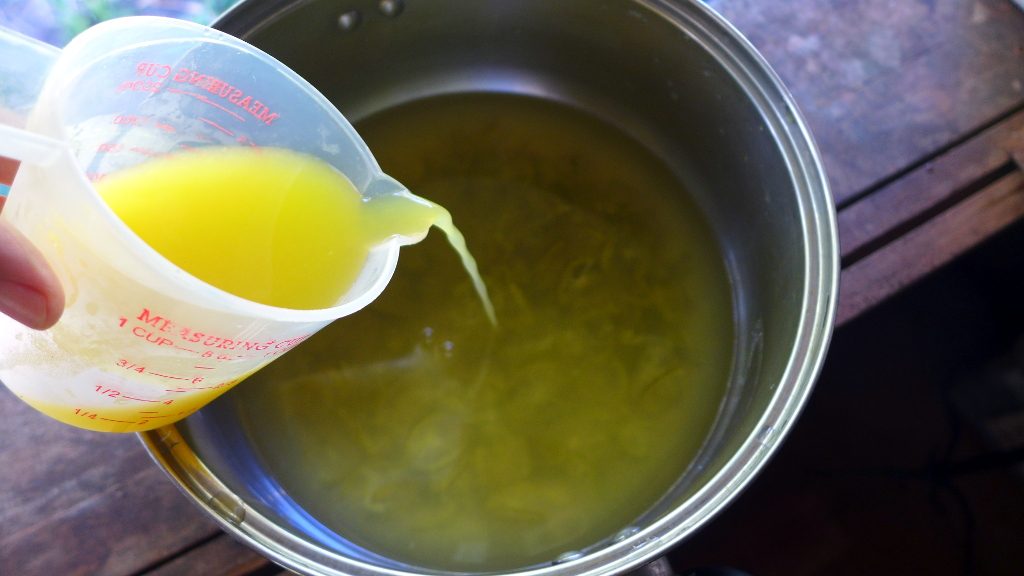
  2. Cut kalamansi in half, remove seeds (set seeds aside). Squeeze kalamansi and reserve juice in the fridge.
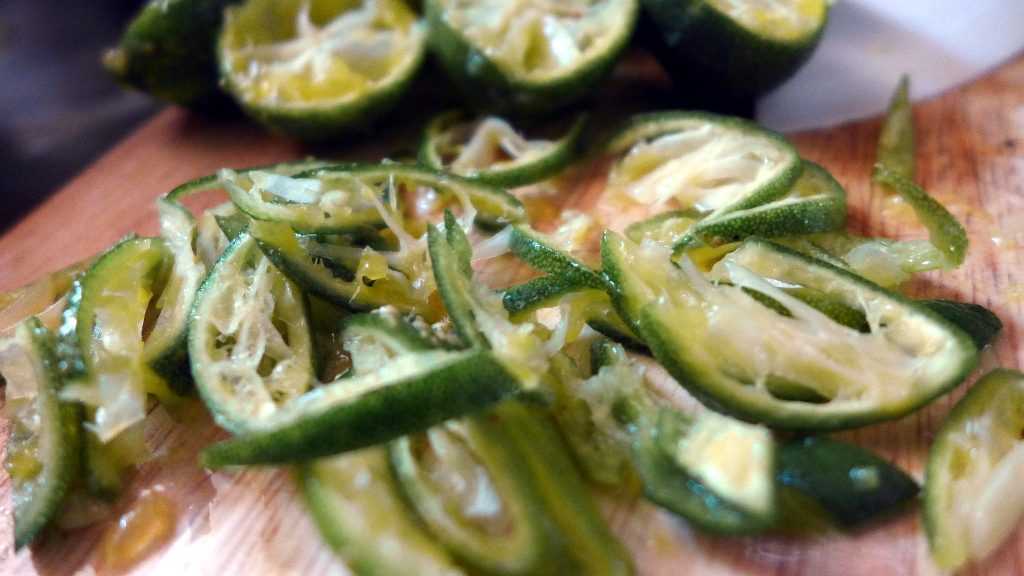
  3. Get about half of the kalamansi peels, remove any seeds still intact then slice the peels thinly (or thicker if you want thick cut marmalade). Set sliced peels aside.
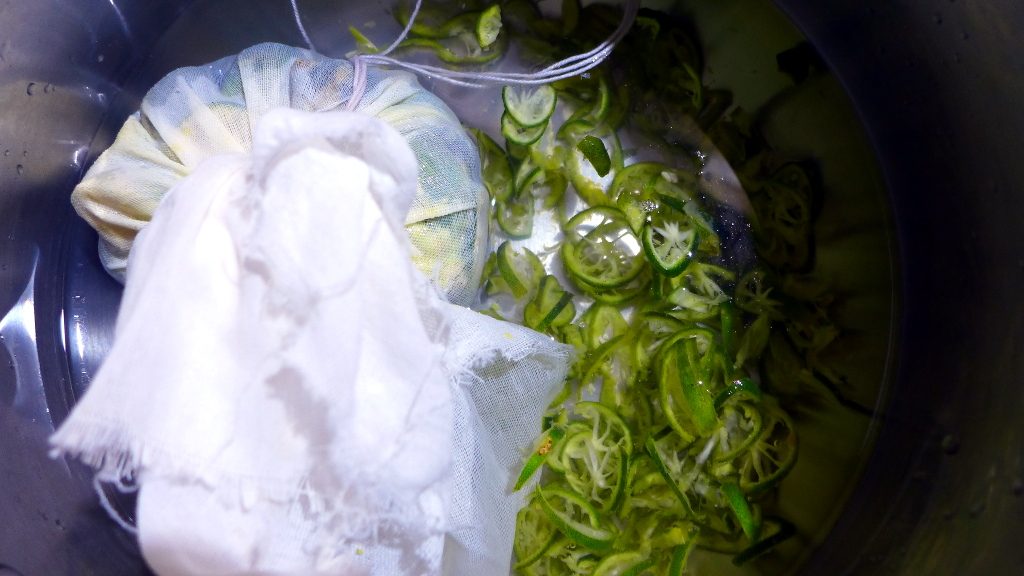
  4. Put the other half of kalamansi peels and all the seeds in a cheesecloth or muslin square and tie into a bundle with string.
  5. Place the sliced peels and 3 cups of water in a pan. Add the bag of seeds and peels into the pan. Bring to a boil, half covered and simmer until soft (about 10-20 minutes). Cool.
  6. Transfer all the contents of the pan (including the bag of seeds and peels) to a container and put in the fridge overnight. The next day, pour everything into a pan. Squeeze all liquid in the cloth bag as much as possible into the pan. Discard the bag of seeds and peels into your compost.
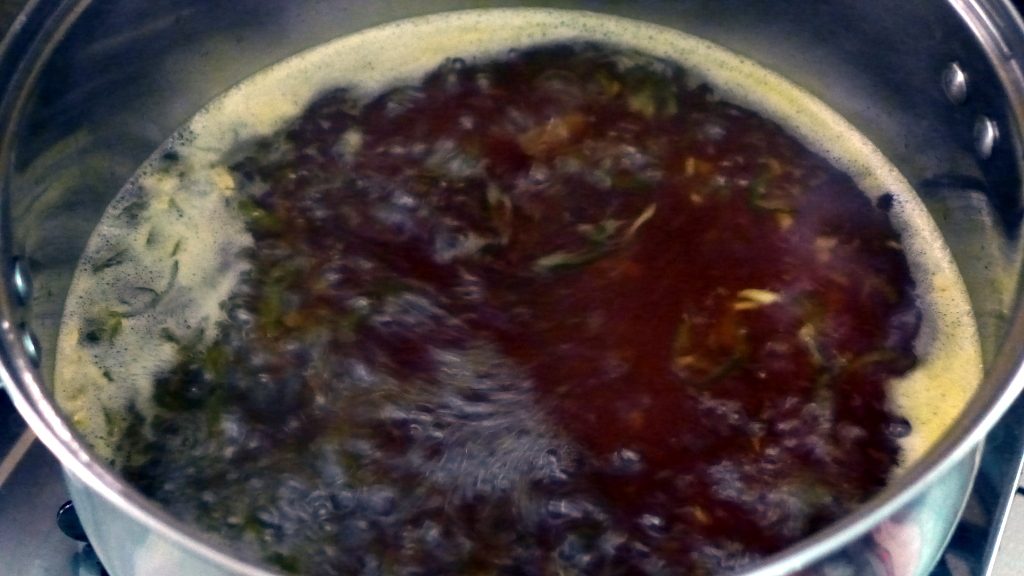
  7. Add the reserved kalamansi juice, cinnamon, salt and sugar to the sliced peel mixture. Scrape the ginger with a spoon to remove the skin. Slice into thin sticks and add to the mixture. Heat gently, stirring until all the sugar has dissolved. Turn the heat to high and bring to a rapid, good rolling boil for 5 minutes, uncovered. Turn off the heat and test for a set (see below). If the marmalade has not set, boil again for another 5 minutes, and test again. Do this if necessary until 20-30 minutes.
  8. When marmalade is ready, set aside until the surface forms a skin and peels float to the top. Stir with a ladle and scoop the marmalade into sterilized jars, leaving 5mm headspace. Cool, label and store in a cool dark place. Marmalade should keep for 12 months.

Testing for Set

Pectin in fruits help jams, jellies and marmalades to set when mixed with sugar and boiled to appropriate setting temperature (105 degrees C) and time. This can be difficult to determine as pectin content in fruits and recipes may vary. To test:

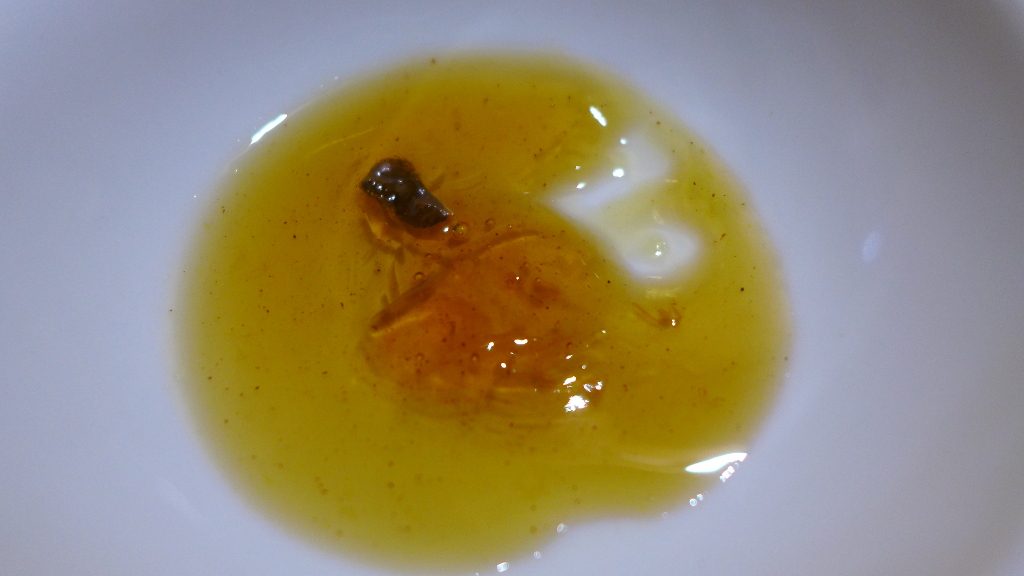
Chill a saucer in the fridge before making the marmalade. Scoop about 1 tsp of the boiling marmalade on the chilled saucer and let it cool. When cool, push the marmalade with your finger to one side. If the marmalade wrinkles and your finger leaves a trail on the saucer, then it is set. Your marmalade is ready.

Help! My marmalade won’t set!

  • You must bring the marmalade to a rapid rolling boil, or at temperature of 105 degrees C if you have a candy thermometer. Otherwise, observe the boil, the marmalade should thicken around the sides of the pan and should boil sluggishly with bubbles popping rather than frothing.
  • There might not be enough pectin in your marmalade. To solve this problem, add the juice of one lemon and boil. Make the test set as described above.

Why is my marmalade so bitter?

Marmalade is a bitter-sweet preserve but kalamansi seeds can make your marmalade overly bitter. Make sure you remove all seeds before you slice the peels and don’t let any seeds get into the marmalade. Keep the seeds in the cloth bag and discard after use.

Try thin cut marmalade instead of thick cut marmalade. Thick cut peels creates a tangy bitter flavour while thin cut has softer flavour.

Learn more about the marvelous marmalade through these resources:

If you want to get to know the kalamansi better, I recommend this very good resource:

Mulching

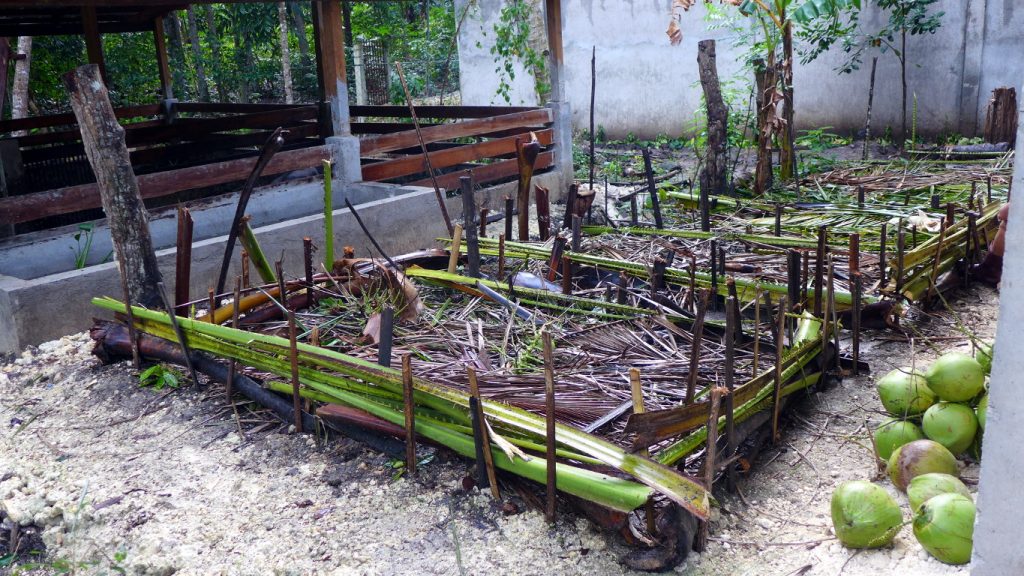
Coconut trees finally got cleaned today – after nearly 3 years. It took such a long time because the guy who does it is as slippery as a rat out of a snake’s mouth. “Cleaning” coconut trees means clearing the tree of dead materials, trimming the leaves and cutting down coconut fruits that may pose a hazard over roofs, garden beds and pathways, and of course, cutting down mature coconuts (for copra or cooking) as well as a few young green ones.

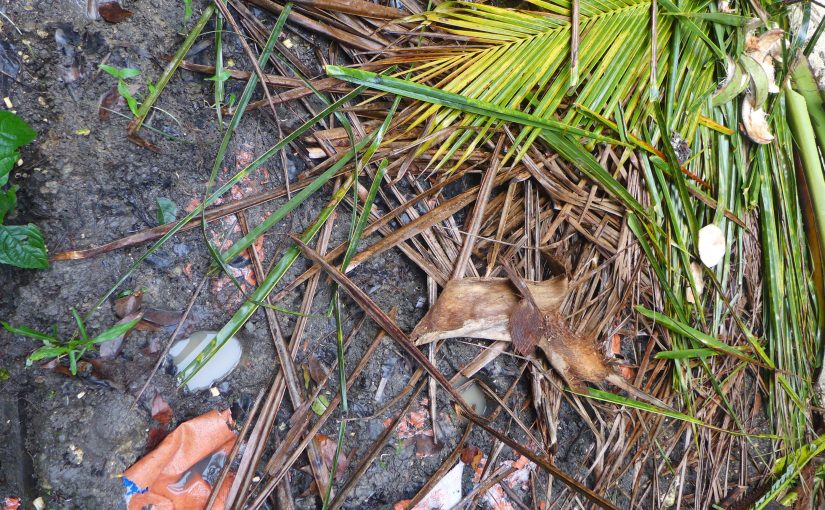
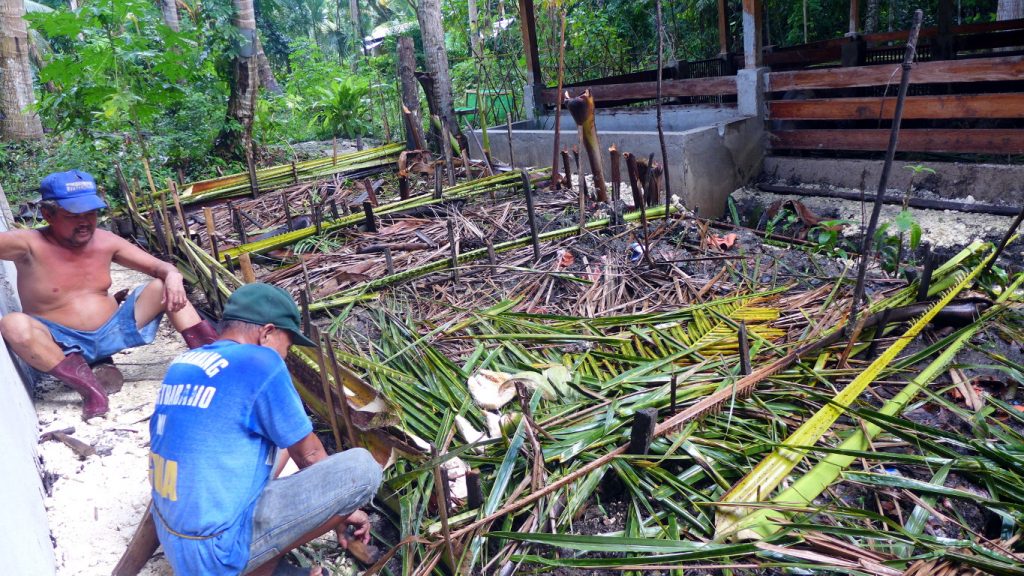
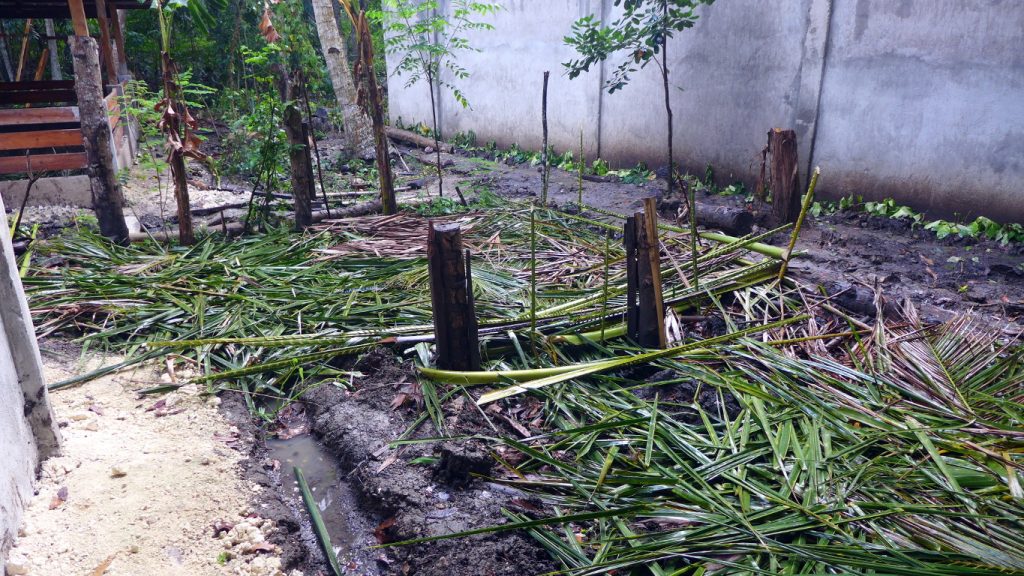
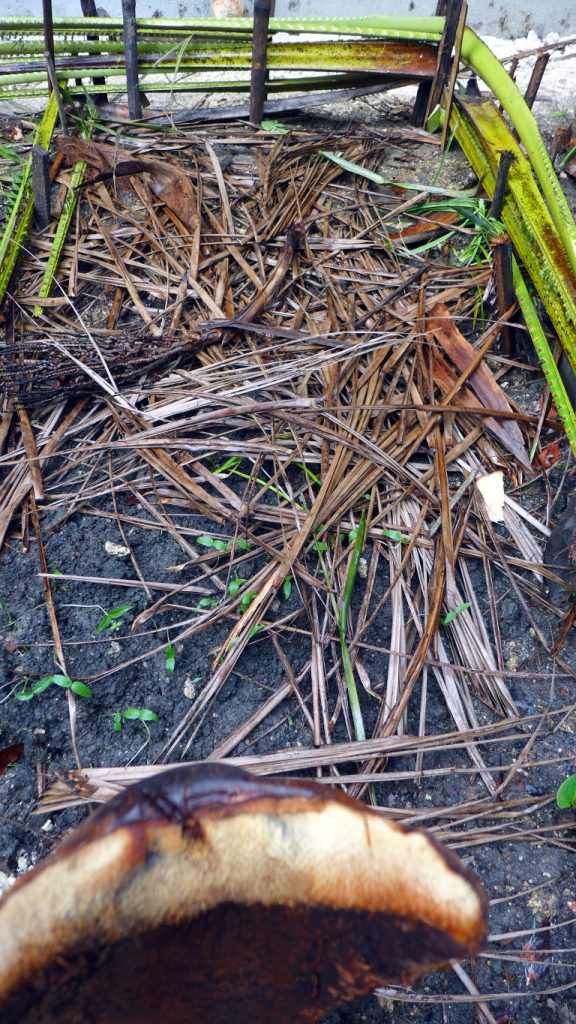
We use coconut leaves – green or dry –  as compost, feed for the pigs and for mulching. We specially need mulch for the west garden. Several days earlier, I’ve started work by sowing mung beans and adding a thin layer of dry coconut leaves on the soil, plus spraying with a dilution of lactic acid bacteria to facilitate decomposition. Then we got help from Bebe and Atoy to further mulch the area.

Instead of digging and ploughing through the soil, we rely on mulching. Apart from spraying lactic acid bacteria, I am currently preparing a variety of indigenous microorganisms with large mycelium growth. This will be placed onto the soil, under the mulch, to inoculate the soil and increase microbial diversity, hoping to improve soil texture and enrich the soil at the same time.

I don’t expect to grow anything soon in several areas where mulch has been added specially over where the boar pen used to be. The manure in that area has not yet completely decomposed. However, some of the mung beans I tossed around several days ago seem to be doing fine.

There has been an unusually high amount of rainfall this year and I think we’re nearing the end of the rainy period. This would be a great time to mulch since there will be enough moisture and humidity to decompose the mulch, and the soil cover will be much needed as the dry season approaches.

To learn more about mulching, here are some helpful resources.

How We Discovered the Rain Garden

The use of bioretention for stormwater management has its roots in industrial and commercial site settings. Only in the early 1990’s did residential applications of bioretention for stormwater management begin to become a concern in the area of environmental protection within communities. The term “rain garden” was coined for this purpose.

“Rain garden” is the popular term used to refer to a landscaped depression or hole that catches rainwater runoff and allows it to soak into the ground. This is opposed to drains and surfaces that cause and aggravate flooding, soil erosion, water pollution and diminished groundwater.

A swale is a similar feature, which may be natural or artificial. Swales serve as infiltration basins, allowing increased rainwater infiltration.
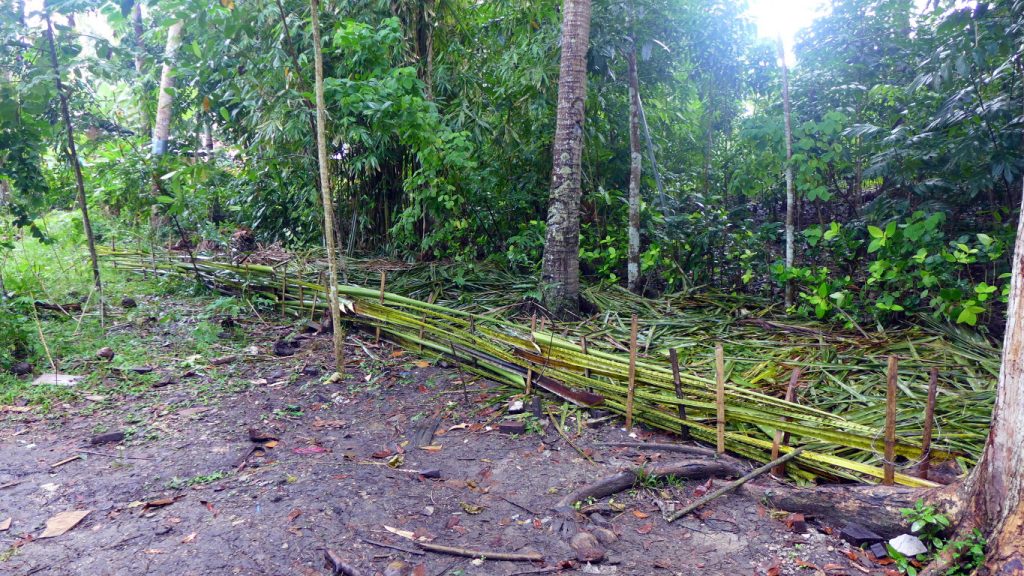
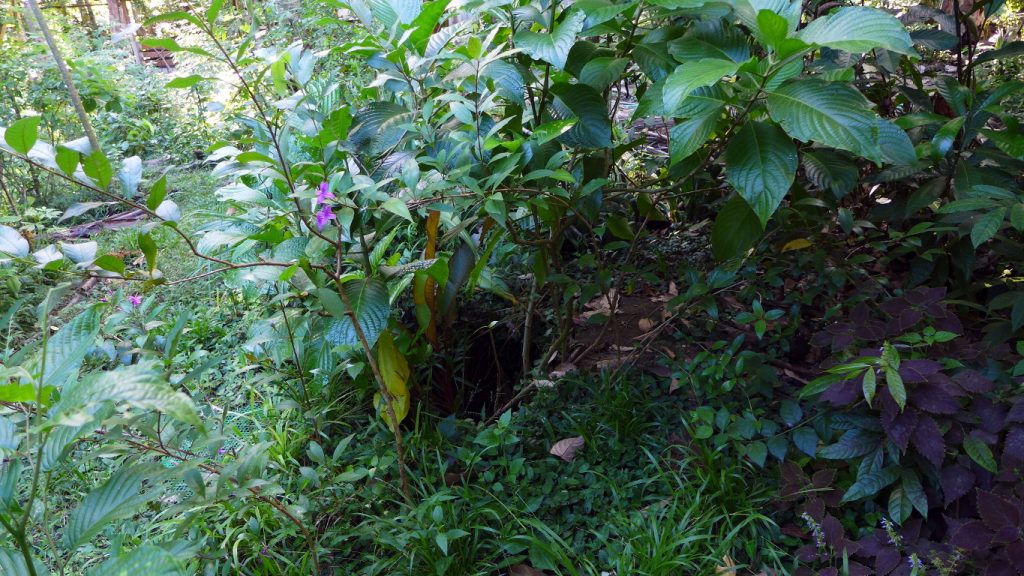
We “discovered” the useful features of the rain garden/swale by accident. The previous occupants of the property demolished their old house and left behind a pit latrine, a toilet that collects fecal matter in a hole in the ground. We actually only noticed this hole after the big earthquake in 2013. It seems that the earthquake had caused that area in the garden to cave in.

Shortly, a group of ducklings suddenly disappeared in the garden. We discovered that they had fallen into the hole and had to be rescued. Because the hole posed a hazard, Trevor decided to grow plants in the hole. By then, we also noticed that stormwater flowing from the roof of the house and other higher parts of the garden collected into the hole. Apparently, this had great benefits. It prevented excessive flooding and soil erosion.

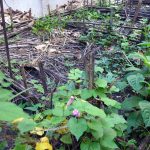
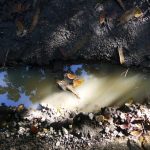
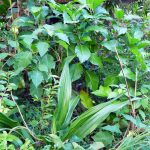
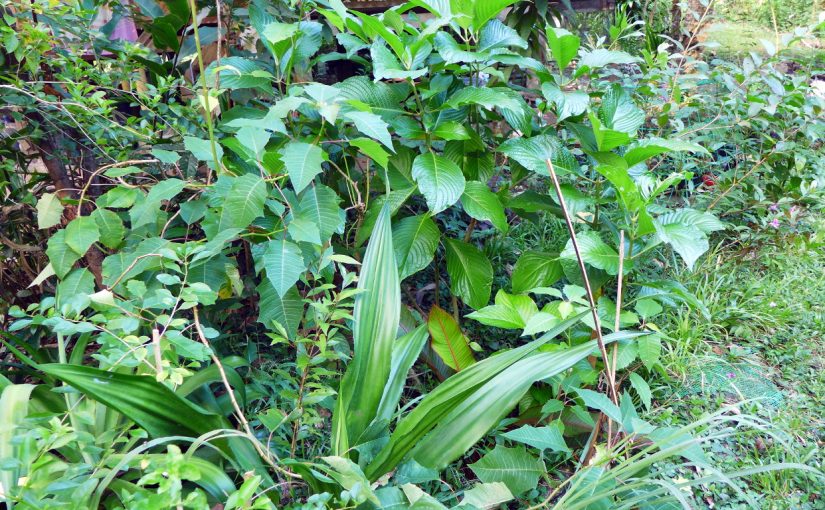
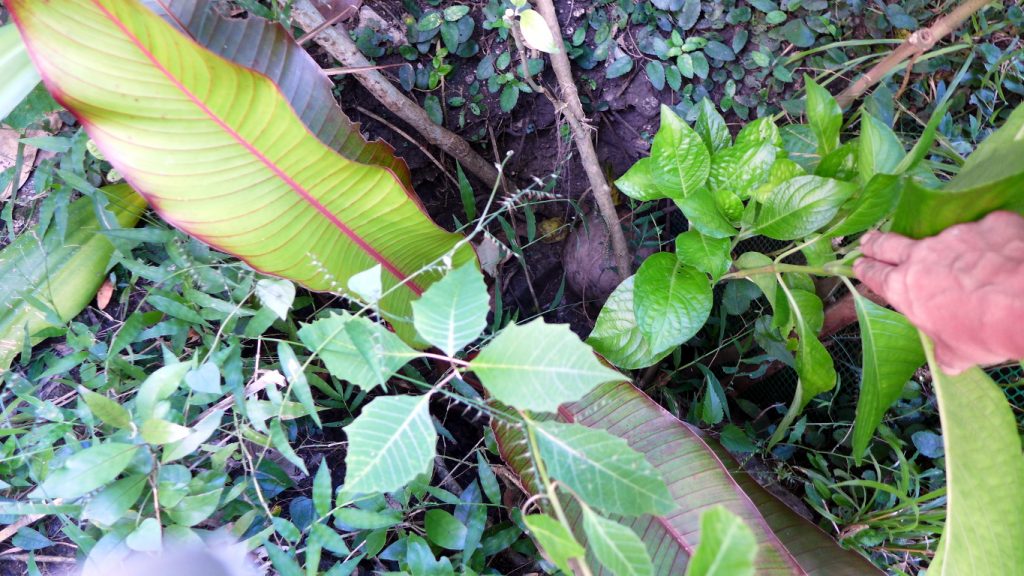
Today, this – what we now call a “rain garden” – hosts one of the most lush vegetation in the garden. Below are more photos of the rain garden. We plan to dig a couple more rain gardens to alleviate the flooding in low areas of the garden, particularly in the west section.

Here are some links to get you started in understanding and building rain gardens.