How to Make Lactic Acid Bacteria Serum

Lactobacillales or Lactic Acid Bacteria (LAB) are fast-growing microorganisms found in decomposing plants, milk, as well as on human mucosal surfaces (oral, vaginal and gastrointestinal) and various food products such as vegetables, meats, sourdough bread, fermented foods, wine and dairy products. LAB produce lactic acid as the major metabolic end-product of carbohydrate fermentation. Because LAB has a high tolerance to acidity, they have the ability to out-compete other bacteria in natural fermentation, inhibiting the growth of spoilage and pathogenic agents.

LAB and Lactic Acid are the main ingredients in some commercially available organic or natural farming products such EM (Effective Microorganisms). If you are interested in making your own Lactic Acid Bacteria Serum or LABS, then read on. You may also find recipes and instructions from the following sources: (1) Natural Farming: Lactic Acid Bacteria (PDF) https://www.ctahr.hawaii.edu/oc/freepubs/pdf/SA-8.pdf / (2) Making Culturing Lactic Acid Bacteria (LAB) http://www.cgnfindia.com/lab.html / (3) Lactobacillus Serum http://theunconventionalfarmer.com/recipes/lactobacillus-serum/

How to Make Lactic Acid Bacteria Serum (LABS)

You will need:

Uncooked Rice
Clean Water (Un-chlorinated Water or De-chlorinated Water)
Milk (liquid fresh milk, either raw, pasteurised or UHT)
Cheesecloth (or porous paper) and elastic rubber band
Clear containers (glass or plastic) with wide mouth

Rice water washing will be used as the carbohydrate source for collecting lactic acid bacteria from the air. So this method is best for people who eat rice regularly and can use the rice washing instead of discarding it. If you don’t have rice, you can use other sources such as beans. I have never tried using beans for making LABS before. However, I include the general instructions for using beans below.
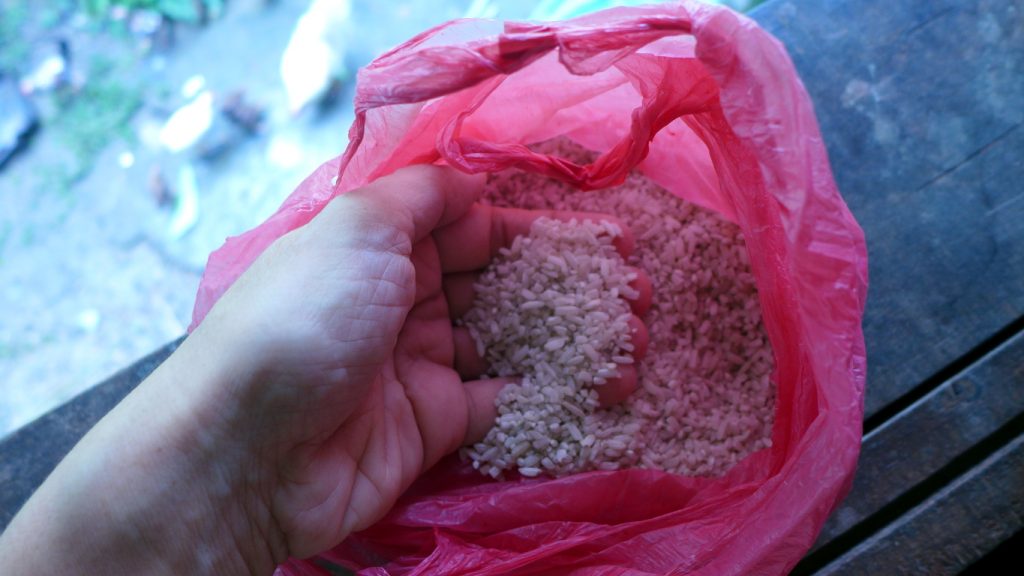
To make LABS, I use uncooked white rice – cheap bukid rice is sufficient. I have also used red rice, pink rice and brown rice and a combination of these with white rice. Some people experience problems with long-grain rice or organic brown/red rice, perhaps because the rice is irradiated or contaminated with arsenic (especially rice coming from the US, India and Bangladesh where the soil is contaminated with arsenic due to rising levels of industrial pollution).
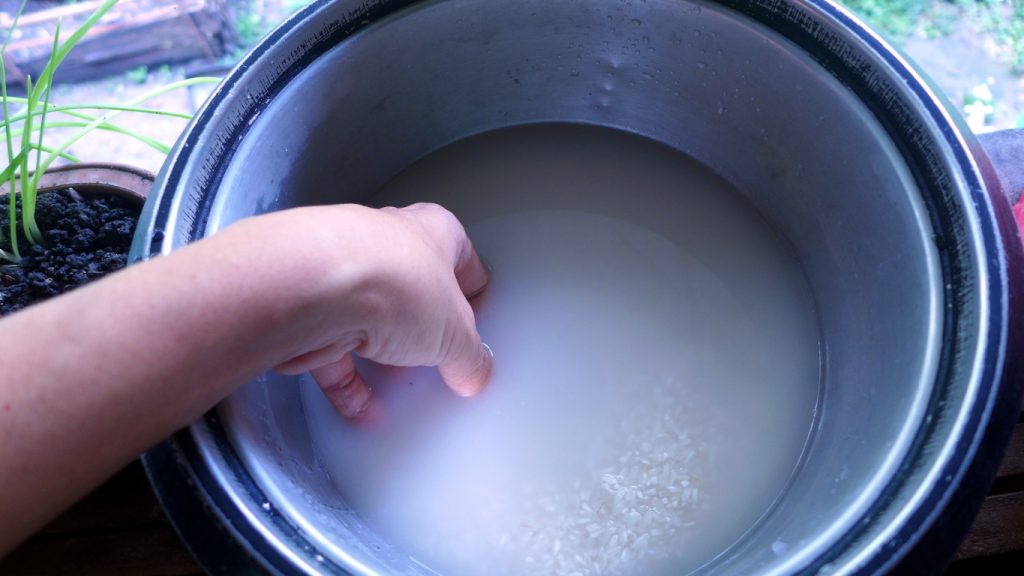
Put equal volume water in the rice and massage the rice in the water. This will result to milky white colour in the water. Collect this water which we now call “rice washing”.

Some people use tap water disinfected with high amounts of chlorine. This can kill bacteria and prevent lactic acid bacteria from proliferating. It is best to use de-chlorinated water. You can de-chlorinate water by collecting tap water in a wide mouth container and leaving for 24 hours. Or you can use filtered water. Our tap water is not heavily chlorinated so I have had success using tap water. It really depends on the quality of your water.
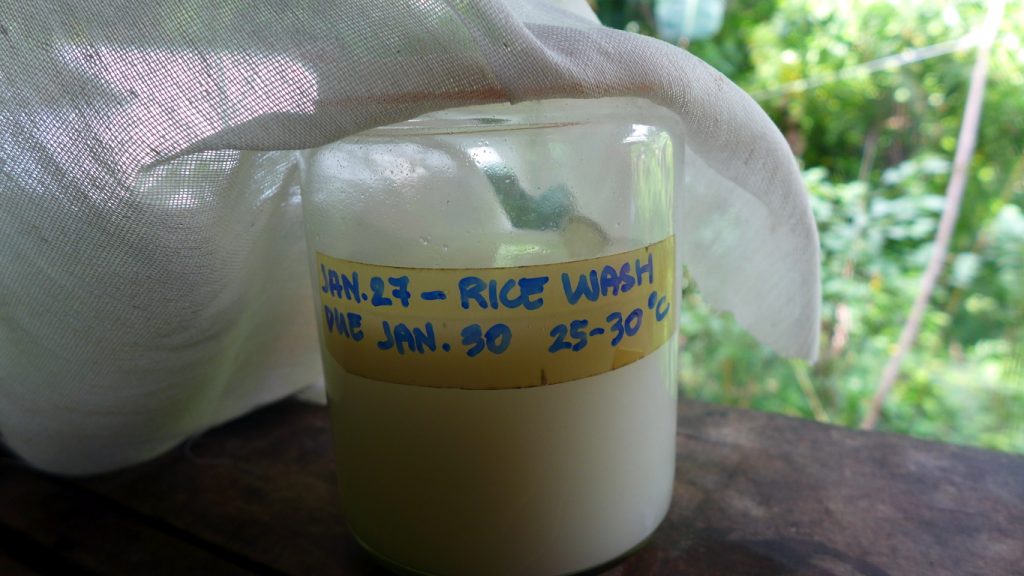
Pour the rice washing in a clear container with a wide mouth. I have used glass and plastic with success. It is important that the container has a wide opening to allow air circulation. It is also important that the container is made of clear material so that we can observe the liquid inside. Label the container, especially the date of collection. I sometimes include the expected due date and the average room temperature in the label.
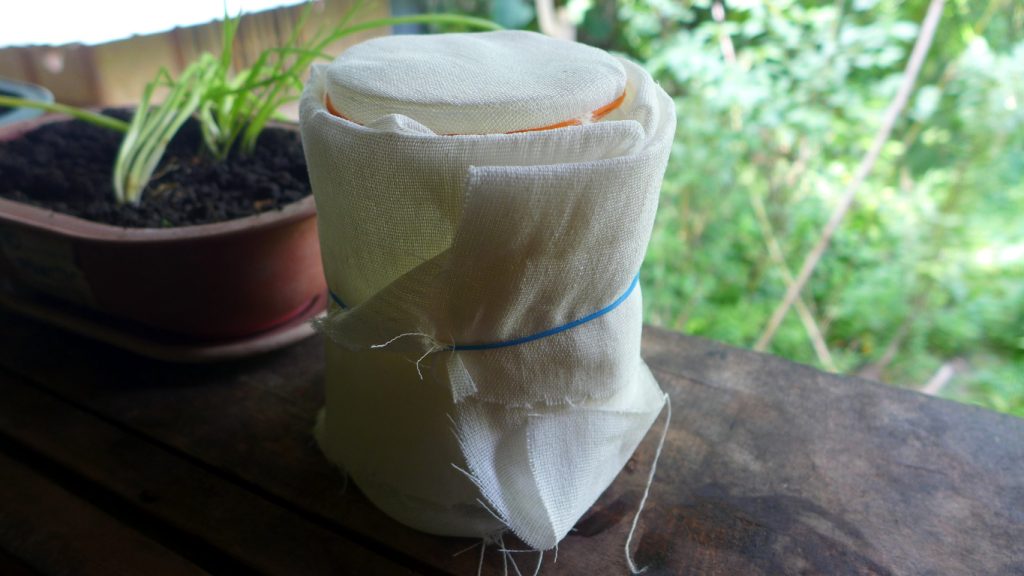
Cover the opening of the container with a clean cheesecloth to prevent flies and other insects from contaminating the rice washing. Use elastic rubber band to keep the cheesecloth in place. Then wrap the container in cloth or paper or other material to prevent light from entering. Keep the container in a dark location.

In temperatures of 25-30 degrees C, the rice washing should be ready in 2-3 days. In cooler temperatures, it may take up to one week or more. Just observe the rice washing daily. What we are looking for is the settling of rice dust in the bottom of the container, the presence of some residue and sometimes kahm yeast on the surface of the rice washing and the mildly sour smell indicating the onset of fermentation with lactic acid bacteria.
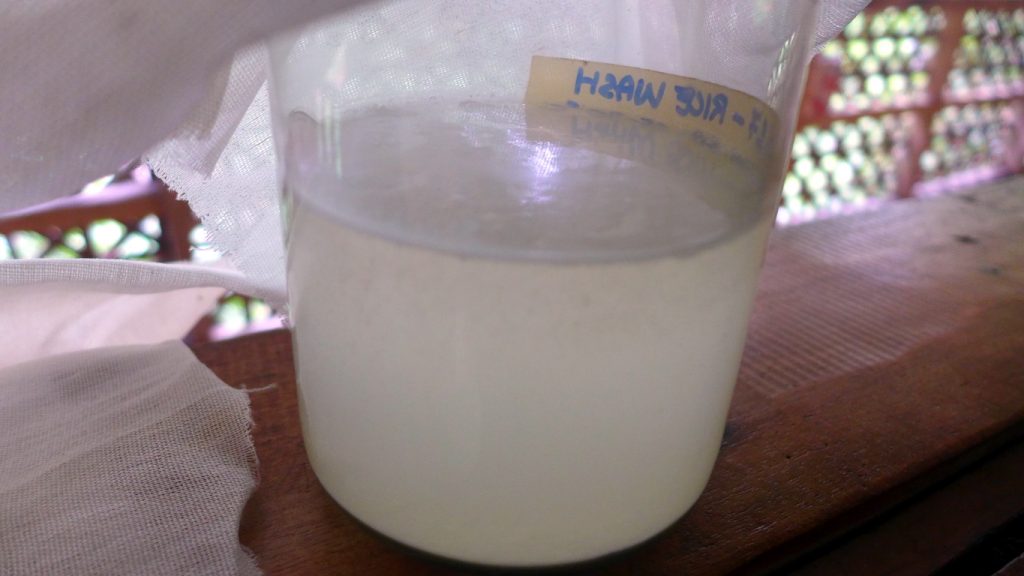
Above photo shows the rice washing after 24 hours. It does not have a sour smell so I waited another 24 hours.
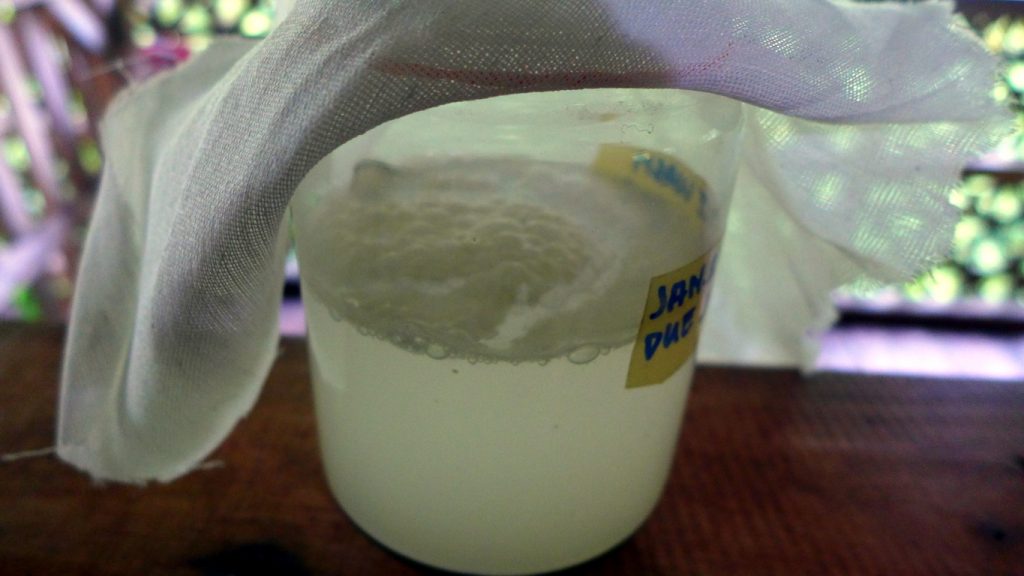
Above photo shows the rice washing after 2 days. It has a mild sour smell and the presence of some kahm yeast is visible on the top of the rice washing. This is ready for the next stage of making LABS.
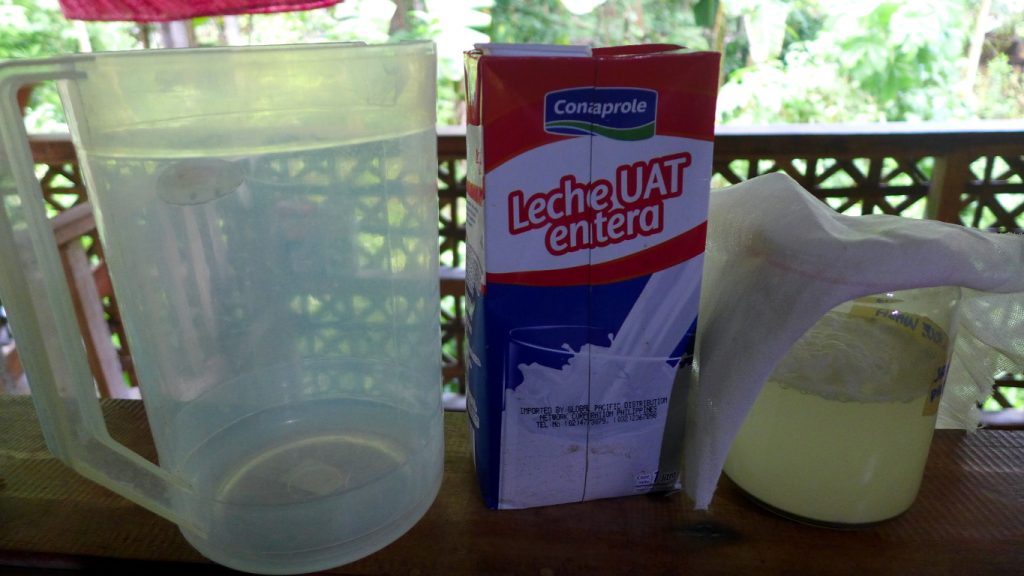
For the next stage of making LABS, I use a pitcher, 1 liter of milk and the rice washing. The pitcher is large enough to accommodate the milk and the rice washing. It is also made of clear material so I can easily observe the liquid inside. The milk I prefer to use is “Conaprole” brand from Uruguay. It is cheaper than other milk of similar type and is made only of whole milk. I avoided milk that were made with milk powder or fortified with vitamins. I have not used raw or un-pasteurised milk because it is not easy to get and is very expensive.

Some people have success with powdered milk. I have no success with powdered milk. It probably depends on the quality of powdered milk available in your location. If you use powdered milk, remember to use de-chlorinated water with your milk powder.
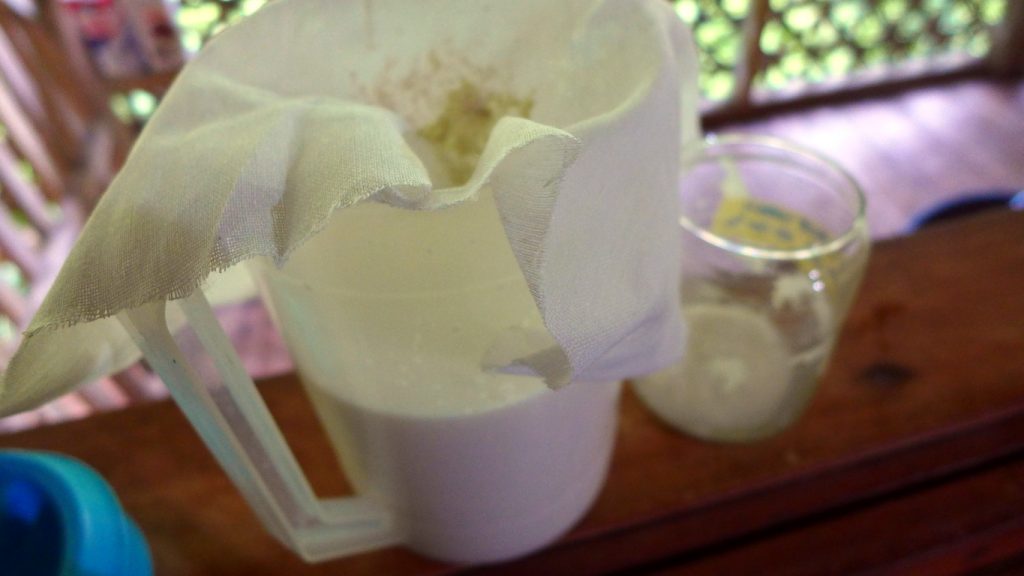
I poured the milk into the pitcher. Then I poured the rice washing into the milk through a cheesecloth to filter the residues. The ideal ratio of milk to rice washing is 10:1. Sometimes I add a little more rice washing.
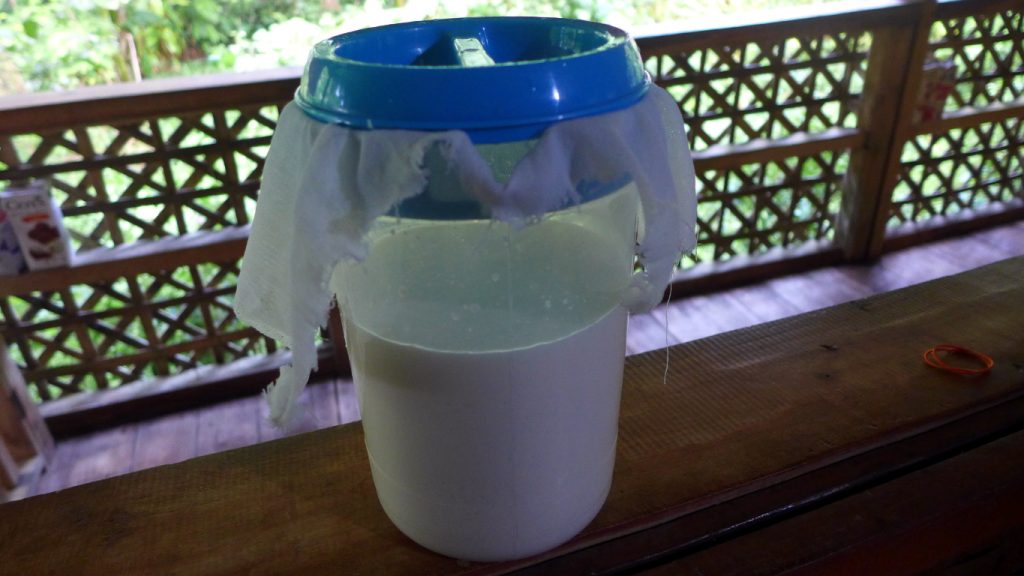
Cover the opening of the container with a cheesecloth to prevent flies and other insects from contaminating the milk-rice washing mixture. I put the cover of the pitcher over the cheesecloth to secure the cloth and at the same time allow air to flow through the cloth.
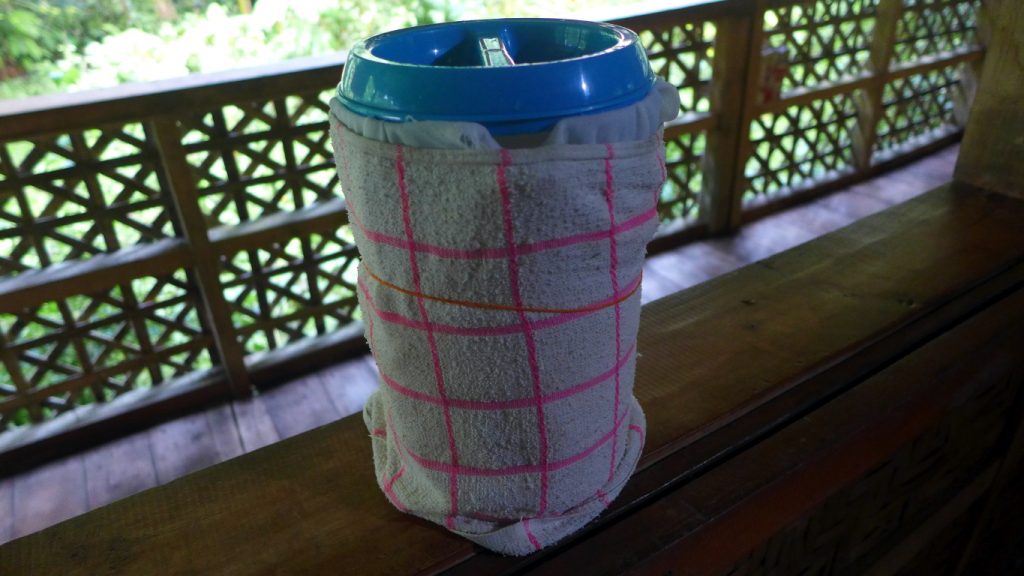
Wrap the container with cloth or paper to prevent light from entering. Keep the container in a cool and dark place. Allow the milk-rice washing to ferment. It may take 2-3 days in warm environments. It may take 5-7 days in cooler environments (19-24 degrees C). Observe the milk-rice washing mixture every 24 hours.
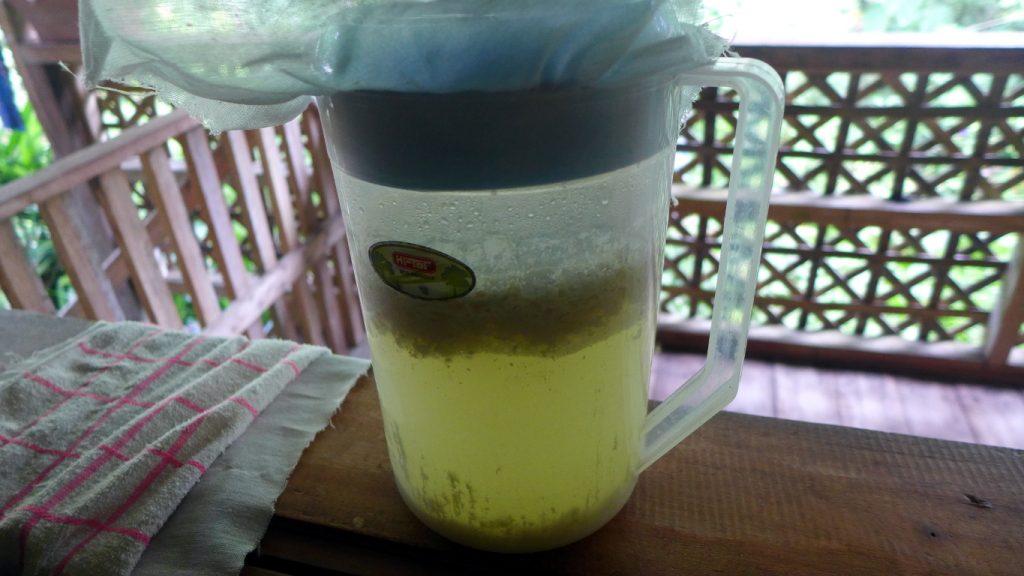
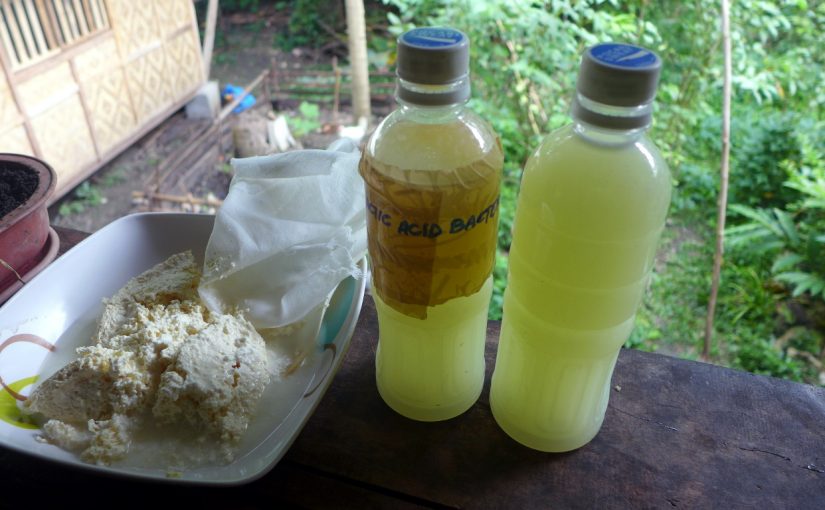
You will know the LABS is ready when the milk separates into three parts: top layer (curd), middle layer that is clear, yellowish in colour (whey) and bottom layer (lees or other sediment). It is the yellowish liquid that we need to collect, this is the Lactic Acid Bacteria Serum. The liquid should smell mildly sweet sour. If you wait too long, the liquid may smell rotten, in this case, other bacteria have colonised the mixture. Discard or put in the compost.

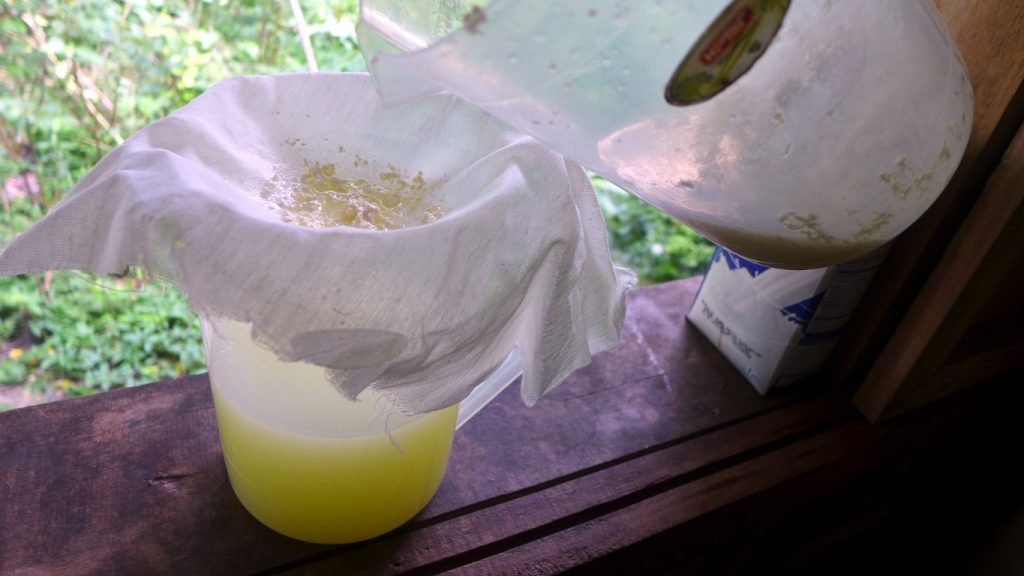
To separate the curd from the whey, you may cut the curd and scoop it out. Then pour the middle yellowish liquid into a clean container through a cheesecloth to strain it and filter out unwanted residues. Don’t include the bottom layer when you pour – it is best to pour gently and not disturb the bottom layer which could contaminate the serum. Discard or compost the bottom layer.
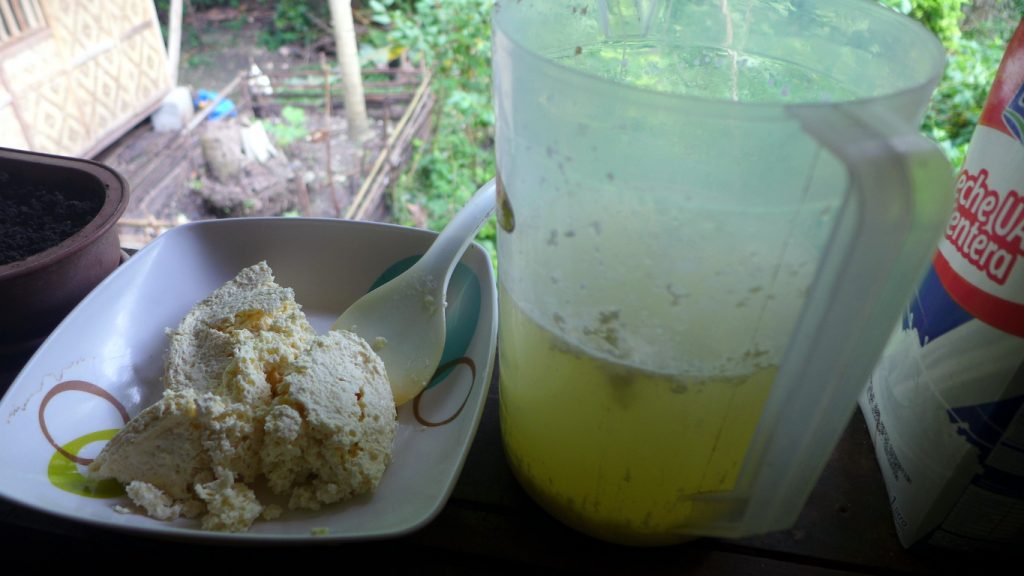
The top layer (curd) maybe be collected and used as compost or mixed with animal feeds. The curd tastes sour indicating high amounts of lactic acid. Some people eat the curd (it is actually fermented cheese) usually after hanging it and mixing it with salt. However, the high amount of lactic acid may cause teeth to decay (dental caries). Some people may also find the flavour of this cheese too strong and sour.
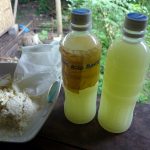
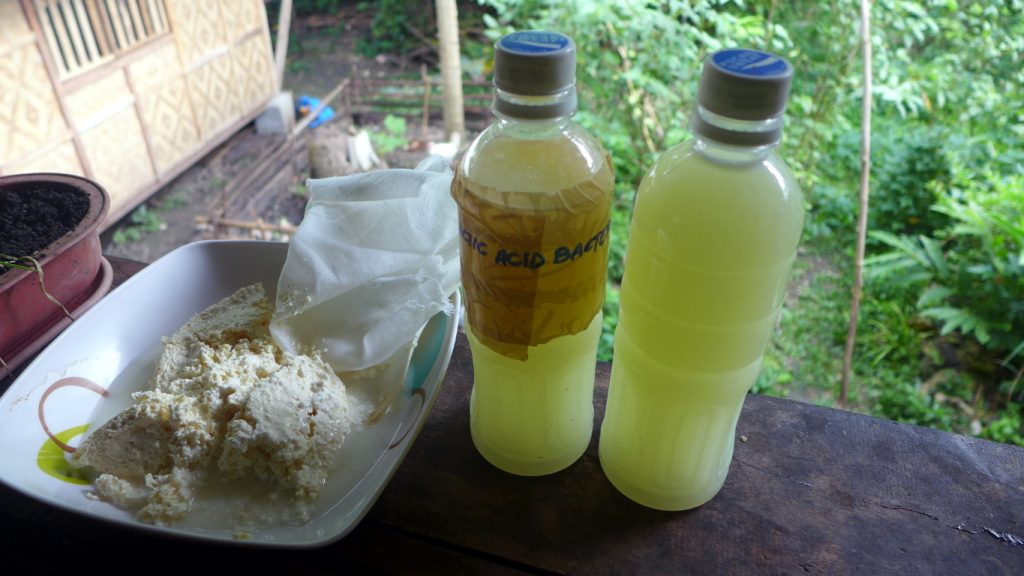
Keep the yellowish liquid (the serum) in bottles. This is the Lactic Acid Bacteria and should be kept alive by keeping in the refrigerator. You will notice tiny bubbles indicating active fermentation. Do not seal the bottles tightly as this prevents air from escaping and may cause the bottles to explode when air pressure increases. So, just keep the bottles loosely capped.

If you cannot keep the LABS in the refrigerator, you can keep the bacteria alive by mixing the serum with equal amount (by weight) of brown sugar.  The brown sugar acts as a kind of stabilising agent for the bacteria, keeping the bacteria alive in a stable dormant stage while at room temperature. Always keep the bottles loosely capped to release gasses as the LABS continue to ferment.

1 liter of milk makes about 500ml of LABS. When diluted, this would be about 500 liters for spraying.
How to Use LABS

Personally, I use LABS on a regular basis. I dilute the serum in water and use the diluted LABS as soil and leaf spray, spray on wood chip beddings of pigs and add to drinking water of animals. Generally, I use 2tbsp LABS with 1 liter of water. The benefits and uses are:

  1. To aerate the soil and improve the texture of compacted soil, I sprinkled LABS on the soil of the western garden. I apply diluted LABS on the soil at least twice a month.
  2. To facilitate decomposition of organic matter, I spray or sprinkle diluted LABS on compost consisting of dry coconut leaves, wood chips, dry and green twigs and branches, animal manure and kitchen scraps. Since LABS improves air circulation in soil and organic matter, I have observed increased drying of green composting materials and faster decomposition of animal manure and kitchen scraps.
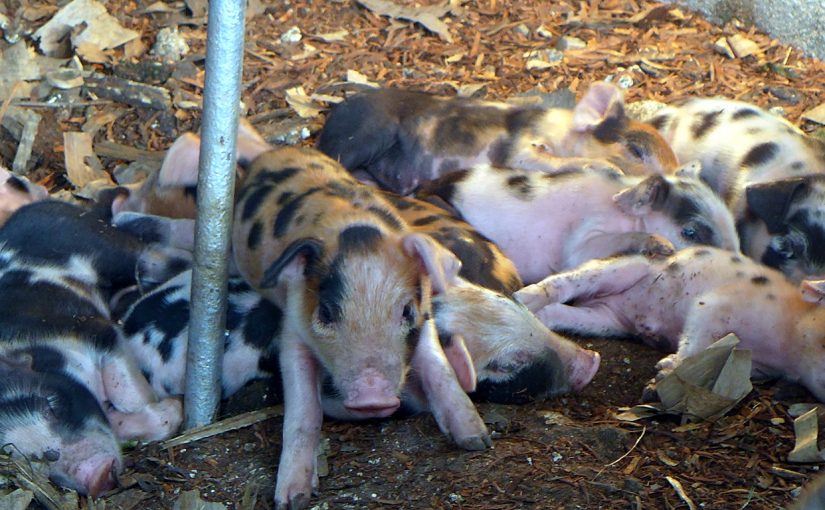
  3. To reduce irritating odors in the pigpen, I spray diluted LABS directly on pig manure and on the pigpen bedding (wood chips on top of soil), and add diluted LABS to the pigs’ drinking water. I have observed that 24-48 hours after spraying diluted LABS to the pigpen, irritating ammonia and urine odors are lessened. There is what seem to be like the odor of decomposing grass.
  4. To encourage leafy vegetables and the leaves of ornamental plants to grow faster and become more green and shiny, I spray diluted LABS under the leaves of the plants. Take care not to use too strong LABS by diluting at a ratio of water to LABS at 1000:1. I have noticed some plants’ leaves burn or curl up when too strong LABS is applied. I use diluted LABS as foliar spray at least once a week.
  5. To repel pests and disease, I spray affected plants with diluted LABS. I prefer to use LABS without the added sugar since I notice that sugar attracts pests.

According to the “Korean Natural Farming Handbook”:

  1. Lactic acid bacteria are very effective in improving air ventilation in soil and are highly effective at promoting the growth of fruit trees and leaf vegetables.
  2. The lactic acid or organic acid produced has a PH of 2 and thus possesses strong sterilization power.
  3. As lactic acid bacteria are conditionally anaerobic being able to survive with or without oxygen and in high temperatures.
  4. Lactic acid decomposes or chelates minerals stuck to soil particles which are not easily dissolved; this making the minerals available in a form plants can absorb.
  5. Furthermore, when plants absorb lactic acid their bodily fluids are adjusted and they become more resistant to disease and can also withstand heavy rain without becoming soft.
  6. LAB is also extremely effective at encouraging plants to produce large fruit and leaves. However care should be taken since if you use too much the sweetness will drop. Thus, in the case of fruiting plants you should use less LAB in the later stages to manage proper sugar levels.
  7. Combine LAB to IMO (Indigenous Microorganisms) and spray onto the fields. Anaerobic organisms are powerful tillers, digging into the soil and making it soft and fluffy.
  8. Feeding LAB and FPJ (Fermented Plant Juice) to your livestock when they are suffering from disease will help to restore their digestive systems.

Making Labs Using Beans (from the “Korean Natural Farming Handbook”):

  1. Steam beans.
  2. Add a little sugar and grind in a mixer.
  3. When the milk is warm pour it into a sterilized bottle.
  4. Seal the bottle and put it in the refrigerator.
  5. As time passes the liquids and solids will separate inside the bottle. The liquid in this bottle is pure natural lactic acid bacteria. This method is advantageous in selectively separating lactic acid bacteria that can withstand high temperatures close to 100 degrees centigrade.

Why is Rice Washing and Milk Preferred in Making LABS in Natural Farming?

According to natural farming documentations, rice washing is used at the moment of harvesting LABS in the air because rice washing is a nutrient-poor medium for lactic acid bacteria. This ensures that only the stronger bacteria are collected. After the initial harvesting of lactic acid bacteria, milk is used. Milk is nutrient-rich and is used in order to allow the harvested bacteria to grow vigorously.

Can I Use Other Medium for Collecting and Growing Lactic Acid Bacteria?

Yes. In some experiments, lactic acid bacteria from saurkraut was used in bioremediation of human excrement in septic tanks. Results may differ, however, since different mediums mean different types and collections of lactic acid bacteria and other microorganisms and yeasts. Natural farming favours strong microorganisms that are native to the environment and can withstand local conditions. Some medium are also easier to filter than others making the serum easier to use with sprayers and sprinklers. Microbial diversity is also favoured in many instances, ensuring balance in the environment.

Is it Possible to Culture Lactic Acid Bacteria On-Site?

Yes. This seems to be what happened to our pigpens long before we started using the natural farming method of making LABS described above. The addition of naturally fermenting windfalls of bananas and coconuts in the diet and beddings (mix of green and brown organic matter over soil floor) of the pigs resulted in a disease-free and relatively odor-free pigpen.

Help! I forgot to strain the rice washing when adding to milk! Will my LABS be OK?

It won’t be the strong pure LABS culture we’re looking for. The milk will still curdle and you’ll get the LABS but after some time (especially after diluting with water), the solution will ferment like vinegar. This is probably because the un-filtered fermented rice washing contains a lot of yeasts and other microorganisms.
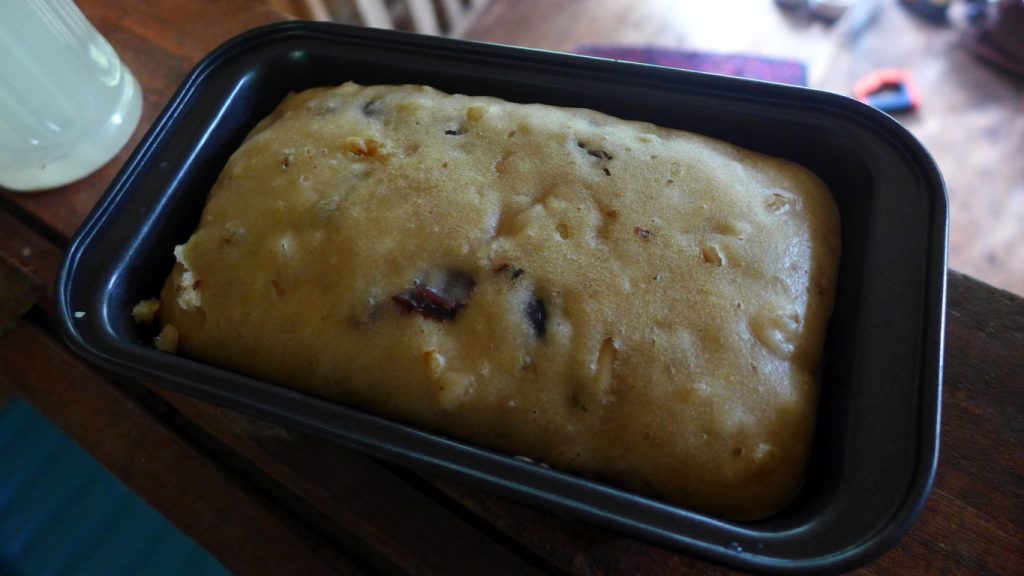
Cranberry Nut Cake

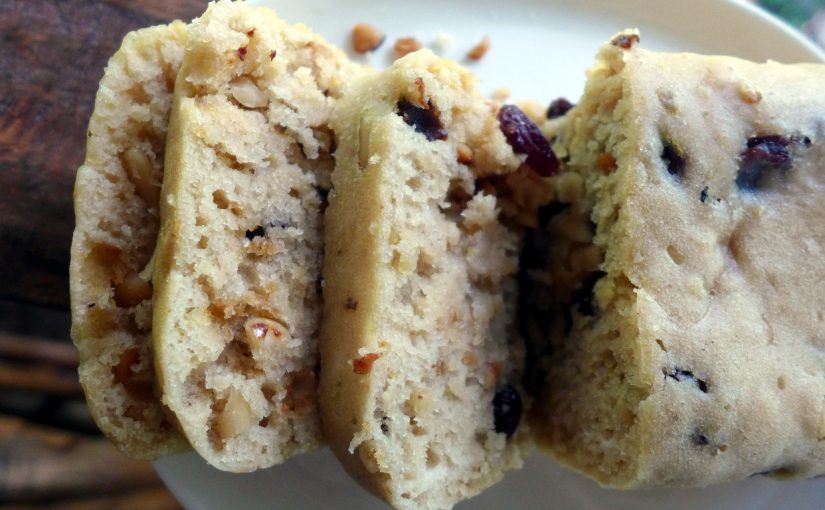
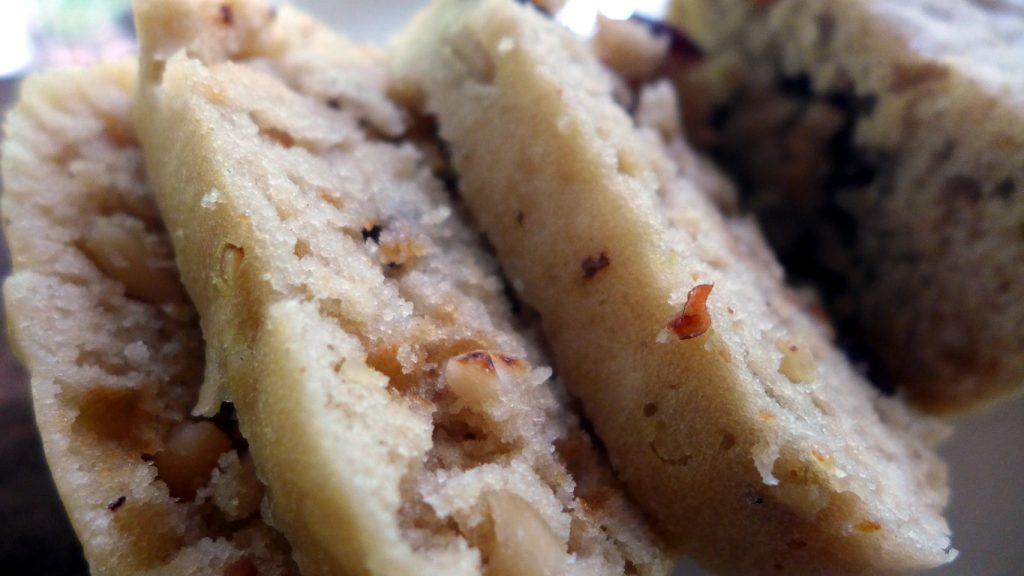
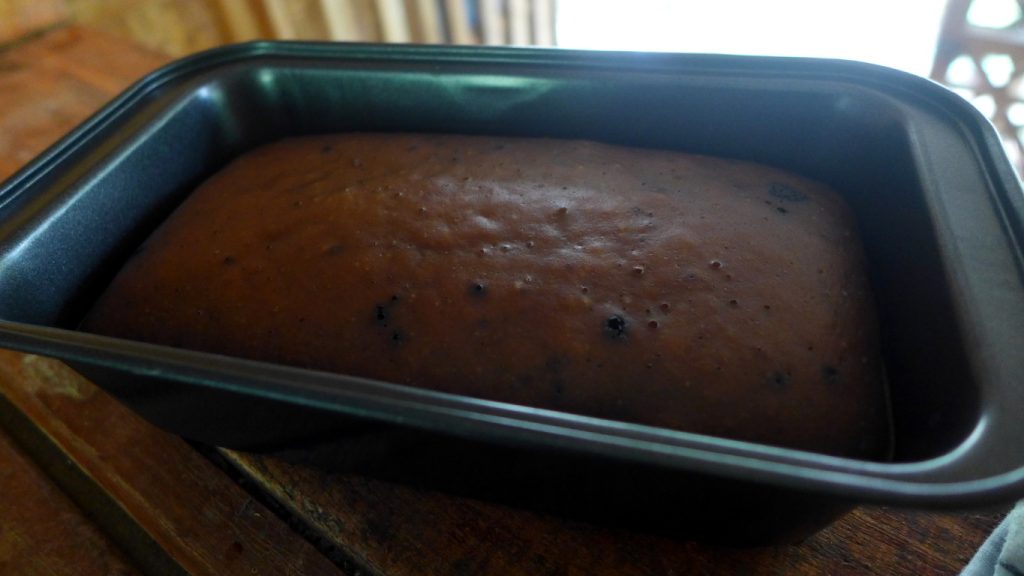
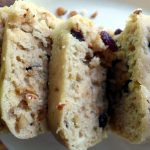
After successfully making a coffee cake that requires no baking and the ingredients do not include eggs or dairy, I made an experiment this time using cranberries and peanuts instead of coffee. Here is my version of The Cranberry Nut Cake. 🙂

Cranberry Nut Cake by Fats
(No bake, no eggs, no milk, no butter)

Ingredients:

1 1/2 cups all-purpose flour
1 tsp baking soda
1/8 tsp baking powder
1/4 tsp salt
3/4 cup brown sugar
1/2 tbsp vanilla
1 tbsp lemon juice or vinegar
1/4 cup coconut oil or olive oil
1 cup water
1/2 cup chopped roasted greaseless peanuts (or cashew nuts)
1 cup chopped dried cranberries (or 1/2 cup chopped dried  cranberries and 1/2 cup chopped raisins)

Recipe makes two 6″ loaf pan-size cakes.

Directions:

  1. In a bowl, sift together flour, baking soda, baking powder and salt. Set aside.
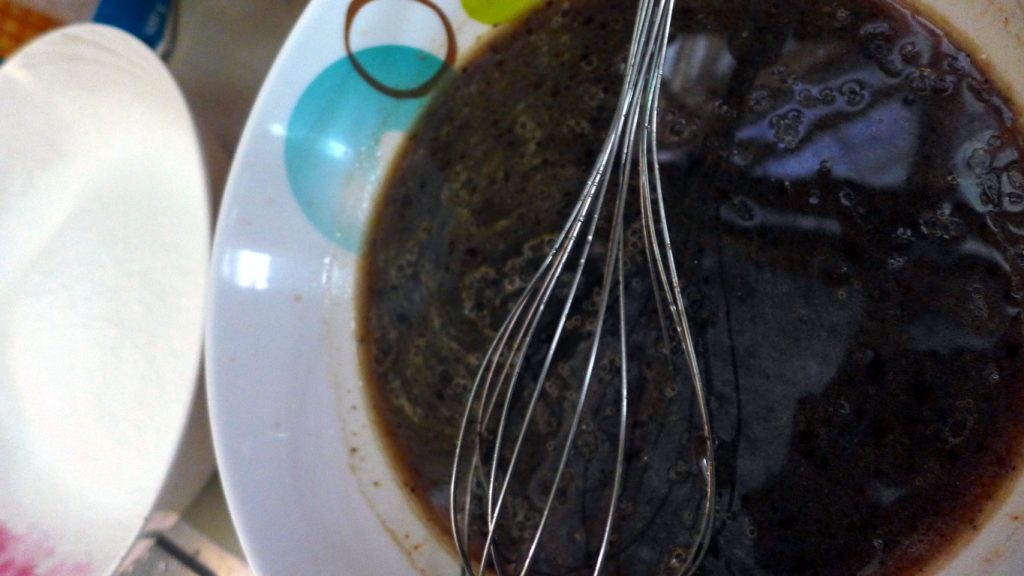
  2. In another bowl, combine vanilla, lemon juice or vinegar, coconut oil or olive oil and water. Add brown sugar and mix well until thoroughly dissolved.
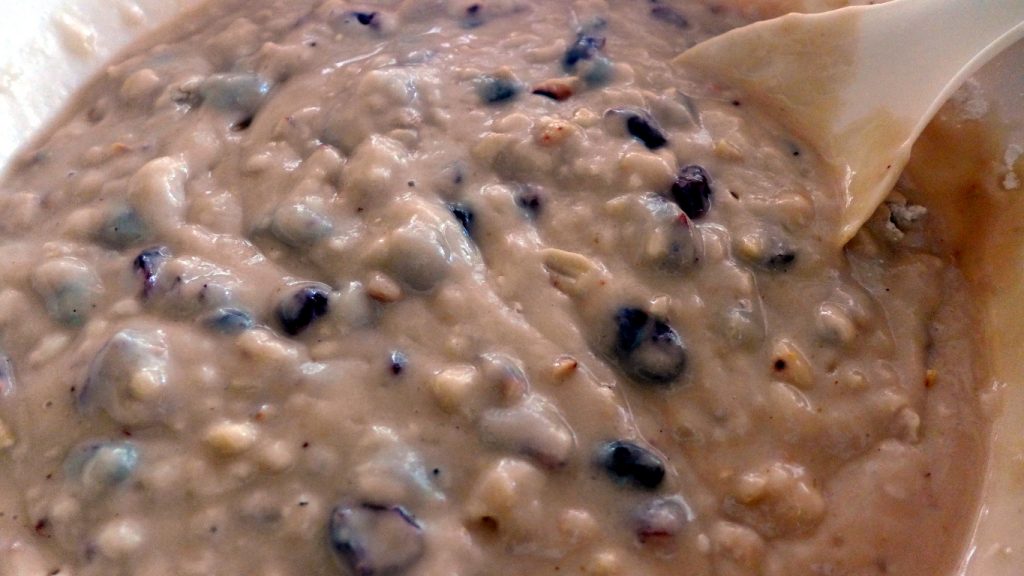
  3. Add wet ingredients to dry ingredients and mix, but do not mix too much or the cake will be stodgy and will not rise well. Fold in peanuts and cranberries.
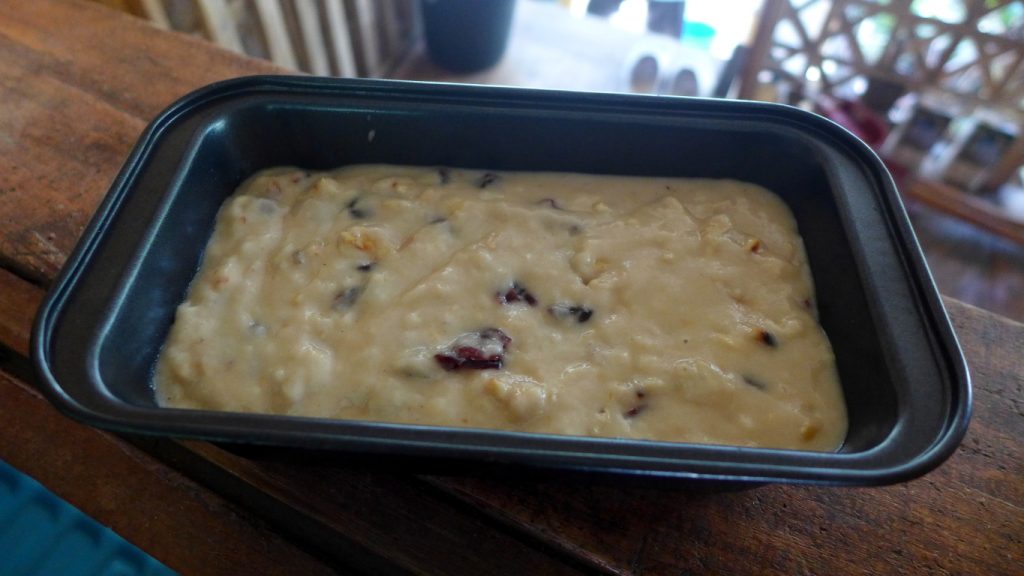
  4. Pour in non-stick loaf pan, filling only half to allow room for expansion. Cover with aluminum foil.
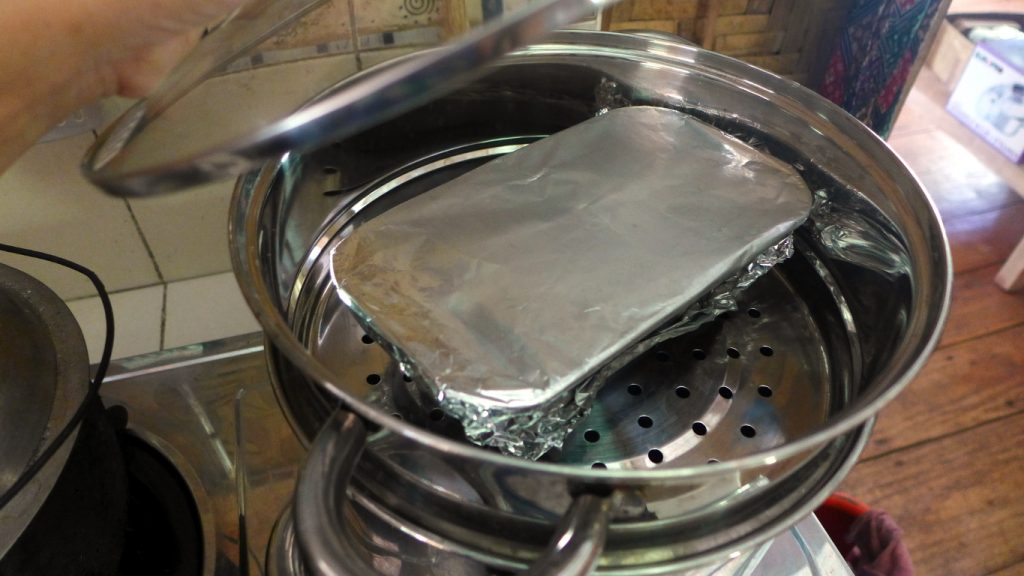
  5. Steam for 30 minutes. To test if done, prick with fork in the center of the cake – prick all the way through. If the fork comes out clean your cake is ready. Otherwise, steam for 5 more minutes.
  6. Remove cake from steamer, uncover foil to allow cake to “breathe” and cool down a bit before removing from loaf pan. Cake also tastes great when chilled. Enjoy! 🙂

Note: I have problems with dairy and thus, made this recipe. You may use almond or soy milk. However, I wouldn’t recommend those because they are highly processed food products (look at the ingredients list on the label). However, recently, I learned about A1 and A2 milk. It seems that my problems with dairy is limited to A1 type milk from cows. I experience no problems with A2 milk and thus now use such milk. Our A2 milk comes from the carabaos (water buffalos) in Ubay, Bohol.

Coffee Cake Recipe

Just when I’ve decided I won’t be drinking anymore coffee, I decide to make some coffee cake. So now I don’t have to drink coffee I can just eat it. 😉

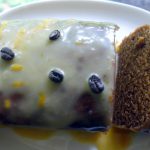
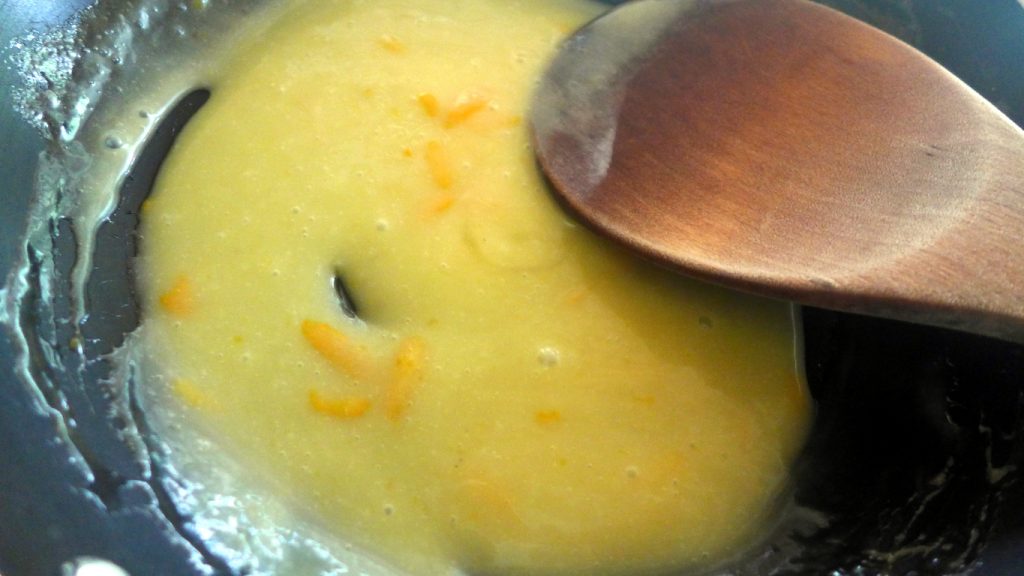
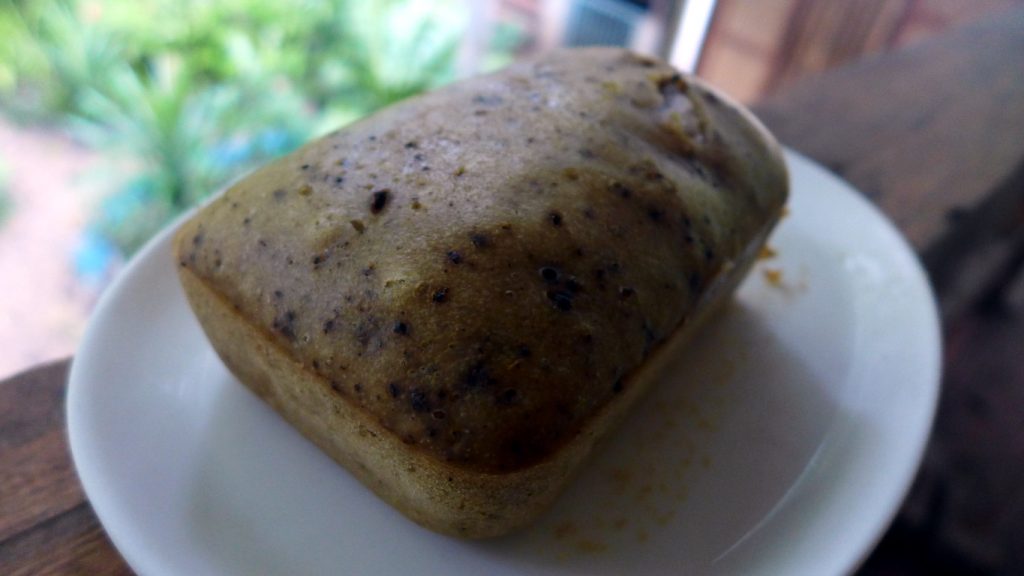
Freshly steamed coffee cake with orange-coconut milk glaze. I need to learn how to make a better glaze without the air bubbles.

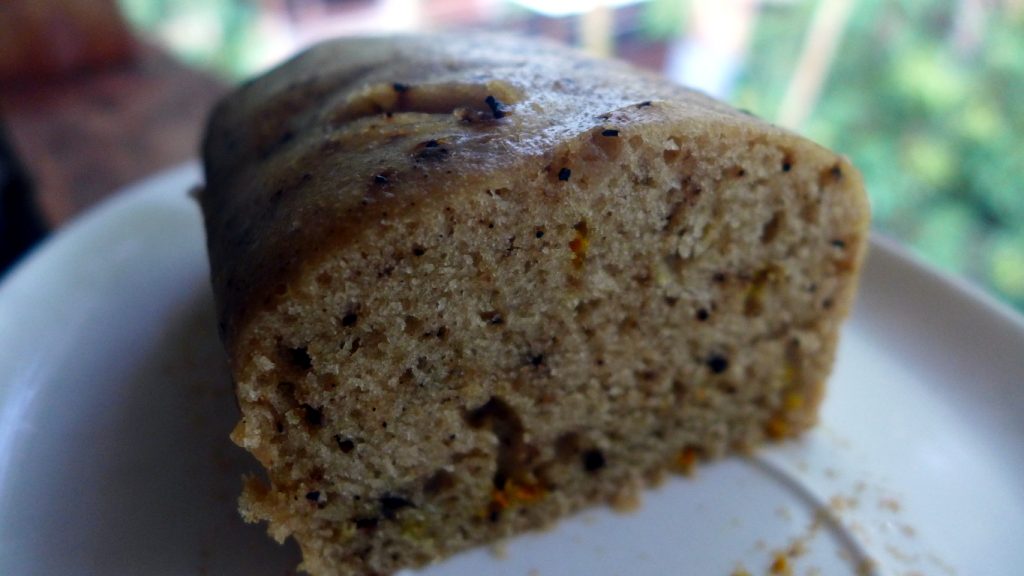
This Coffee Cake uses no eggs, no milk, no butter, and it doesn’t require an oven because it’s steamed. There are two versions of this cake. One has a coconut milk-orange glaze and the other has the orange rind and coarse-ground coffee mixed together. This recipe makes for two 6″ loaf pans or one 8″ loaf pan. Enjoy!

COFFEE CAKE (No Bake, No Eggs, No Milk, No Butter)

Ingredients:

1 1/2 cups all-purpose flour
1 tsp baking soda
1/4 tsp baking powder
1/4 tsp salt
1 + 1 tbsp instant coffee granules
3/4 cup brown sugar
1/2 tbsp vanilla
1 tbsp lemon juice or vinegar
1/4 cup oil (olive oil or coconut oil)
1 cup water

Orange Glaze:

3 tbsp coconut milk
1 tbsp sugar
2 tsp orange zest
1/2 tsp cornstarch
2 tbsp orange juice

Instructions:

Wet and dry ingredients.
  1. Sift together in a bowl flour, baking soda, baking powder and salt. Set aside.
  2. In another bowl, combine vanilla, lemon juice or vinegar (the acid will activate the baking soda), oil and water. Add sugar and mix to dissolve thoroughly.

    Taste the mixture and add more coffee granules as desired.
  3. Add dry ingredients to wet ingredients. Mix together but do not over-mix or the cake will become stodgy and will not rise well.
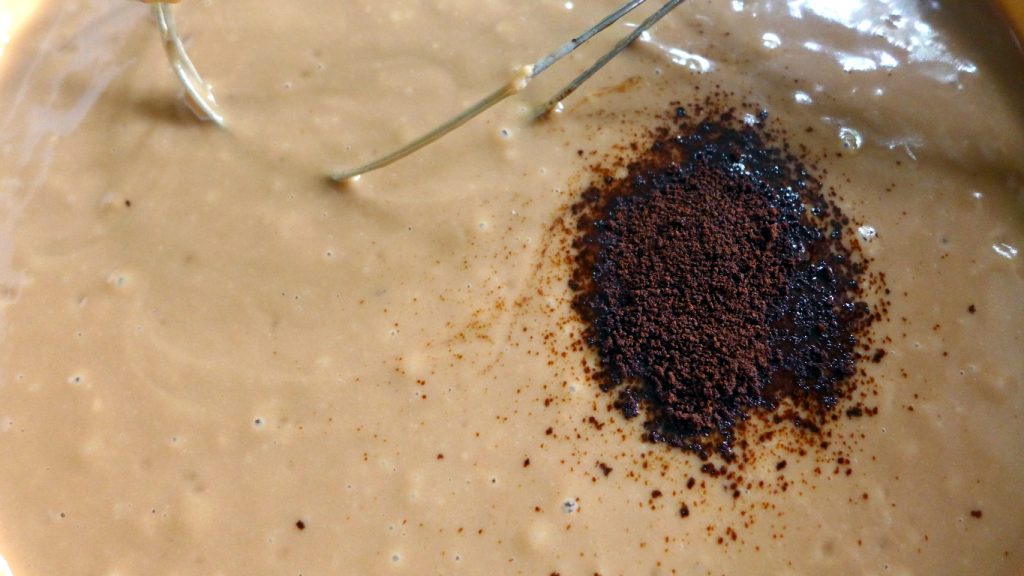
  4. Add 1 tbsp instant coffee granules. Mix then taste for flavour (since coffee of various brands may differ in flavour and concentration, it might be a good idea to taste first before adding more coffee). Add the rest of the coffee or adjust amount as desired.
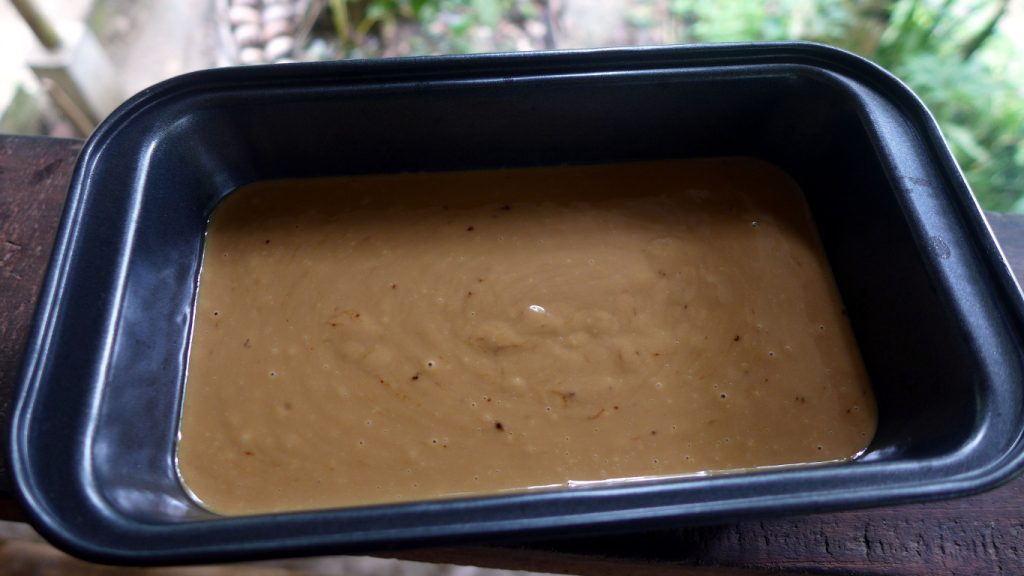
  5. Pour mixture in non-stick loaf pan, filling only half full to allow room for expansion. Cover with aluminum foil.
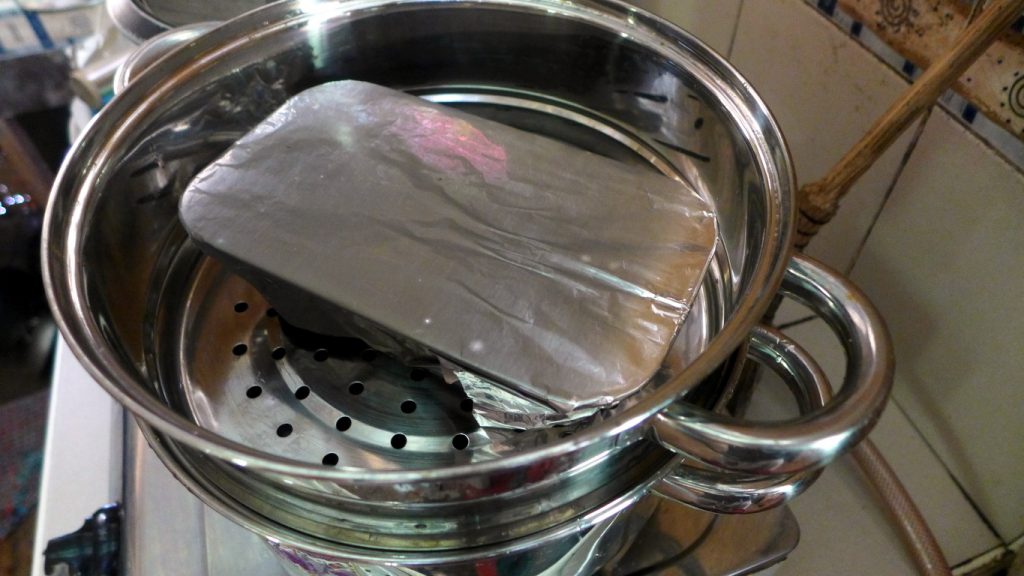
  6. Steam for 30 minutes. Prick with fork to test if done – prick in the center of the cake and all the way down. When fork comes out clean, your cake is ready. Otherwise, steam for 5 minutes more.
  7. Prepare orange glaze as follows: Combine all ingredients in a small pan over low heat. Mix gently, stirring in a single direction so as to avoid incorporating air bubbles into the glaze (I didn’t do very well with this one!). Simmer until thick and creamy. Spoon over cake. Decorate with whole coffee beans or sprinkle with instant coffee powder or ground coffee.

Remove cake from steamer and partially remove foil cover to allow to breathe. Cool and it’s ready to serve. The cake is also great chilled. Enjoy! 🙂

ORANGE-COFFEE CAKE (No Bake, No Eggs, No Milk, No Butter)

Ingredients:

1 1/2 cups all-purpose flour
1 tsp baking soda
1/4 tsp baking powder
1/4 tsp salt
1 tbsp instant coffee granules
1 tbsp coarsely ground coffee beans
Zest of one whole orange
3/4 cup brown sugar
1/2 tbsp vanilla
1 tbsp lemon juice or vinegar
1/4 cup oil (olive oil or coconut oil)
1 cup water

Instructions:

  1. Sift together in a bowl flour, baking soda, baking powder and salt. Set aside.
  2. In another bowl, combine vanilla, lemon juice or vinegar, oil and water. Add sugar and mix to dissolve thoroughly.
  3. Add dry ingredients to wet ingredients. Mix well but not too much otherwise the cake will become stodgy and will not rise well.
  4. Add instant coffee granules. Mix well. Add coarsely ground coffee beans and orange zest. Taste and add more coffee and/or orange if desired.
  5. Pour mixture in non-stick loaf pan, filling only half full to allow room for expansion. Cover with aluminum foil.
  6. Steam for 30 minutes. Prick with fork to test if done – prick in the center of the cake and all the way down. When fork comes out clean, your cake is ready. Otherwise, steam for 5 minutes more.

Remove cake from steamer and partially remove foil cover to allow to breathe. Cool and it’s ready to serve. The cake is also great chilled. Enjoy! 🙂

Note: I have problems with dairy and thus, made this recipe. You may use almond or soy milk. However, I wouldn’t recommend those because they are highly processed food products (look at the ingredients list on the label). However, recently, I learned about A1 and A2 milk. It seems that my problems with dairy is limited to A1 type milk from cows. I experience no problems with A2 milk and thus now use such milk. Our A2 milk comes from the carabaos (water buffalos) in Ubay, Bohol.

La Niña and Outlook for Philippine Forage Crops

We are currently experiencing the extended effects of La Niña. La Niña is defined as the positive phase of the El Niño Southern Oscillation (ENSO) associated with cooler-than-average sea surface temperatures in the central and eastern tropical Pacific Ocean. La Niña is said to impact global climate, disrupting normal weather patterns and can lead to intense storms in some places and droughts in others.

In the Philippines, La Niña often means heavy rains and as a consequence, flooding. According to the “Climate Outlook (January-June 2018)” by the Climate Monitoring and Prediction Section of PAGASA-DOST, “Weak La Niña is present in the Tropical Pacific; may not last beyond March 2018, but varying impacts occur.”

Rainfall Forecast:

  • January 2018 – below normal rainfall over western Luzon while generally near to above normal over Eastern Luzon and most parts of Visayas and Mindanao;
  • February 2018 – generally near to above normal rainfall with some patches of below normal rainfall over Ilocos area; Visayas and Mindanao, generally above normal rainfall;
  • March 2018 – below normal rainfall over western Luzon while generally near to above normal over Eastern Luzon and most parts of Visayas and Mindanao;
  • April 2018 – generally below normal over most parts of Luzon (except western Luzon); the rest of the country will likely experience near normal rainfall conditions.
  • May 2018 – generally near to above normal rainfall;
  • June 2018 – near normal rainfall over major parts of the country, while below normal rainfall conditions will be likely over northern Luzon.
  • Generally, near average to slightly warmer than average surface temperature is expected over the coming months over most parts; slightly cooler than average over the mountainous areas in Luzon in January-March 2018; cold surges may occur in December to February 2018.
  • 2 to 5 tropical cyclones may develop or enter the Philippine Area of Responsibility (PAR) from January – June 2018.

Weekly ENSO monitoring is available at: http://www.pagasa.dost.gov.ph/index.php/climate/climate-prediction/el-ninosouthern-oscillation-enso-status

Outlook for the West Garden:

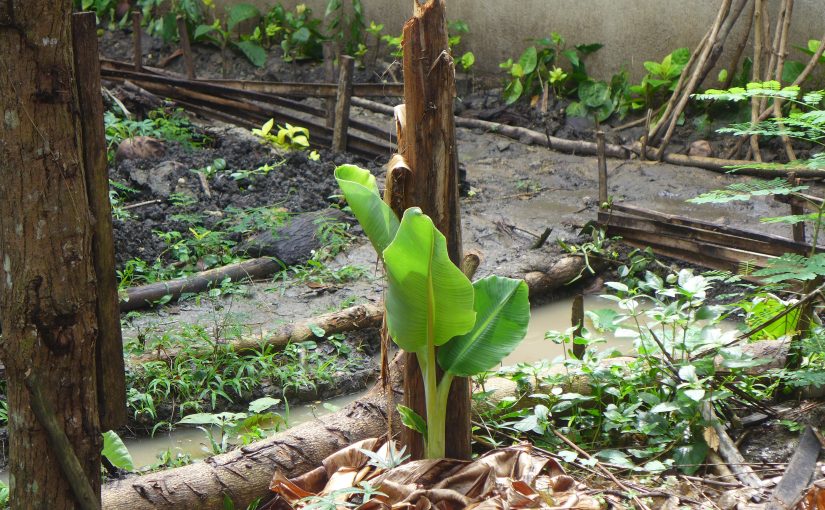
Construction work took place around the western side of the garden in October-November 2017. We started mulching and building rain gardens, paths and plant beds in the effort to get as many crops growing as quickly as possible and to control flooding from storm water run-off in the area.

Forage is one of the most important crops we planted. We don’t have enough forage for the animals and would like 2018 to be the year when we would grow and double our production. Some of our current forage crops are: desmodium rensonii, indigofera zollingeriana, trichantera gigantea (madre de agua), and mini water cabbage.

Indigofera for forage.
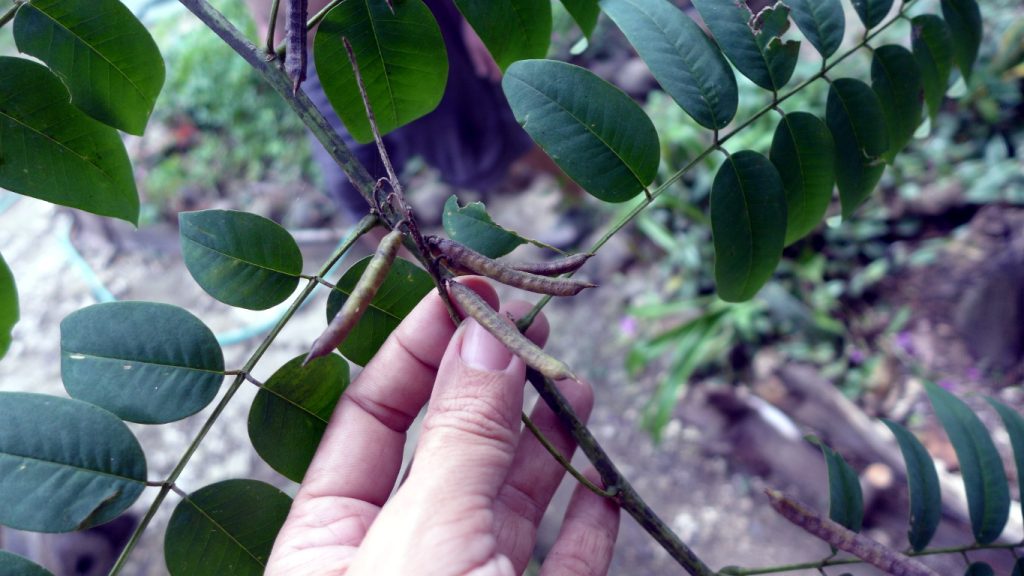
Indigofera has 27─31% crude protein, which is relatively higher than any of the locally available leguminous forages. Leaves and twigs are harvested every 30 days to maintain their succulence. Indigofera is not to be confused with Creeping Indigo (indigofera spicata) which may be toxic to some livestock.
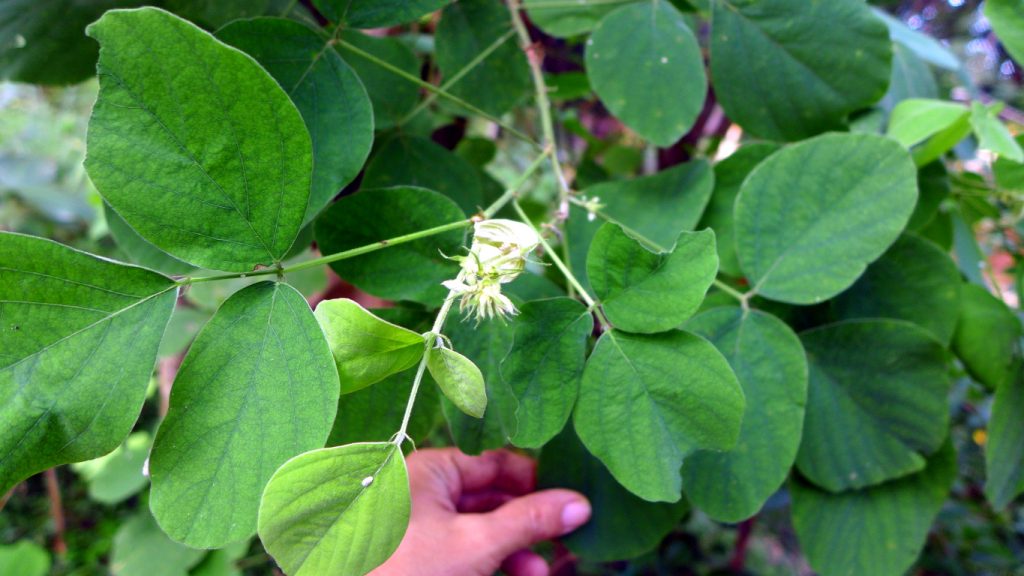
Desmodium cinereum (Rensonii) is a leguminous plant tagged as “alfalfa of the tropics” because of its high crude protein content at 20-23% of dry weight. Regular cutting stimulates multiple stems and increases yields of leaf. If seed production is required, defoliation must be timed to avoid destroying the developing seed crop. Not well suited for grazing or browsing.
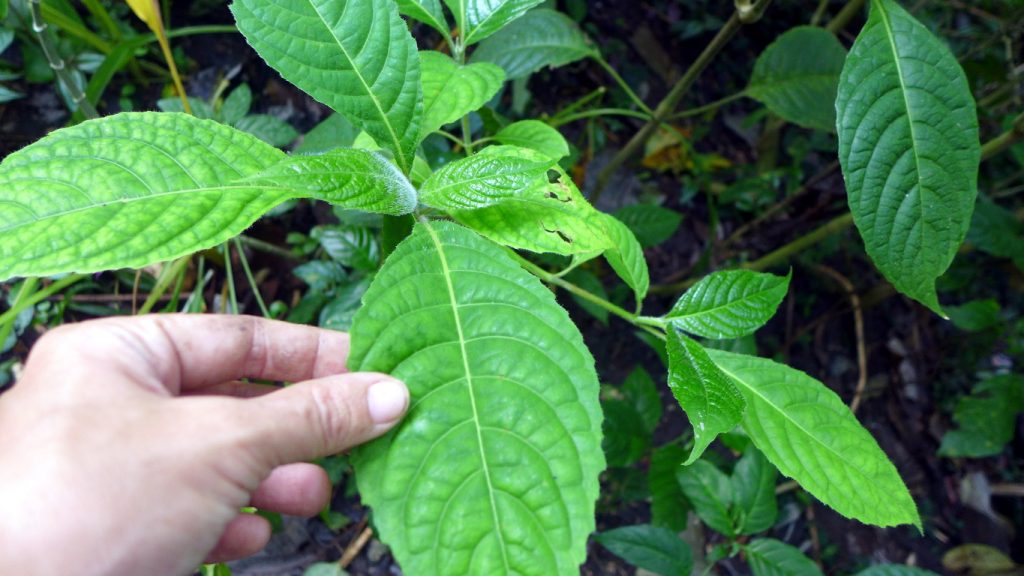
Trichanthera gigantea is generally propagated from cuttings selected at the basal part of young stems. These cuttings can either be planted directly or put in plastic bags for transplanting later. Harvest begins 8 to 10 months after establishment and the first yields are about 15 t/ha of fresh matter. Trichanthera gigantea can be harvested for foliage every 3 months and yields 17 t/ha of fresh matter at a cutting height of about 1 m. Under hotter and drier conditions, cutting heights can be higher (1.3-1.5 m).
Growing but not thriving well are: ipil-ipil, madrecacao, mani-manian, malunggay and water hyacinth.

Failed to survive are: stylo.

We are looking for seeds/cuttings/seedlings of the following: napier grass, mulberry, mara mais, stylo, azolla.

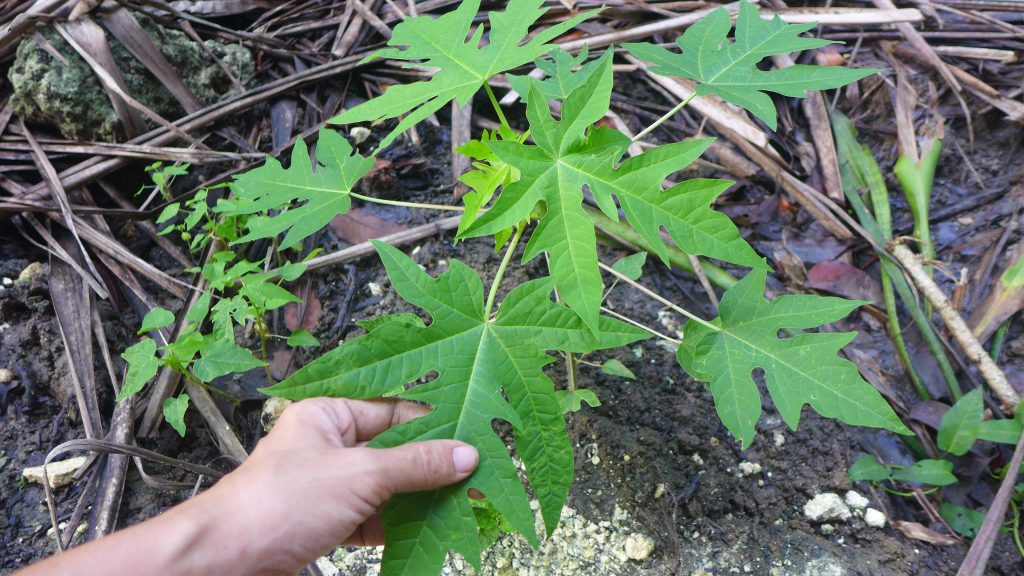
Papaya planted in the west garden two months ago.

Forage and roughage for pigs and goats also come from the following: various fruit trees such as papaya, langka, banana, coconut, gmelina, mahogany, tiesa, tambis, balimbing; various green leafy vegetables such as amaranth, camote (leaves), kangkong, saluyot, alugbati, casava (leaves), talinum; and various grasses such as carabao grass, paragis, mimosa, busikad, etc.

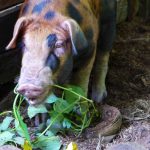
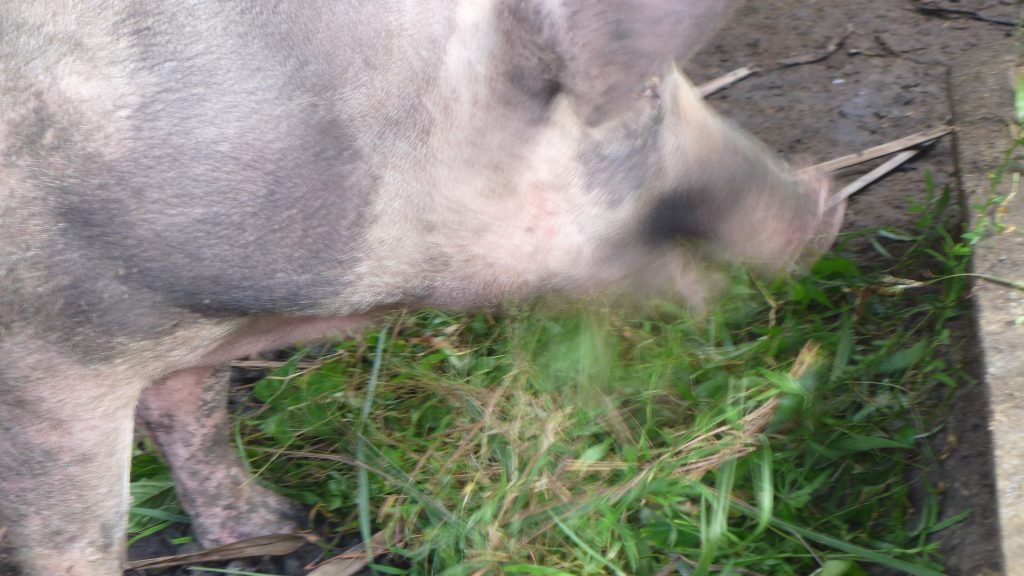
Sow eating various common grass pulled out from the garden.

Ornamental plants that are trimmed also provide some forage but only in small quantities since some are considered mildly toxic: San Francisco plant (croton), various cultivars of canna, Fortune plant (dracaena), ornamental palms, ferns, wandering jew, lantana, duranta etc.

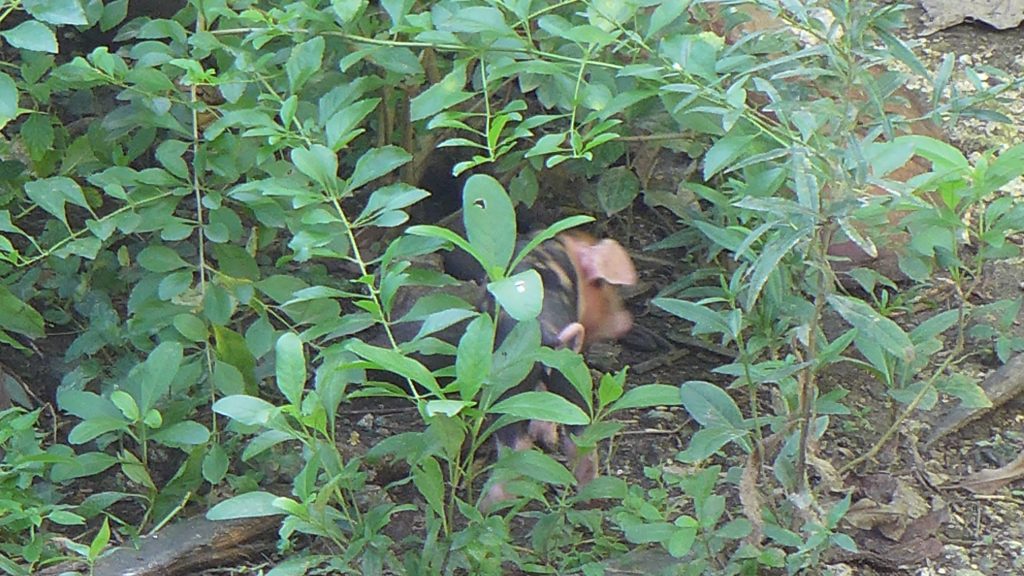
Piglet foraging in the garden.

La Niña does not deter us from developing the west garden. We have planted forage crops in and around the area. Normally, the rainy/wet season is also good vegetable planting season in the Philippines because this eliminates the need for artificial irrigation. However, tropical vegetable production experts note that the rainy season also means high humidity amidst high temperatures conducive to the proliferation of pests and disease. This is where disease and pest-resistant crops are valuable and topping the list of recommended plants are those with edible foliage and shoots.
Recommended Vegetables for the Rainy/Wet Season:

Rooted taro, kangkong (water spinach) and camote (sweet potato) are easier to grow in wet and flood prone areas. The red and green varieties of taro we planted in the newly dug up rain gardens are doing well.
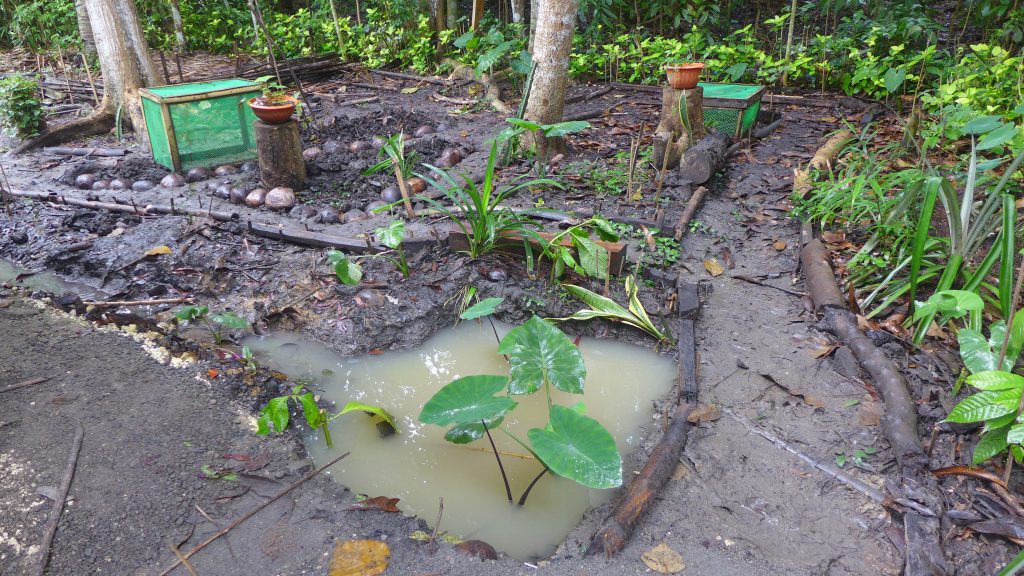
Okra, eggplant, beans, chili, corn/maize, squash and some gourds are known to thrive in wet conditions. However, they need to be planted in raised beds so they are protected from flooding. When seedlings have established at about 1-2 weeks, mulching needs to be done all around the seedlings in order to protect them from the battering downpour of rain. We have lost many young sprouts to heavy pouring rain, unfortunately, so we are also planting seeds in the beds where mulch have already been applied. The surrounding mulch protect some of the seedlings. Planting under a tree or bush also helps, as long as the area does not get flooded.

Taro thrives well in the rain garden.


Toxic Plants and Weeds

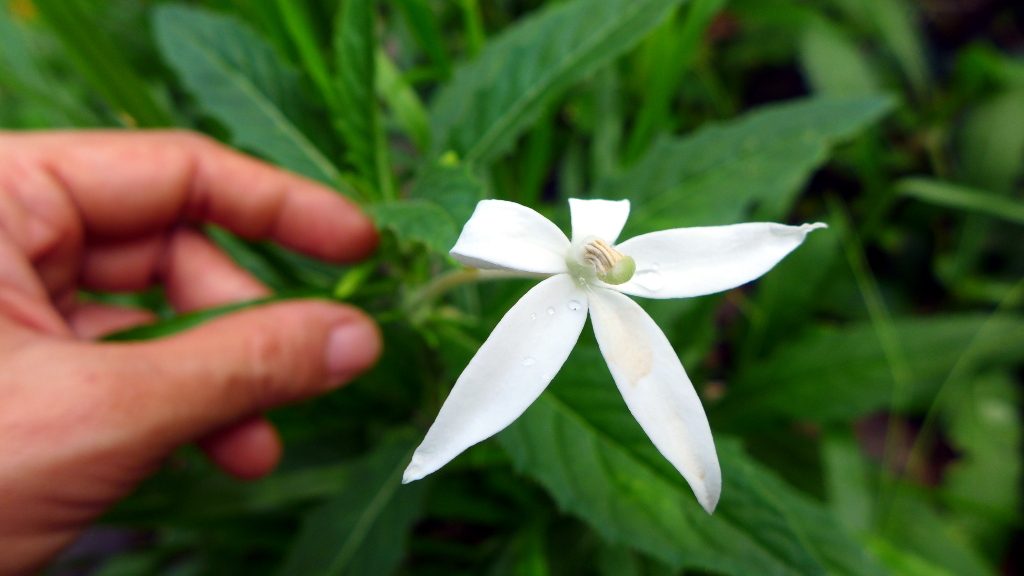
Although many plants are toxic in various ways, we try not to allow those with high toxicity to colonise the garden, particularly the weeds. While animals avoid eating plants that are toxic, we also try to identify which plants may be toxic and avoid giving those to the animals. Toxic plants we currently have are Estrella, Sinkamas (seeds are toxic), Sagilala (San Francisco/Croton), Red Ginger, Lantana, Katakataka (linked to some cattle poisoning), Buddha Belly Plant (ginseng in Tagalog), Cat’s Whiskers (Balbas Pusa), Castor Oil Plant (Tangantangan), Bangkok Kalachuchi (leaves and flowers are toxic to goats and cattle), Plumeria.

Estrella (above) contains a toxic alkaloid, isotomine that can cause muscle paralysis and affect cardio-respiratory functions.

Protecting Plants from Chickens and Ducks

Chickens and ducks love foraging after a downpour. The earth is soft and is easy to dig up as chickens and ducks search for bugs, earthworms, seeds and seedlings. Even if the fowls are sufficiently fed, they still want to go around and forage, especially the chickens. Below are some of the methods we are implementing, hoping to duck and chicken-proof the garden. Admittedly, we are not always very successful but some plants do manage to grow this way.

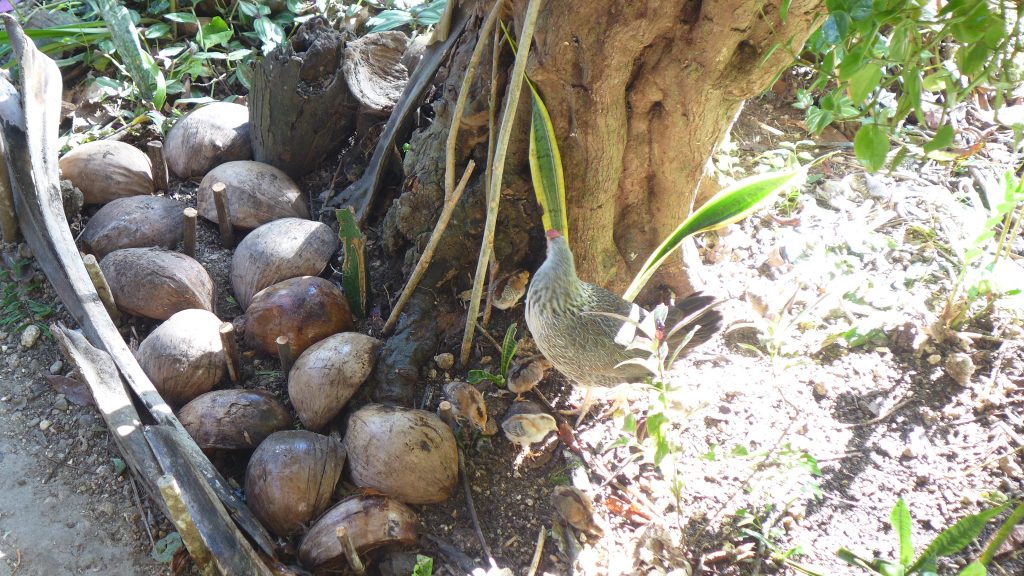
Seeds are planted between coconut husks – another attempt at chicken-proof gardening.
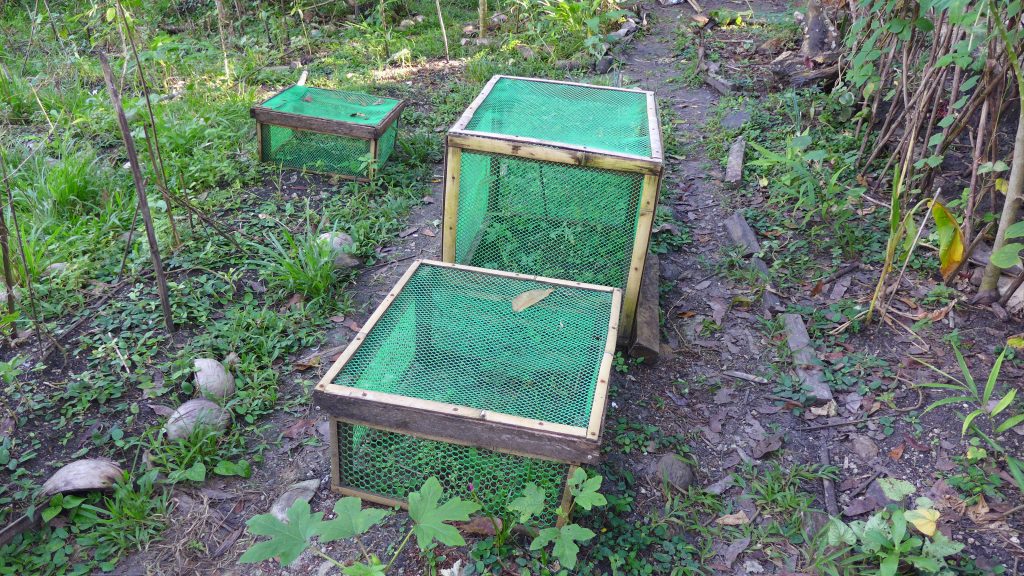
Portable plastic netting frames are placed over seeds, seedling for protection.
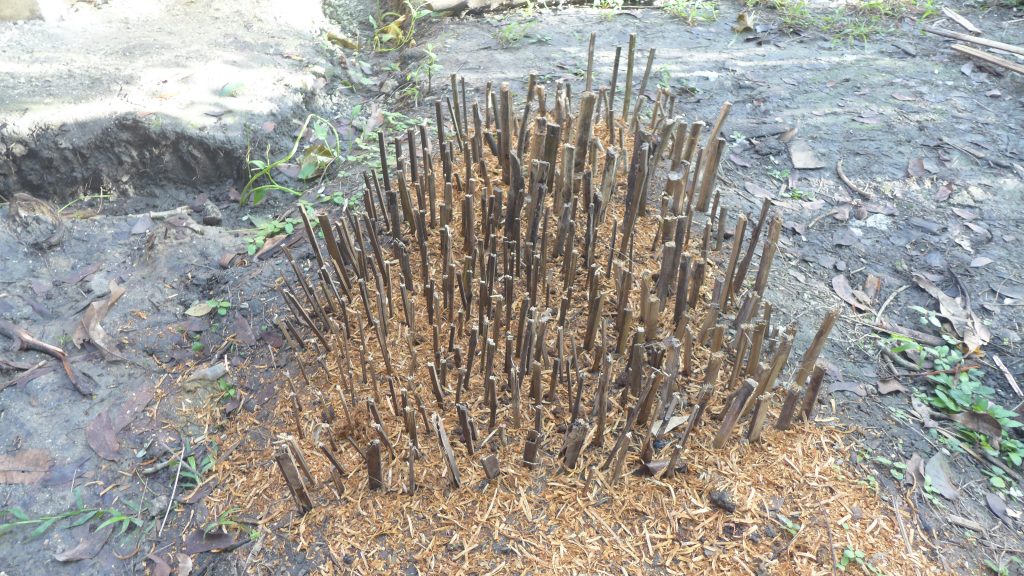
Seeds are planted between stakes for chicken-proofing.
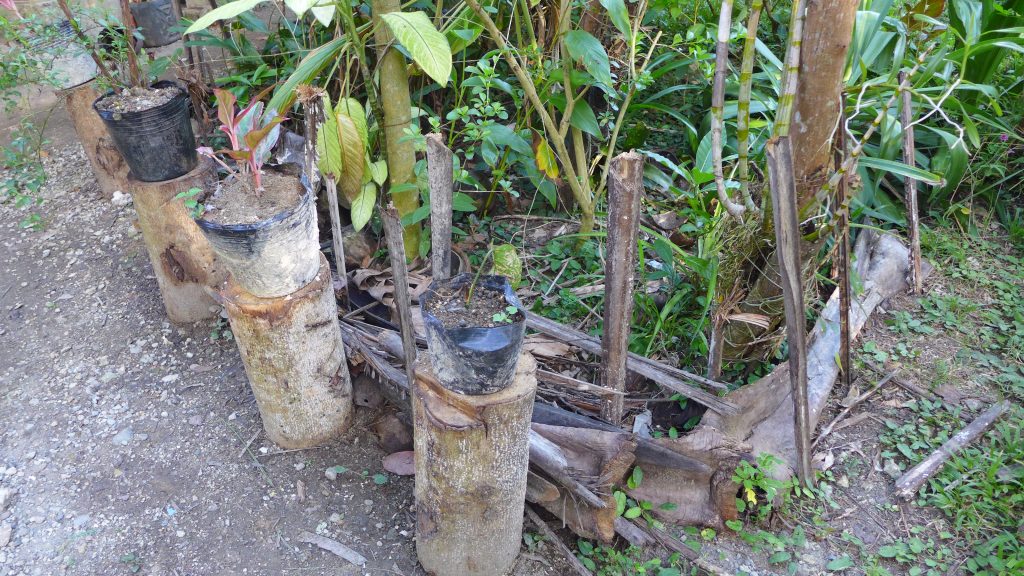
Other methods at chicken-proofing include fencing out raised garden beds and putting pots on wood stumps away from sight of chickens and ducks.

It has been two months since we started work in the west garden amidst the effects of La Niña. Work continues to minimise the effects of flooding and hopefully, get plants to grow and get established before what might be a long season of drought in the near future.

Sow and Piglets in an Alternative Farrowing System

This documentation is intended to study the behaviour of a sow (Auntie Brownie) and her piglets in a pen of size 240 square feet (22 square meters or 26 square yards). Auntie Brownie is 2 years and 6 months old and this is her second parity. The first parity was in June 18, 2017 and the second was in December 19, 2017.

Typical sow nesting behaviour (above). Dry banana leaves are the preferred nesting material in the tropics.

Auntie Brownie began expressing the need for nesting materials by pawing the ground (soil and wood chips). We gave her the dry banana leaves earlier collected for the purpose. She picked them up, placed them in a corner of the pen and shredded them. Nesting behaviour may take place between 6-12 hours prior to farrowing, other pigs may take as long as 2 days. Auntie Brownie took only about 5 hours. Then lay down and started the farrowing process.

In this video (above), the first two piglets born are vigorous and struggle to detach themselves from the umbilical cord and reach their mother’s teats. It takes a while for the piglets to attach to a teat, maybe between 5-15 minutes. Auntie Brownie lay down on the nest she built in a way that allows access to her teats.


In this video (above), eight piglets are born and Auntie Brownie is up moving the nesting materials around. This appears to be the mother’s way of “training” her piglets of her presence. In succeeding videos, Auntie Brownie commences nursing by moving nesting material about, signaling to the piglets her intention to lie down so that the piglets are aware of this and may avoid being crushed. Good sow instincts are supposedly indicated by nesting behaviour, pawing and moving the nesting materials about.


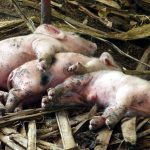
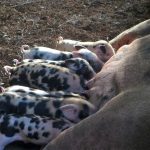
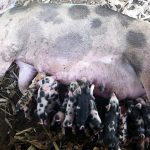
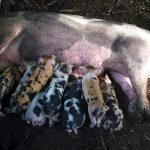
Here  (above) are the eight piglets born within 2 hours (two more piglets were born at a later time we were unable to observe). Auntie Brownie is aware of a good lying position that allows access to all her teats. The piglets take their time to establish teat order.


Here (above) are all ten piglets at 16 hours of age. Teat order is established amongst seven of the piglets while three piglets are still unable to attach to their corresponding teats and therefore engage more in fighting. These are smaller piglets in the litter. Larger more dominant piglets often don’t engage in fighting during nursing. One large piglet on the right has mild milk scour. We notice this in a few piglets in previous litters during the first few days.


The piglets (above) call for milk and Auntie Brownie, obliges. The piglets are 7 days old in this video and have already been trained by the mother not to go near her side as she prepares to lie down. The safest place would be at her head or a good distance away.

Auntie Brownie tries to lie down carefully but she still lands heavily on her side (she was much more careful when the piglets were still unable to coordinate their movements with her). Notice one piglet on the left seem to have difficulty interpreting its mother’s call, it would’ve been crushed if it was closer to Auntie Brownie’s side. We usually call piglets like these “the wind-up toy” because they go oinking about before finding the mother’s teats. They usually grow up fine, catching up on the others. Some fail to thrive and die or are unable to move quickly and get accidentally crushed by the mother.  Some piglets want more milk and one goes to the mother’s head to complain. Auntie Brownie decides they have had enough and she lies on her teats, pushing everyone off without hurting them. If a piglet gets trapped and it manages to squeal, Auntie Brownie will adjust her position. If a piglet is unable to squeal, then fatalities occur. If we see what has happened we can help and try to coax the mother to get up and move so the piglet can run away. Sometimes there is fighting during feeding and the piglets bite their mother’s teats with their sharp needle teeth.

Luckily, Auntie Brownie is a very patient sow: she growls when she is hurt and she will move to push off the piglets so she can adjust her position. This allows better teat access and fighting stops. After feeding, the piglets go out for a stroll in the garden, to poo and pee, and to play. This is when the mother can rest and relax. We made a piglet escape hatch on one side of the pen.

The following day, the second to the smallest piglet died, apparently of crushing in the night.


(Above) Auntie Brownie lies down a distance away from her 10-day old piglets. She calls the piglets and when they arrive, she adjusts her position to accommodate them. This is a much safer way of nursing piglets with less risk of crushing. The piglets sleep a distance away from the sow, in this case, the piglets have learned to sleep in the creep space provided. The creep space is attractive to the piglets not so much because of the lamp but because of the piglet escape hatch — the piglets are always excited to go out of the pen and into the garden for adventure. The “heating lamp” we are using produces bright light which distracts piglets. We will have to replace this with infrared heat lamps next time, although heating is really only needed when it rains during the cold season (December-March).


(Above) Auntie Brownie lies down and 10-day old piglets converge around her, waiting for the signal as to which side she will be lying on so they can coordinate their movement. Larger and more daring piglets now tend to access the teats before the mother could lie down, ignoring the mother’s attempt to get them to converge at her head by moving nesting material about. At this point, the role of nesting material in the nursing pattern is less important.


Auntie Brownie’s piglets, now 2 weeks old, playing (above). Pigs get excited whenever big rain comes. Notice the little piglet on the left – he’s a little bit slow and gets overwhelmed by the others quite easily, but is managing OK – he is the runt in the litter. Everyday, the piglets are allowed out to play in the garden but not today because of bad weather. They miss their garden adventure but are happy enough playing indoors instead!


Piglets here (above) are 18 days old. Auntie Brownie lies down very carefully. As mentioned earlier, piglets are now more daring and access the teats even when the mother has not yet laid down. The runt on the right side is unresponsive to the mother’s position or grunting calls. This is when crushing occurs. Since Day 1, the runt has had some troubles establishing good feeding regime with the mother and litter mates, although teat order has been established. The runt also seemed to have problems digesting its food, its belly was contracting rapidly and even if it had teat access it abruptly stops feeding and walks away slowly.

The runt died the same day this video was taken.*


(Above) Lying down and nursing behaviour well established, but sometimes Auntie Brownie changes her mind! 🙂 She has started to teach her piglets to sample solid food. The largest piglet began sampling mother’s food by age 5 days. Piglets here are 19 days old.

We hope this documentation is useful for those considering alternative gestating/farrowing systems. This system does not address group housing because we are only micro-scale.

* The piglet mentioned above died within an hour after drinking water with a small amount of molasses. Up to two-thirds of the sugar content in cane molasses is sucrose (glucose and fructose) and more in beet molasses. Sucrose is toxic to young pigs under 7 days of age. Since our piglet is 18 days old we considered it safe. However, this piglet may have health problems from the beginning as observed from its developmental condition since birth.

The problem with sucrose toxicity arises when there is low activity of intestinal sucrase in the intestine of young piglets. With fructose, the problem is that young piglets cannot effectively process (phosphorylate) fructose in either intestinal cells or liver. It is possible that the little runt has not developed properly in time to process molasses. So it is advised not to give molasses to young or compromised pigs.