This is duck breast – cooked in its own fat ala duck confit – then seared in a non-stick pan to crisp the skin. Instead of a soggy, bland stew, duck confit is – in my opinion – the best way to cook a duck more than 6 months old. At this age, the meat of the duck begins to toughen. By cooking in its own fat is it possible to realise superb tenderness and taste. Below I describe how I prepared this way of cooking duck.

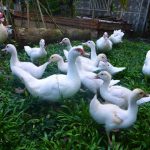
- For this batch, I use 3 large adult ducks, age 6 months to over 1 year. You must select duck that is very fat to produce the appropriate amount of fat. The dressed weight of the duck is 1.7 to 2.5kg. Better if you can get bigger than 2 kg.
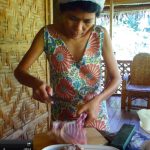
- The duck is washed and cleaned. I rub the skin of the duck with salt to clean it thoroughly. Then I cut the duck into large pieces: wings, breasts, legs, backbone, neck. I cut at the joints and never break any bones.
- The fat and skin of the duck is removed and set aside as these will be used to render duck fat. However, DO NOT remove the skin on the breasts and legs. The skin on these portions of duck must be kept on to keep the meat moist, flavourful and to produce the crisp skin that is most sought after in duck dishes.
- The duck pieces are salted and rubbed with herbs and spices. I used thyme, oregano, sage, rosemary, pepper. For each kilo of duck, I used only 1 tsp of salt. I did not use a lot of salt because this dish is not a way to preserve the duck for extended period of time. If your purpose is to preserve the duck, then you must follow the French way of making duck confit.
- I placed the duck pieces in a sealed plastic container and kept it in the fridge for 30 minutes to 1 hour. You can marinate longer if you wish, for example, overnight.
- A good stainless steel or cast iron pot may be used, large enough to put all the duck inside. Begin by placing the pieces of duck skin and fat in the pot first. Next, place the duck wings, neck, and backbone. These are pieces of duck that has fat and skin and will be rendered. Keep the breasts and legs for later cooking. In the pot pour a cup of water.
- Start to render the duck fat by heating at medium high. Keep the pot covered at all times. When the water starts to boil, lower the heat to keep simmering. Keep the pot covered at all times. In my experience, the fat is fully rendered in 15 to 30 minutes! It is fast if you have a good fat duck and good pot.
- Transfer all the duck fat to another pot where you will cook the duck breasts and legs. I had enough duck fat to cover all the legs and breasts of 3 ducks. Place the duck breasts and legs into the oil. Place one head of crushed garlic in the pot.
- Cover the pot and cook over medium high heat until he oil boils. When the oil boils, lower the heat to maintain simmering. Simmer for 1 hour and turn off the heat and let sit – DO NOT OPEN THE LID OF THE POT – for another hour. The duck will continue cooking.
- Open the pot and inspect the duck meat.Use a fork to check if it is tender enough. Otherwise, simmer again in oil.
- The duck may be kept this way in oil in the pot and reheated everyday to keep from spoiling. The duck should keep well for several days but no more than 1 week.
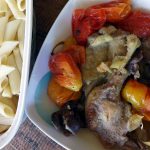
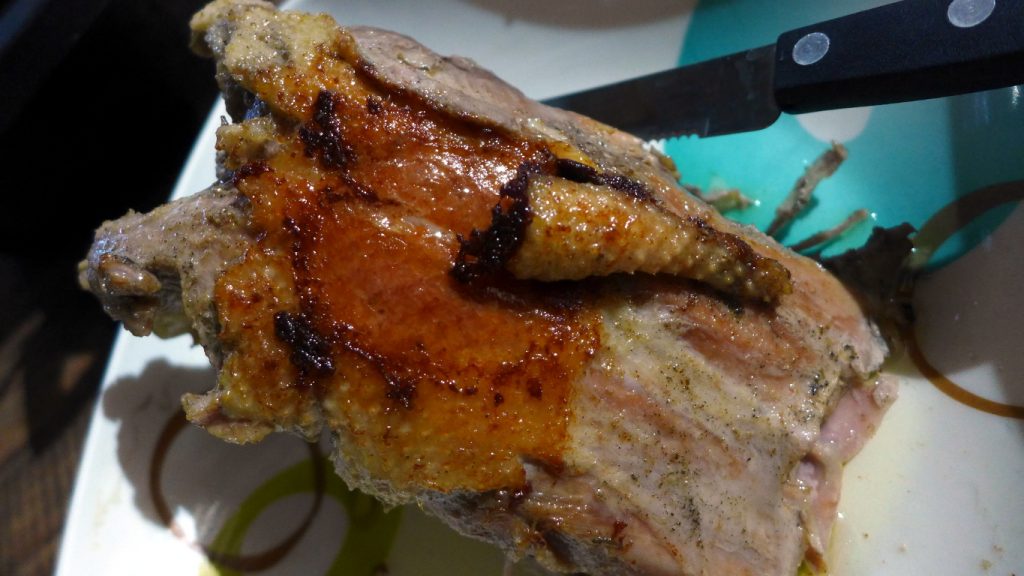
- To prepare the duck, all I do is scoop out some duck fat into a non-stick pan. Then I place the duck breast/legs with the skin down and cook until the skin is brown and crisp. Place the duck breast/legs on a plate and garnish with vegetables or serve with stew.
The result is absolutely tender, absolutely delicious duck. It is not necessary to have young fattened duck for this way of cooking duck. Try it. Bon appétit!