New Prices

We started our backyard farm in 2010. Crops were not very good but livestock showed promise. By 2015, we had enough surplus to be able to sell ducks, goats and native chickens, and in 2016, we started selling piglets. We kept our prices low over the next 2 years as we were able to keep a small profit despite the increase in price of commodities, labour, fuel. Finally, this year 2019, we needed to raise our prices.

Fortunately, our buyers understand why (thank you!). They know how income levels had gone up together with the cost of living. They understand the much needed price increase because they know we provide them only with the best we got.

Here are our new prices.

FREE RANGE MUSCOVY DUCKS

Live weight 180 per kilo
Dressed 280 per kilo
Ducklings 75 pesos each

FREE RANGE NATIVE CHICKENS

Live weight 180 per kilo
Dressed 280 per kilo

PIGLETS

Fully weaned  45-day old piglets 2,600 to 2,800 each

We are thinking of selling off our goats. We don’t really have the pasture for them and common pasture lots in our village are getting smaller. We have a 5-year old billy goat up for sale at a negotiable price of 4,000. Visit us if you’re interested. He’ll be our dinner in April or May if there are no buyers. We also have a goat expected to kid for the first time in a week or so. We will keep them for a while and sell them later. If you’re interested, please visit us to take a look.

Turbatrix aceti (Vinegar Eels)

Some five years ago, I got involved in fermenting coconut water and overripe bananas to make vinegar. If you make your own vinegar, and prior to pasteurisation, you’d have these free-living (non-parasitic) nematodes swimming near the surface of the vinegar. I took a video under the microscope.

Popularly known as vinegar eels, Turbatrix aceti feed on the microbial culture of vinegar and other similarly fermented foods. They are non-parasitic and harmless. After several hours, the vinegar on the slide began to dry up and this happened to the Turbatrix aceti.

Vinegar eels are also harvested and fed to fish fry. If you are interested in using vinegar eels this way, there’s good information at Living Food Cultures.

Homemade Dishwashing Liquid

Dishwashing liquid is great, it cleans, removes oil, disinfects, smells nice and foams a lot. But before the thing was invented, people did fine with laundry soap, detergent bar, detergent powder, detergent cleansers. And long before that, people used washing soda, soda ash or sodium carbonate. And way before that, until now, in some parts of the world, people have been using sand, ashes, twigs, stones, leaves and rice hull. I often use dry leaves to clean the scum, oil and dirt from the pigs’ water buckets and those work great. I have also found rice hull or even rice or large corn grits great for cleaning the inside of bottles and containers.

Lately, I decided to make my own dishwashing liquid, for use in the kitchen, for hand washing plates, glasses, cutlery and cooking utensils. Homemade dishwashing liquid works fine and is much less irritating to the hands than commercially prepared ones. If you want to give it a try, here’s three ways.

Recycled Soap Bits

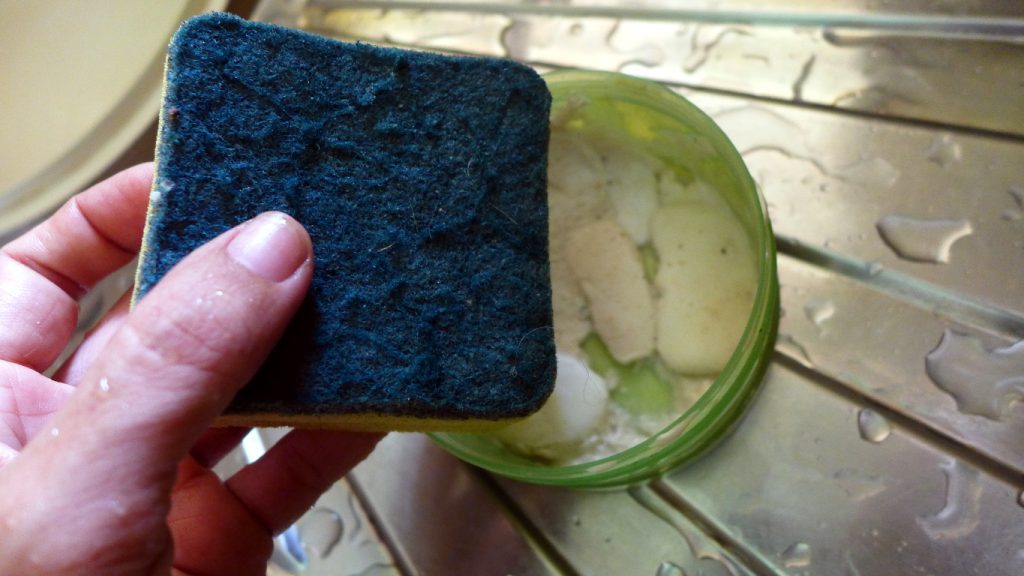
Collect soap pieces, put them in a container, add a bit of water. That’s it. Great if you have a container that’s a bit wide and shallow so you can stuff a sponge in it. If you have hard water, add a half teaspoon of vinegar to the water at the rinsing stage. Just keep adding water and soap pieces as needed.

You may also use a detergent bar. Cut a small piece, stick it in a container, and use a sponge. Lately, we’ve started using a luffa gourd sponge instead of the plastic ones. Luffa gourd sponges last much longer!

Detergent Powder

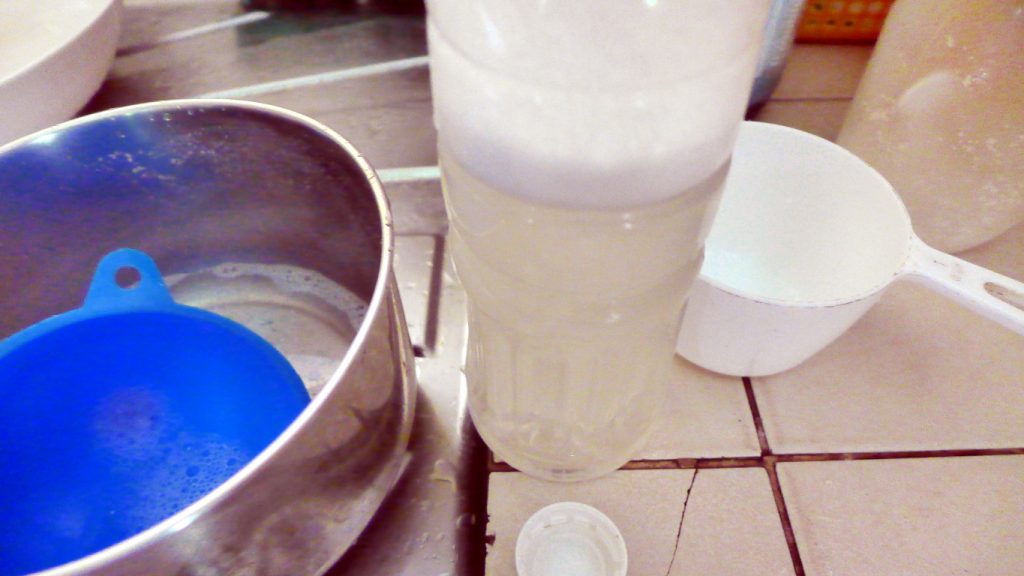
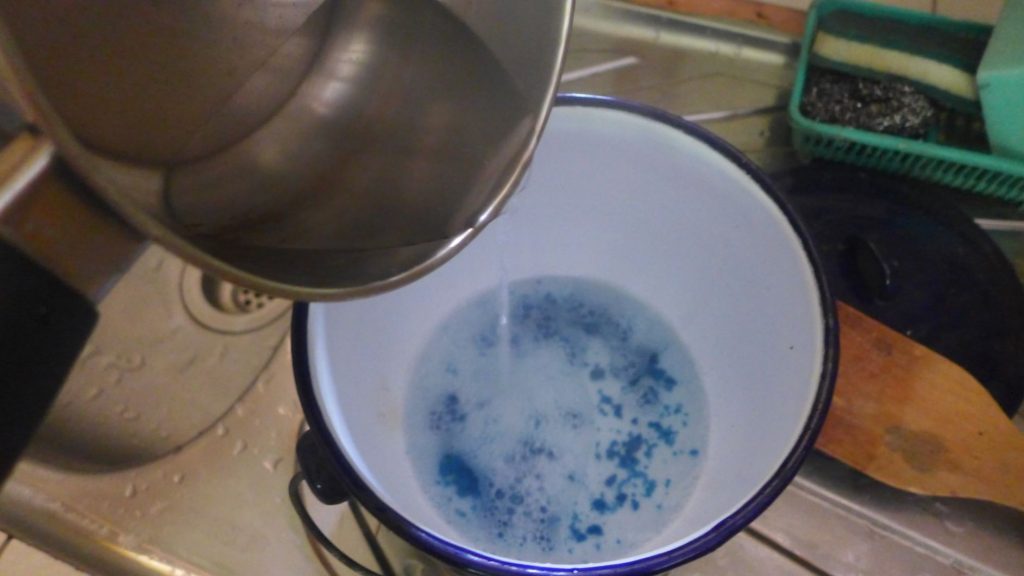
Mix a tablespoon of detergent powder with a cup of water and a half teaspoon of vinegar. Put the solution in a squeeze bottle or you can recycle plastic bottles with a hole punched on the cap. Or recycle an old liquid soap pump dispenser. Shake well before using.

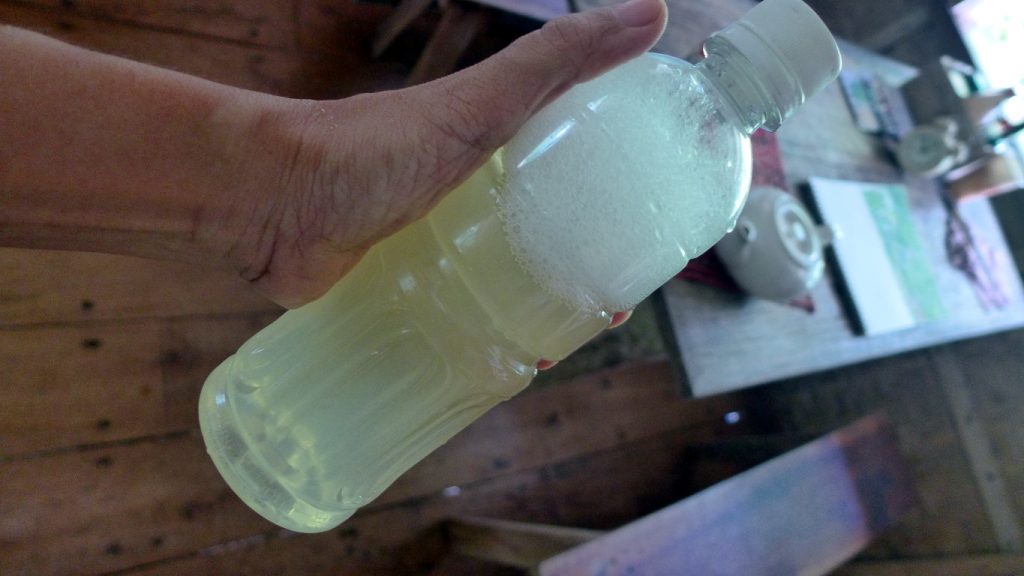
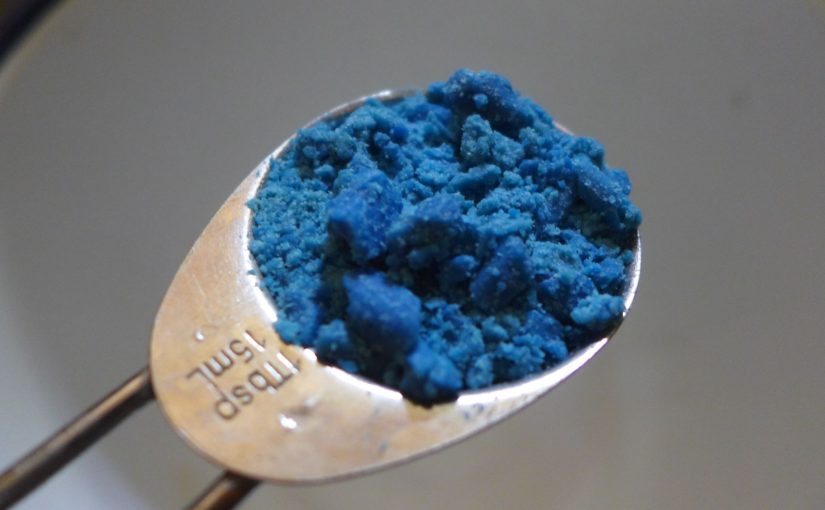
Soap Flakes and Borax

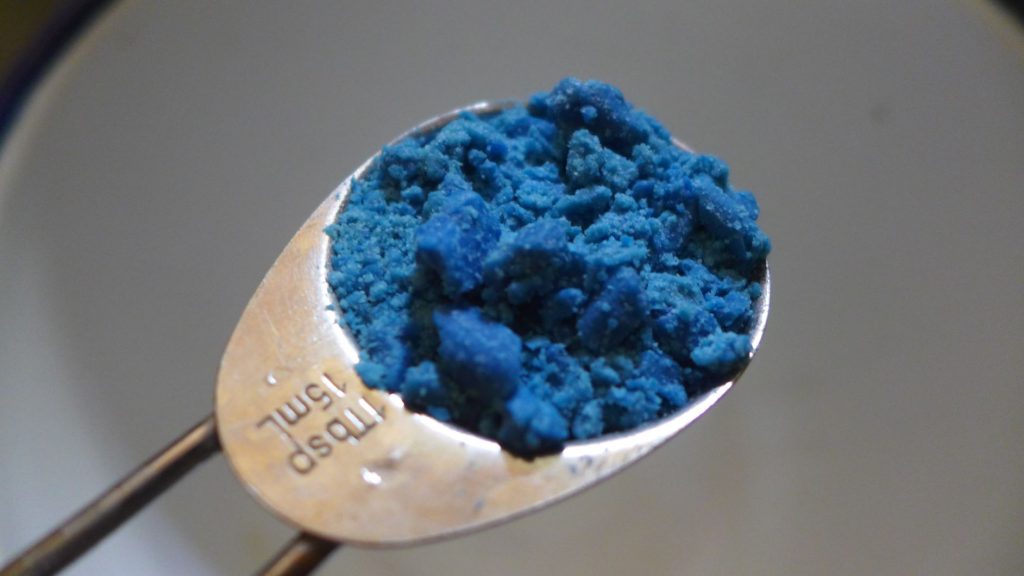
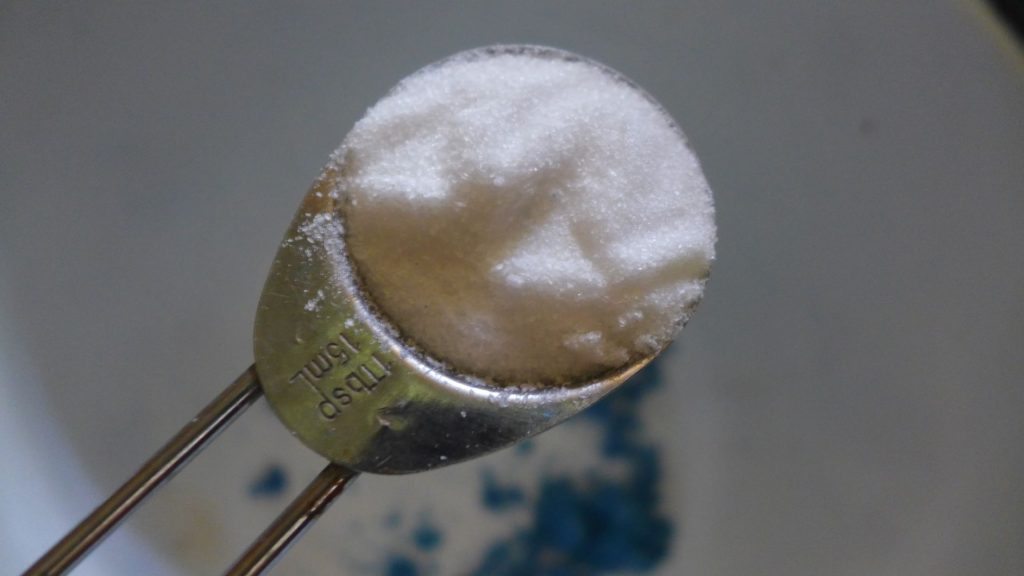
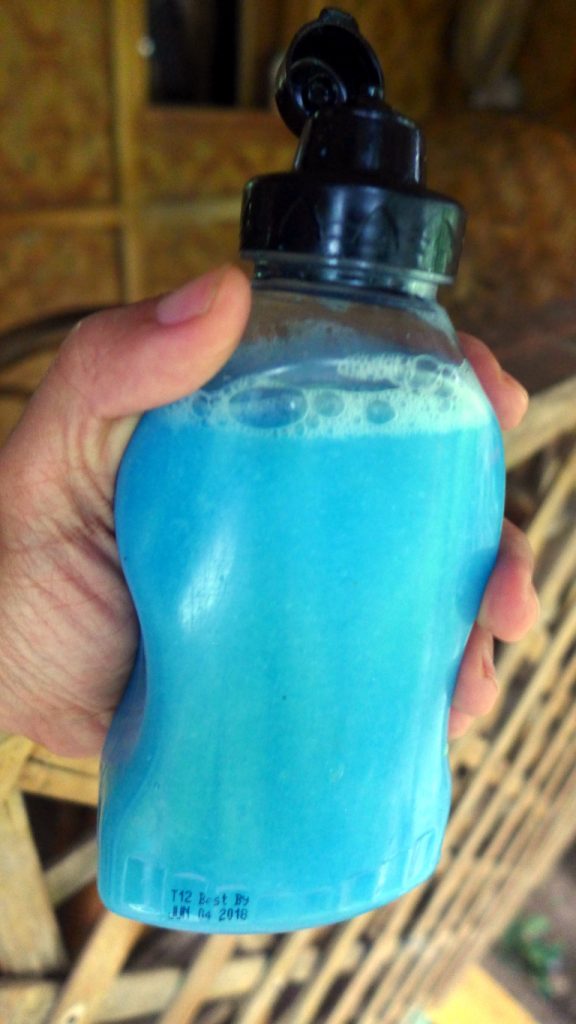
Put 1 tablespoon of soap flakes or grated soap in a stainless steel pot. Turn on the heat and simmer, while mixing with a wooden spoon. Don’t let it boil too much or the soap might start degrading. When the soap flakes are dissolved, turn off the heat and pour in 1 tablespoon of borax powder. Mix well. Let the mixture sit for overnight or several hours, stirring every now and then, until the soap is thoroughly dissolved with the borax. If you have hard water, add a half teaspoon of vinegar. Pour everything into a squeeze bottle (I use an old mustard plastic container). Always shake well before using.

Lots of Savings!

We’ve saved quite a lot by making our own dishwashing liquid. I buy the ingredient from the local supermarket:

  1. Soap Flakes 250 grams – 15.95
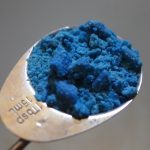
  2. Borax 500 grams – 30.00

So the DIY Recipe costs about 3.75 per 300ml while Joy Dishwashing Liquid costs 41.75 per 200ml. That’s a LOT of savings.

Some notes on using

In hand washing, the best procedure involves scraping away food particles and washing out the oil before using the dishwashing liquid. Additionally, most dishwashing liquid (homemade or store bought) work best when used with hot water, with washing done in the sink or a bowl. Soaking the sponge in a combination of water and dishwashing liquid work quite well too.

What is the shelf-life of homemade dishwashing liquid?

Prepare homemade dishwashing liquid in small batches. These are best when used right away or at least within a week rather than stored for weeks or months. The solution degrades over time.

Will the vinegar ‘un-saponify’ the soap?

Saponification is actually an irreversible process. But a lot of the problem with mixing large quantities of vinegar with soap in high heat is the separation of fat and the alkali solution in soap. So don’t use too much vinegar and don’t heat the soap and vinegar together. The heat shock and acid can cause the soap emulsion to degrade. If used as described in the recipe above, and you have hard water, the vinegar will bind with the calcium/magnesium ions in the water and help the soap work better.

What does borax do?

In the above recipe for dishwashing liquid, borax converts some water molecules into hydrogen peroxide which cleans, disinfects and bleaches. This is best done when washing with hot water.

I don’t have borax. Can I use hydrogen peroxide instead?

Soap and hydrogen peroxide (3% solution) mixed together is fine, but don’t prepare a large batch. Use within 7 days or less. Over time, hydrogen peroxide and soap react, degrading the solution.  The mix also needs to be protected from light, so you’ll need an opaque container for the solution. Half a tablespoon of hydrogen peroxide should be enough.

If you do use hydrogen peroxide, you may add vinegar (4% acidity) but only if the hydrogen peroxide is a weak solution (3%) and a small amount of vinegar is used. Strong concentrations of hydrogen peroxide and vinegar mixed together create strong paracetic acid which is corrosive.

A word of caution

With DIY dishwashing liquid or any cleaner, be careful about mixing household chemicals. Never mix together bleach, ethyl or isopropyl alcohol, acetone, chlorine, muriatic acid, oxalic acid, ammonia, toilet cleaner or drain cleaner. These could result to dangerous combinations.

DIY Domestic Greywater Treatment

We had plumbing repaired in May and that also became the opportunity to find a way to treat domestic wastewater so that it can be diverted into the garden. Since sewage systems aren’t centralised in our village, it is important that we treat our wastewaters locally and in a way that is responsible.

Above: Some of the drawings and plans we made to help build our greywater treatment systems.

In households in our village, domestic blackwater goes into a septic tank whilst greywater goes into the nearest empty plots. We have our own septic tank and our greywater went into a concrete water feature in the garden. This water feature often flooded especially in the rainy season, and wastewater just filtered into the ground. What we wanted was a system that not only filtered greywater, but also diverted it to good use in the garden. Additionally, we decided to separate kitchen greywater and bathroom greywater to lessen the load on our selected methods of treatment.

Treating Kitchen Greywater

Kitchen greywater goes though a pipe and gets filtered in a DIY grease trap (refer to links to resources below to learn how to make a Grease Trap). From the grease trap, the water pours into a constructed wetland – or what may be called an infiltration planter – built next to the rainwater fishpond. The infiltration planter is filled with layers of gravel, a fine mesh netting, sand and soil. Plants are grown in the infiltration planter to help treat the greywater. As greywater filters down the planter, excess water flows out into a lower bed of plants.

View of the Grease Trap.
Grease Trap – bucket with strainer on top to filter out food debris. Refer to links below on how to make a Grease Trap.
Accumulated grease in the Grease Trap.
Internal construction of the Grease Trap – elbow and pipe sealed with Epoxy.
Grease Trap is cleaned next to the compost pit.

Treating Bathroom Greywater

Bathroom wastewater consists of water from the shower and the bathroom sink. This water goes through a pipe and flows out over a gravel path with cement lining to prevent the water from seeping directly into the ground. The gravel path goes along the house, into the garden and down to the duck pond, some 10 or so meters away. The assumption is that the greywater – along with rainwater during the rainy season – would be filtered appropriately by the time it reaches the duckpond, at the same time reducing soil erosion, since the ground slopes naturally towards the duckpond.

Ground has natural slope and the Gravel Path Filter is dug up in the direction of the slope towards the duck pond.
After digging, the path is cemented to prevent water from seeping into the ground along the house. The water needs to flow and get filtered by the gravel and ultimately flow into the duck pond.
Gravel placed into the path. The orange pipe is the bathroom greywater outlet.
A closer view of the Gravel Path Filter. The reservoir/pond catches rainwater runoff from the roof of the house and overflows into the Gravel Path Filter.
At the end of the Gravel Path Filter is the duck pond. Rocks are placed at the mouth of the Path to filter out larger debris.


The results

After nearly 3 months of use, together with the onset of the rainy season, our constructed wetlands are working beautifully! Plants are growing well in the infiltration planter, the gravel path has done away with mud and soil erosion in a large area along that side of the house. Some plants and grass have even started growing amongst the gravel. There is some odour coming from the infiltration planter but this is not irritating and the odour disappears very quickly. As more plants grow in the planter, we hope the odour will be further minimized. The DIY grease trap – a 5 gallon/10-liter capacity -requires some cleaning only every 2 months. The grease and debris collected is dumped into the compost pit.

Note that if any edible plants are placed in the infiltration planter, they should not be eaten.

Resources

If you are interested in building a constructed wetland system for greywater treatment in your own home, check first with local ordinances. Some municipalities, for example, that have centralised wastewater treatment facilities will not allow domestic greywater treatment because centralised wastewater (especially blackwater) treatment needs sufficient amounts of greywater for proper treatment.

If you are sure that constructed wetlands are allowed in your location, you can find basic information, designs, principles and examples of ecologically responsible wastewater treatment systems through the following resources. Our home set-up was inspired by these resources. Good luck!

Publications:

Websites:

Videos:

Sprouting Alfalfa Seeds

Here is a simple method I use to sprout seeds for salads and cooking. I use this method to sprout alfalfa seeds and mung beans. Shown here are alfalfa. Raw seed sprouts have good nutritional value but must be prepared appropriately to minimise the risk of bacterial contamination.

Select a clean clear bottle for sprouting. I use a 500ml glass jar with large mouth so that the sprouts can be easily accessed. A clear container is needed so that the sprouts can be monitored easily.

Put 1/2 teaspoon of alfalfa seeds in the jar. This will be enough sprouts for salad, garnish or sandwich for 2-3 persons. Use 1 teaspoon if you require more. 1 teaspoon seeds is the limit for the jar I am using.

Pour cool clean water into the jar just enough to cover the seeds. I use clean tap water.

Place the jar in a dark place. I use a biscuit tin. You can also use a clean box or you can put the jar in a cupboard.

Protect the seeds from flies and insects but don’t seal it. Air circulation is necessary for successful sprouting. I use a clean cheesecloth to cover the top of the biscuit tin. Leave overnight.

The next day, drain the water carefully. Add water and drain again to clean the seeds.

Tip the jar on its side and distribute the seeds evenly along the sides of the jar as in the photo below. The seeds should be wet but not soaking.

Place the jar in a dark place. I use the same biscuit tin, this time, the jar is placed on its side as shown in the photo below.

Protect the seeds from flies and insects. During the day, rinse the seeds with water every 4-6 hours. Leave overnight. Rinse again at 4-6 hour intervals the next day.

Here are the seeds after 2 days. The seeds have started to sprout.

Continue rinsing the seeds everyday. Don’t forget to do this otherwise the seeds will rot or dry out. I use a small sieve to strain the seeds when I rinse them.

After 5 days, the sprouts are nearly ready. The sprouts are yellow and need to be exposed to light so they can turn green.

On day 6, rinse the sprouts as usual then leave the jar by the window to expose to sunlight. Don’t put the sprouts directly under the sun or they will wilt and dry out. 
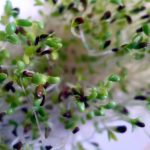
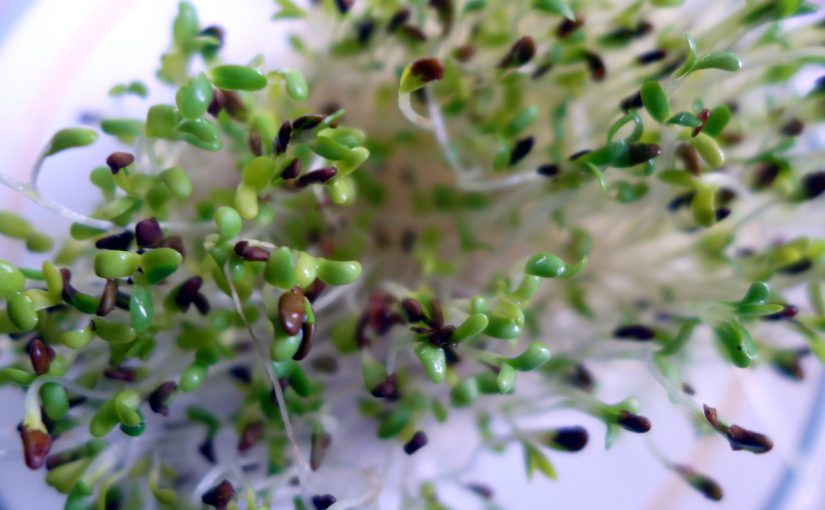
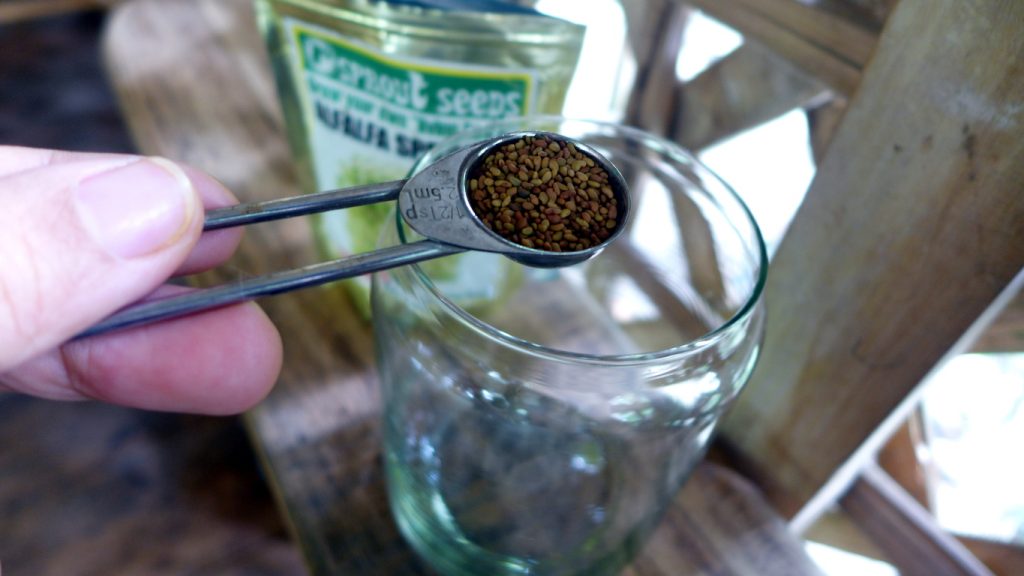
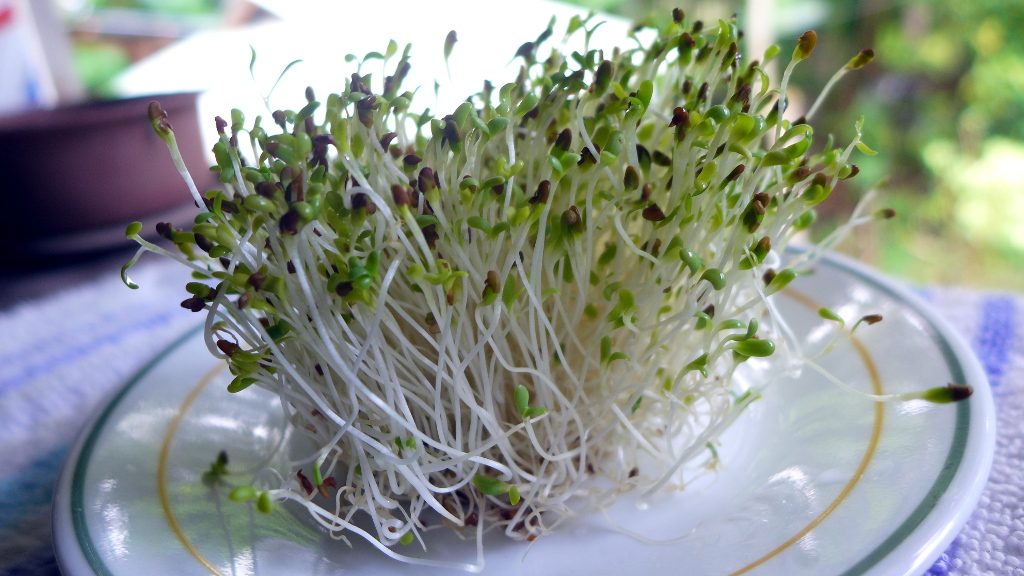
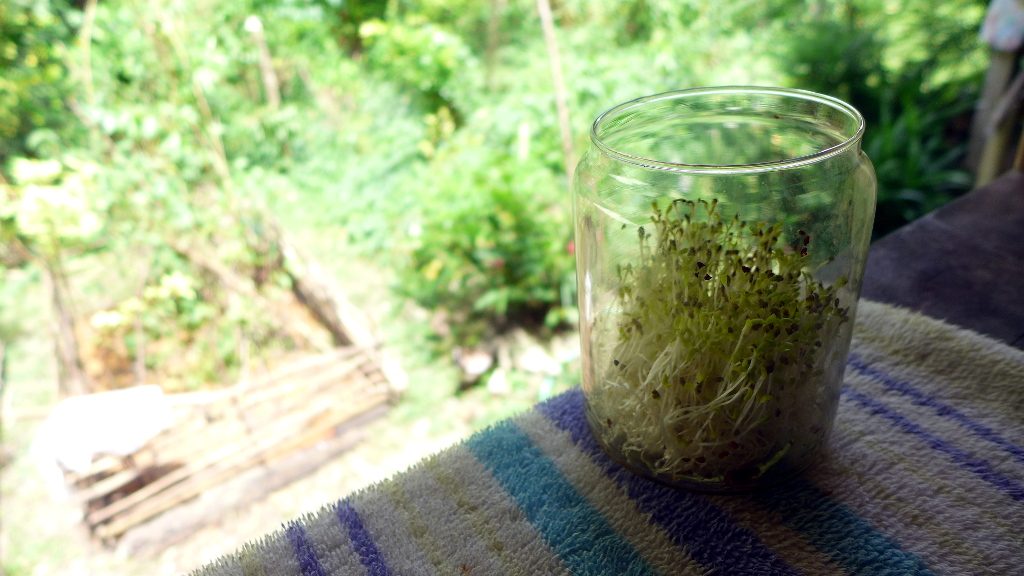
After about 6-8 hours of sunlight, the sprouts are green and ready to eat! Here’s the result of a half teaspoon of alfalfa seeds.
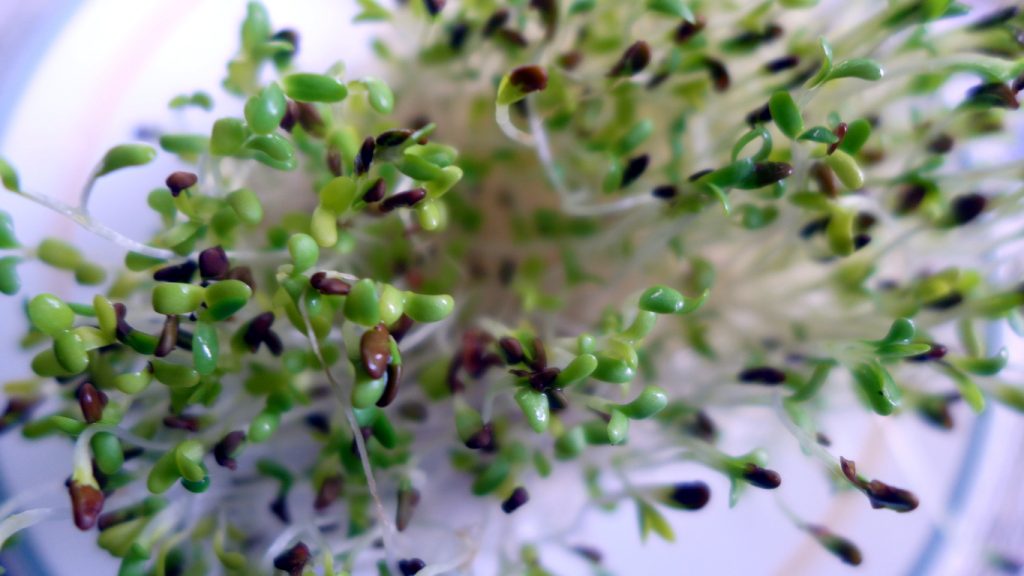
Use the sprouts immediately. You can keep them in the refrigerator but must be used within 3-5 days. Prepare sprouts in small batches so you always have them fresh. Enjoy!